Blog
How to Eliminate Waste and Promote a Greener Planet Using Redis
What generates 300 million tons of solid waste within a year? American consumers. Of this amount, only half goes straight into landfills to be stored. When one is at overcapacity, it’s sealed off to prevent leakage. Meanwhile, deep beneath the surface, the trash continues to decompose, creating many toxic byproducts such as leachate, which is contaminated water. Carbon monoxide is also produced, contributing to rising CO2 levels in our air.
What’s just as harrowing is that 50% of this landfill trash is compostable, reusable, and recyclable. Recognizing that this is completely avoidable, Rajesh Ramamurthy has created an exceptional application, GreenEarth, that can reduce waste and promote a greener planet. The application creates a platform where people from all over the world can find projects that utilize common household trash to repurpose them into useful items or creative art projects.
Redis was used to retrieve user information from the cloud database and for storing individual user attributes with hyper-efficiency. This was critical to Greener Earth’s functionality since data processing needs to be performed at speed to maximize the user’s experience.
Let’s take a look at how Rajesh brought this innovative application to life. But before we dive in, we’d like to point out that we have 29 other exciting apps that are improving everyday lives on the Redis Launchpad. So make sure to have a browse after reading this post.
- What will you build?
- What will you need?
- Architecture
- Getting started
- Setting up the features
- How it works
1. What will you build?
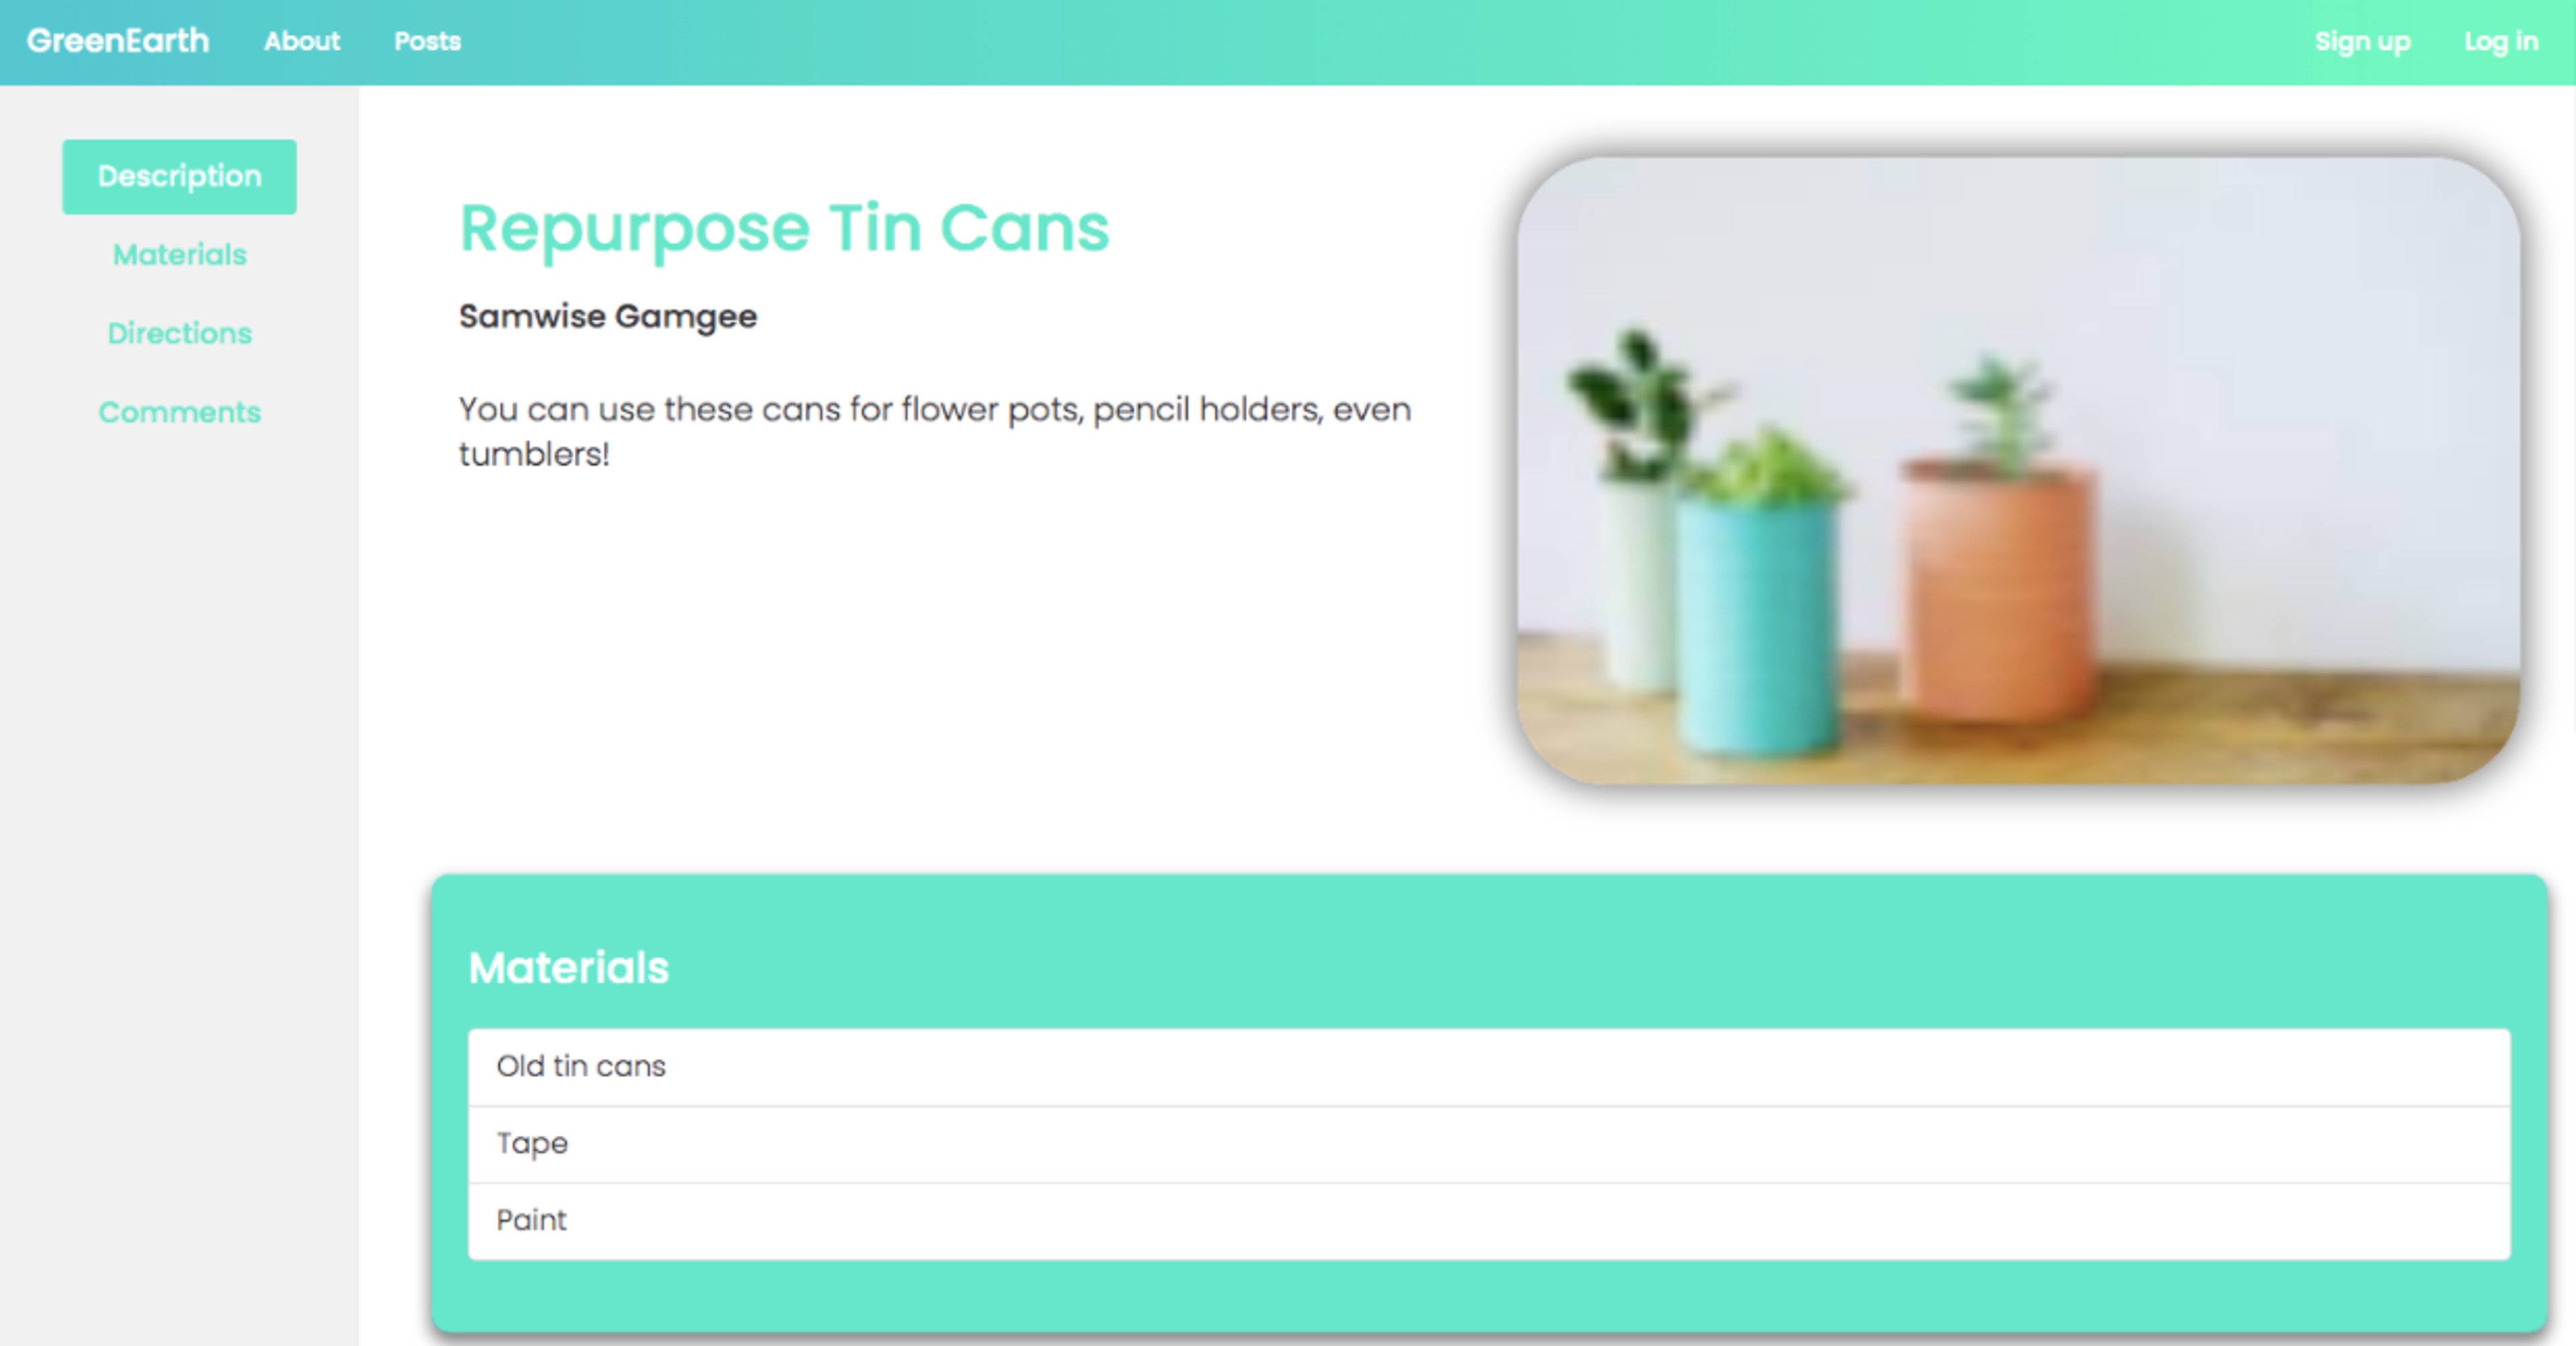
An app. A community and a platform for people to help save the planet. This application connects environmentally conscious people with projects that utilize household items. If, for example, a user wants to make use of their empty tin cans, Green Earth will connect them with projects that demonstrate how these items can be used to create useful household items.
Below we’ll show you exactly how to build this application by going through each step in chronological order. We’ll also highlight what components you’ll need, along with their functionality.
2. What will you need?
3. Architecture

4. Getting started
- Install NPM
- Setup Redis Enterprise Cloud Database with RedisJSON module enabled
Install NPM
Setting up Redis Enterprise Cloud Database
Create your free Redis Enterprise Cloud account. Once you click on “Get Started”, you will receive an email with a link to activate your account and complete your signup process.
Follow this link to enable RedisJSON module under Redis Enterprise Cloud database.
Clone the repository
Install NPM dependencies
Change directory to greenearth directory and install the required dependencies:
Configure the index.js
To connect to Redis Enterprise Cloud Database with RedisJSON enabled, you’ll need to edit the following code in index.js.
Start the application
You’ll also have to run npm start to start the local server at http://localhost:3000.
5. Setting up the features
Below there are a number of features that need to be set up for the application to function. Let’s take a look at what needs to be done.
Users
- Signup
Creates user account.
SADD – Adds username to global users set
HMSET – Creates user object with information including hashed password, description, and profile picture
- Login
Allows users to log in to an existing account.
SISMEMBER – Checks whether if the entered username is a valid member
HGET – Validates the entered password by retrieving the registered one and comparing them
HSET – Adds username with generated session token to active user group br>
- Logout
Logs out of the signed in account.
HGET – Retrieves user from the provided session token
HDEL – Removes the user and session token from the active user group
- UserInfo
Retrieves information (username, description, profile picture) of the specified user.
HMGET – Retrieves user data from provided attributes
- SetField
Sets specific attributes (description, profile picture) of specified user.
HMSET – Sets user attributes with provided data
Posts
- AddPost
Adds a post from provided user information.
HGET – Retrieves user post list ID
JSON.SET – Creates a post from the provided information and adds to the user post list
JSON.GET – Retrieves user post list
- EditPost
Edits the existing post that’s created by the user.
HGET – Retrieves user post list ID
JSON.SET – Replaces the existing post with a new one based off the provided information in the user post list
JSON.GET – Retrieves user post list
- DeletePost
Deletes the existing post created by the user.
HGET – Retrieves user post list ID
JSON.SET – Removes post and adds to the user post list
JSON.GET – Retrieves the user post list
- PostInfo
Retrieves information (title, description, image, materials, directions, comments) of specified post.
JSON.GET – Retrieves post from the user post list
- AllPosts
Retrieves all global posts or those created by the specific user.
JSON.GET – Retrieves user or global post list
- AllDrafts
Retrieves all drafts created by the user.
JSON.GET – Retrieves user draft list
- AddComment
Allows users to comment on posts.
HGET – Retrieve post comment list ID
JSON.SET – Creates comment ands add to post comment list
JSON.GET – Retrieves post comment list
6. How it works
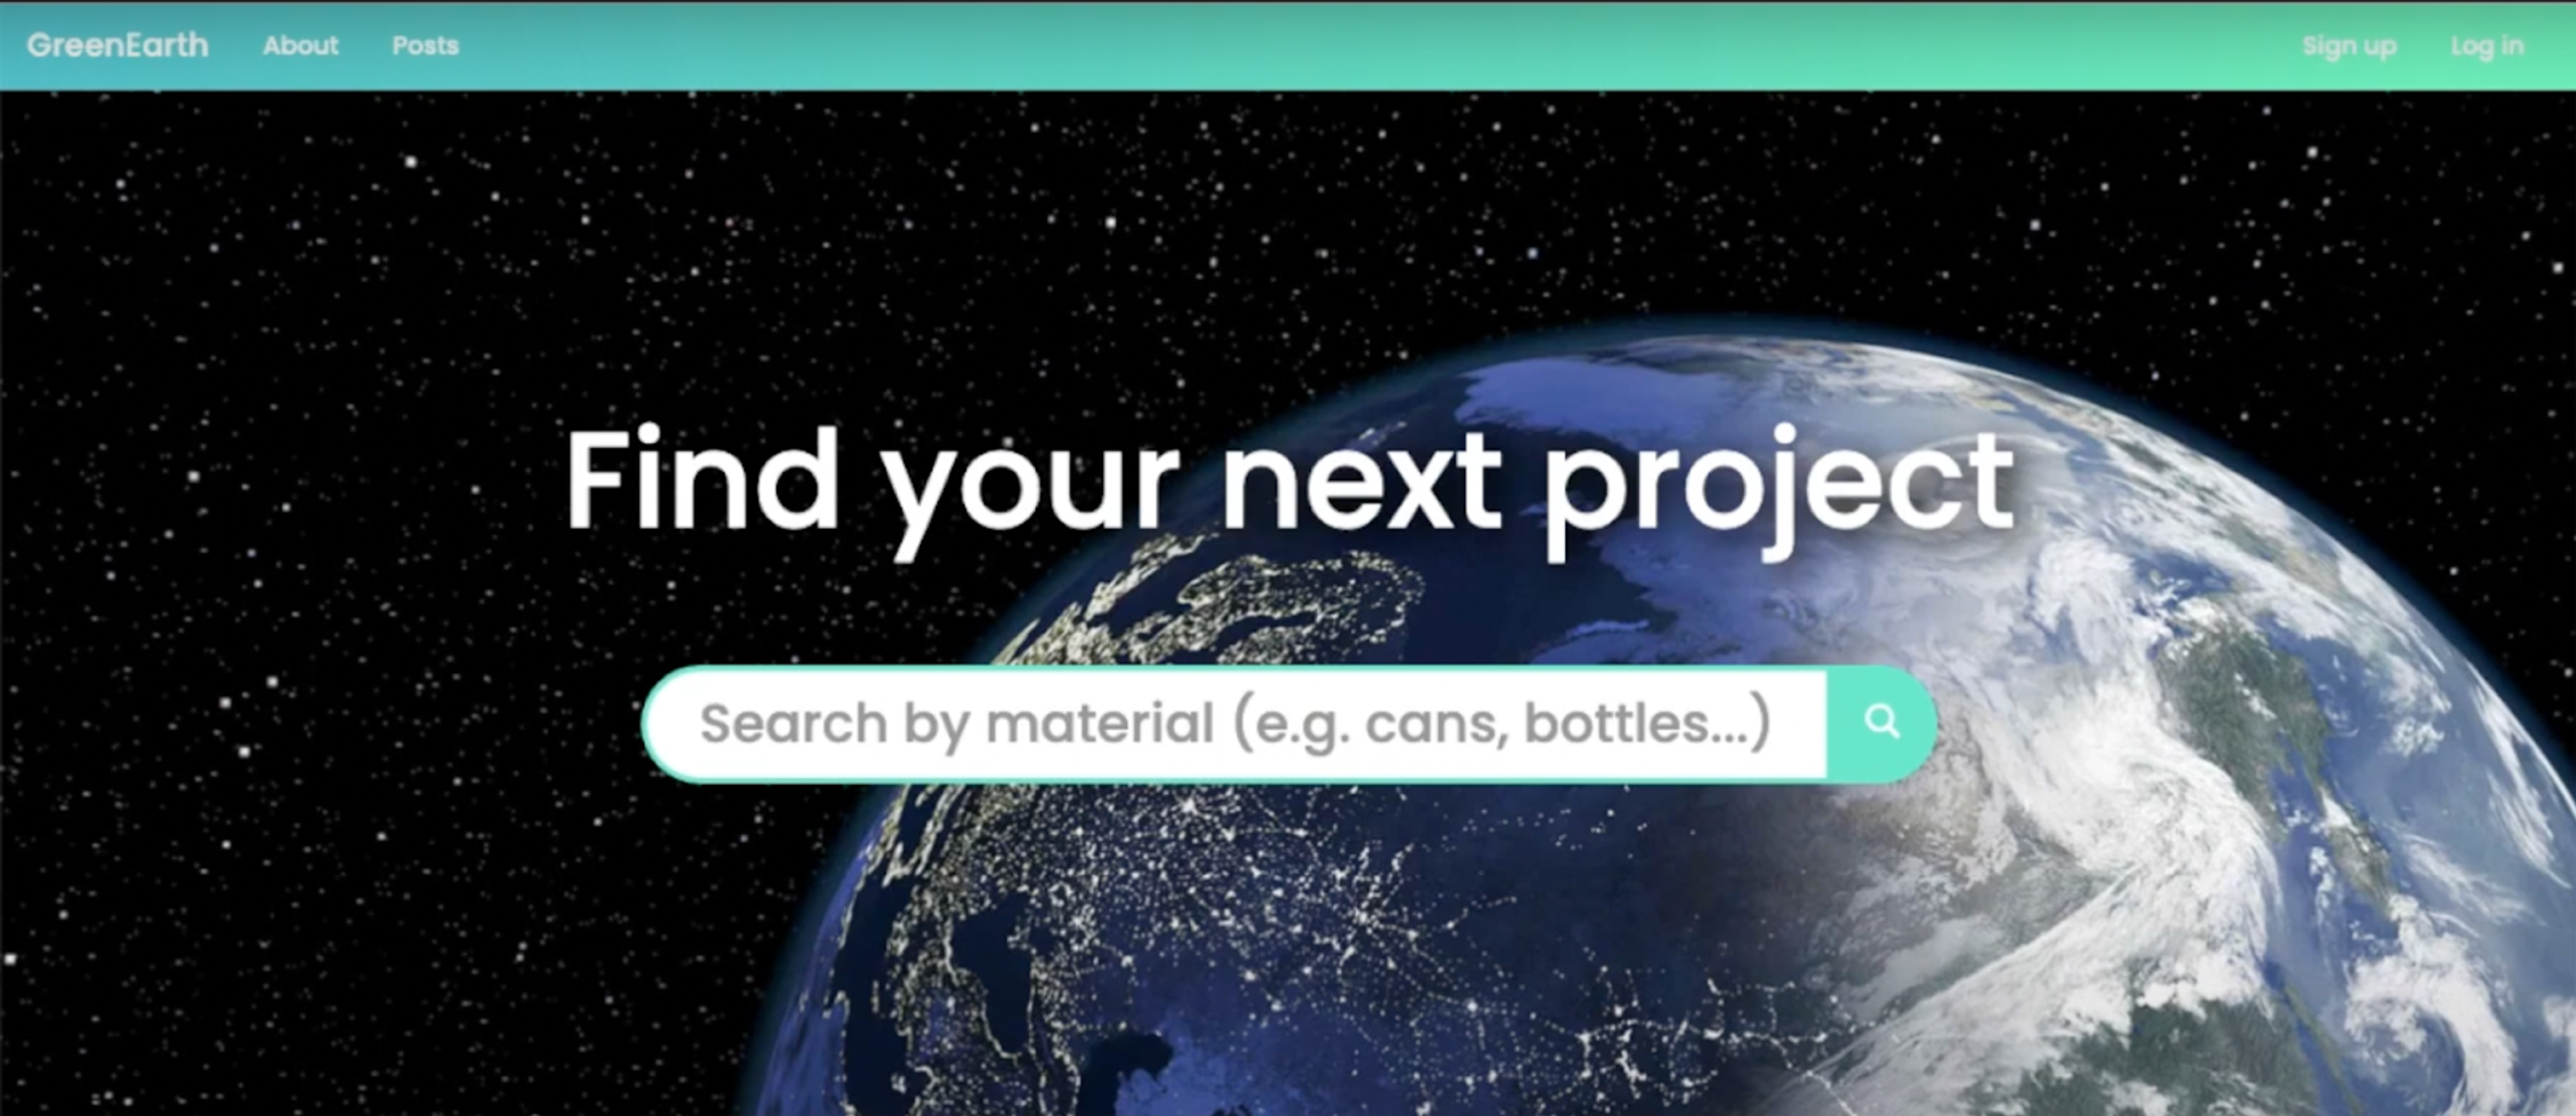
Anyone who’s on the site can search for materials they have or projects they’re interested in. To begin, simply visit the Green Earth homepage.
How to find a project
Click on the ‘posts’ tab at the top of the page. This will take you to a search bar for you to enter the household item you’re looking to recycle. So for example, if you have a lot of tin cans that you want to repurpose, simply type in ‘tin cans’ or variations of that keyword (see image below).
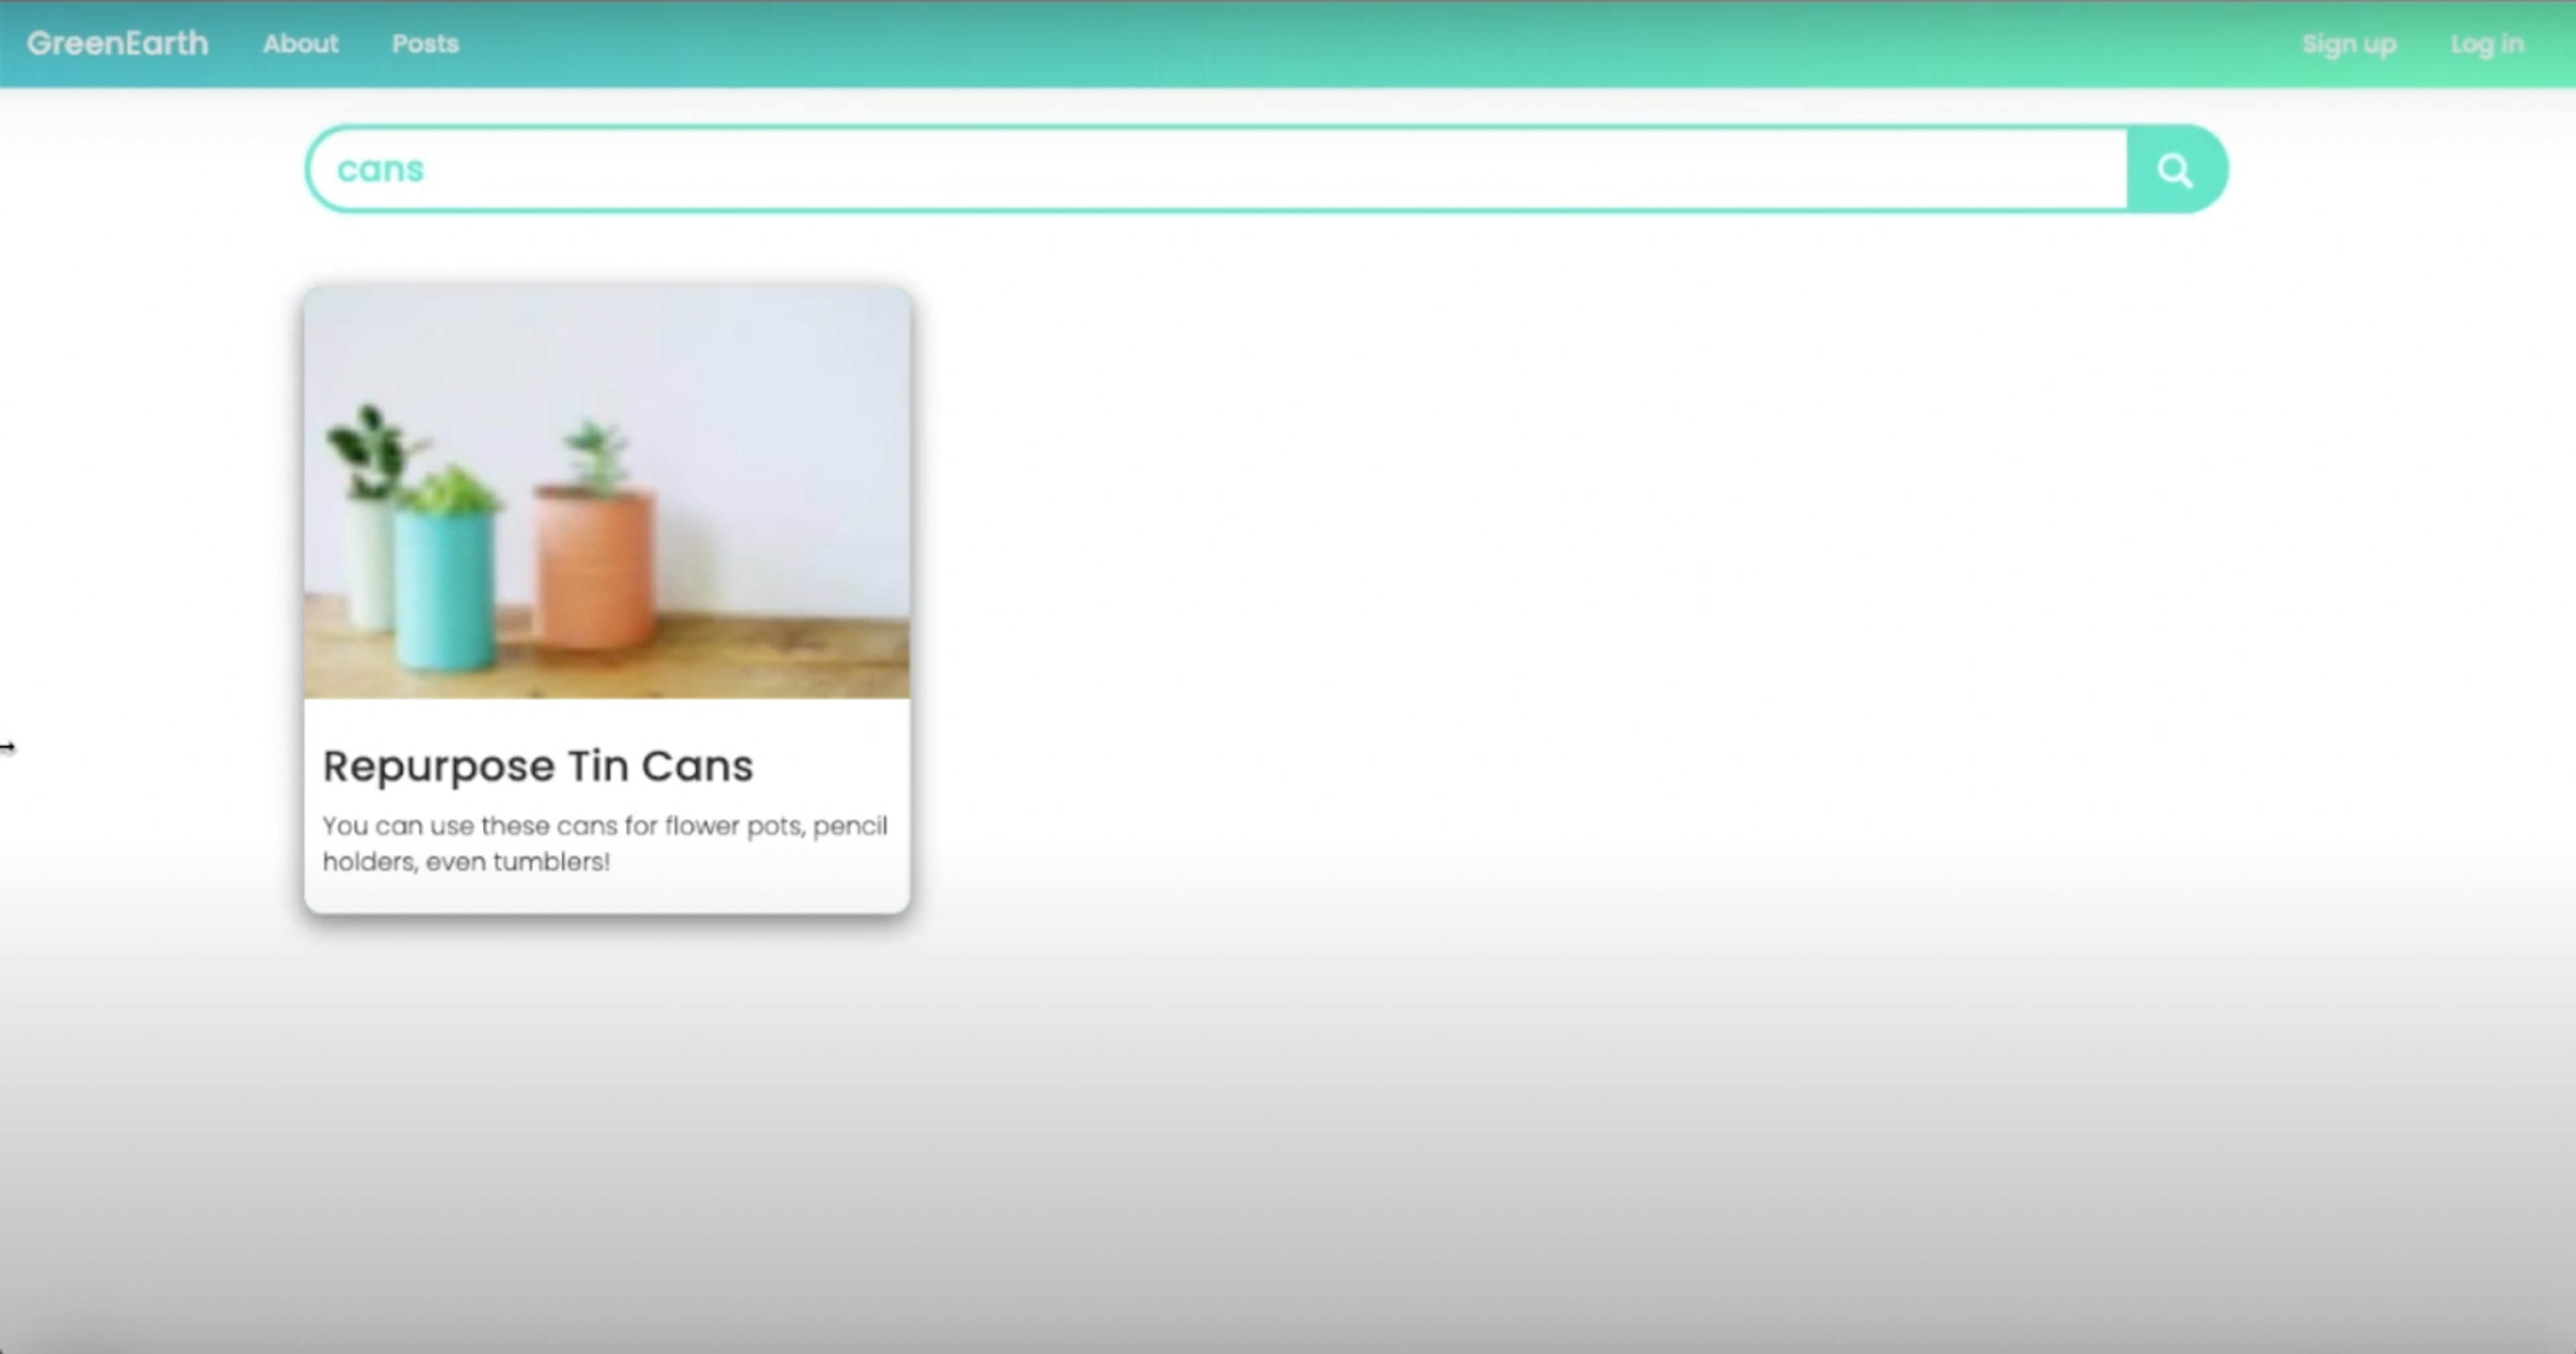
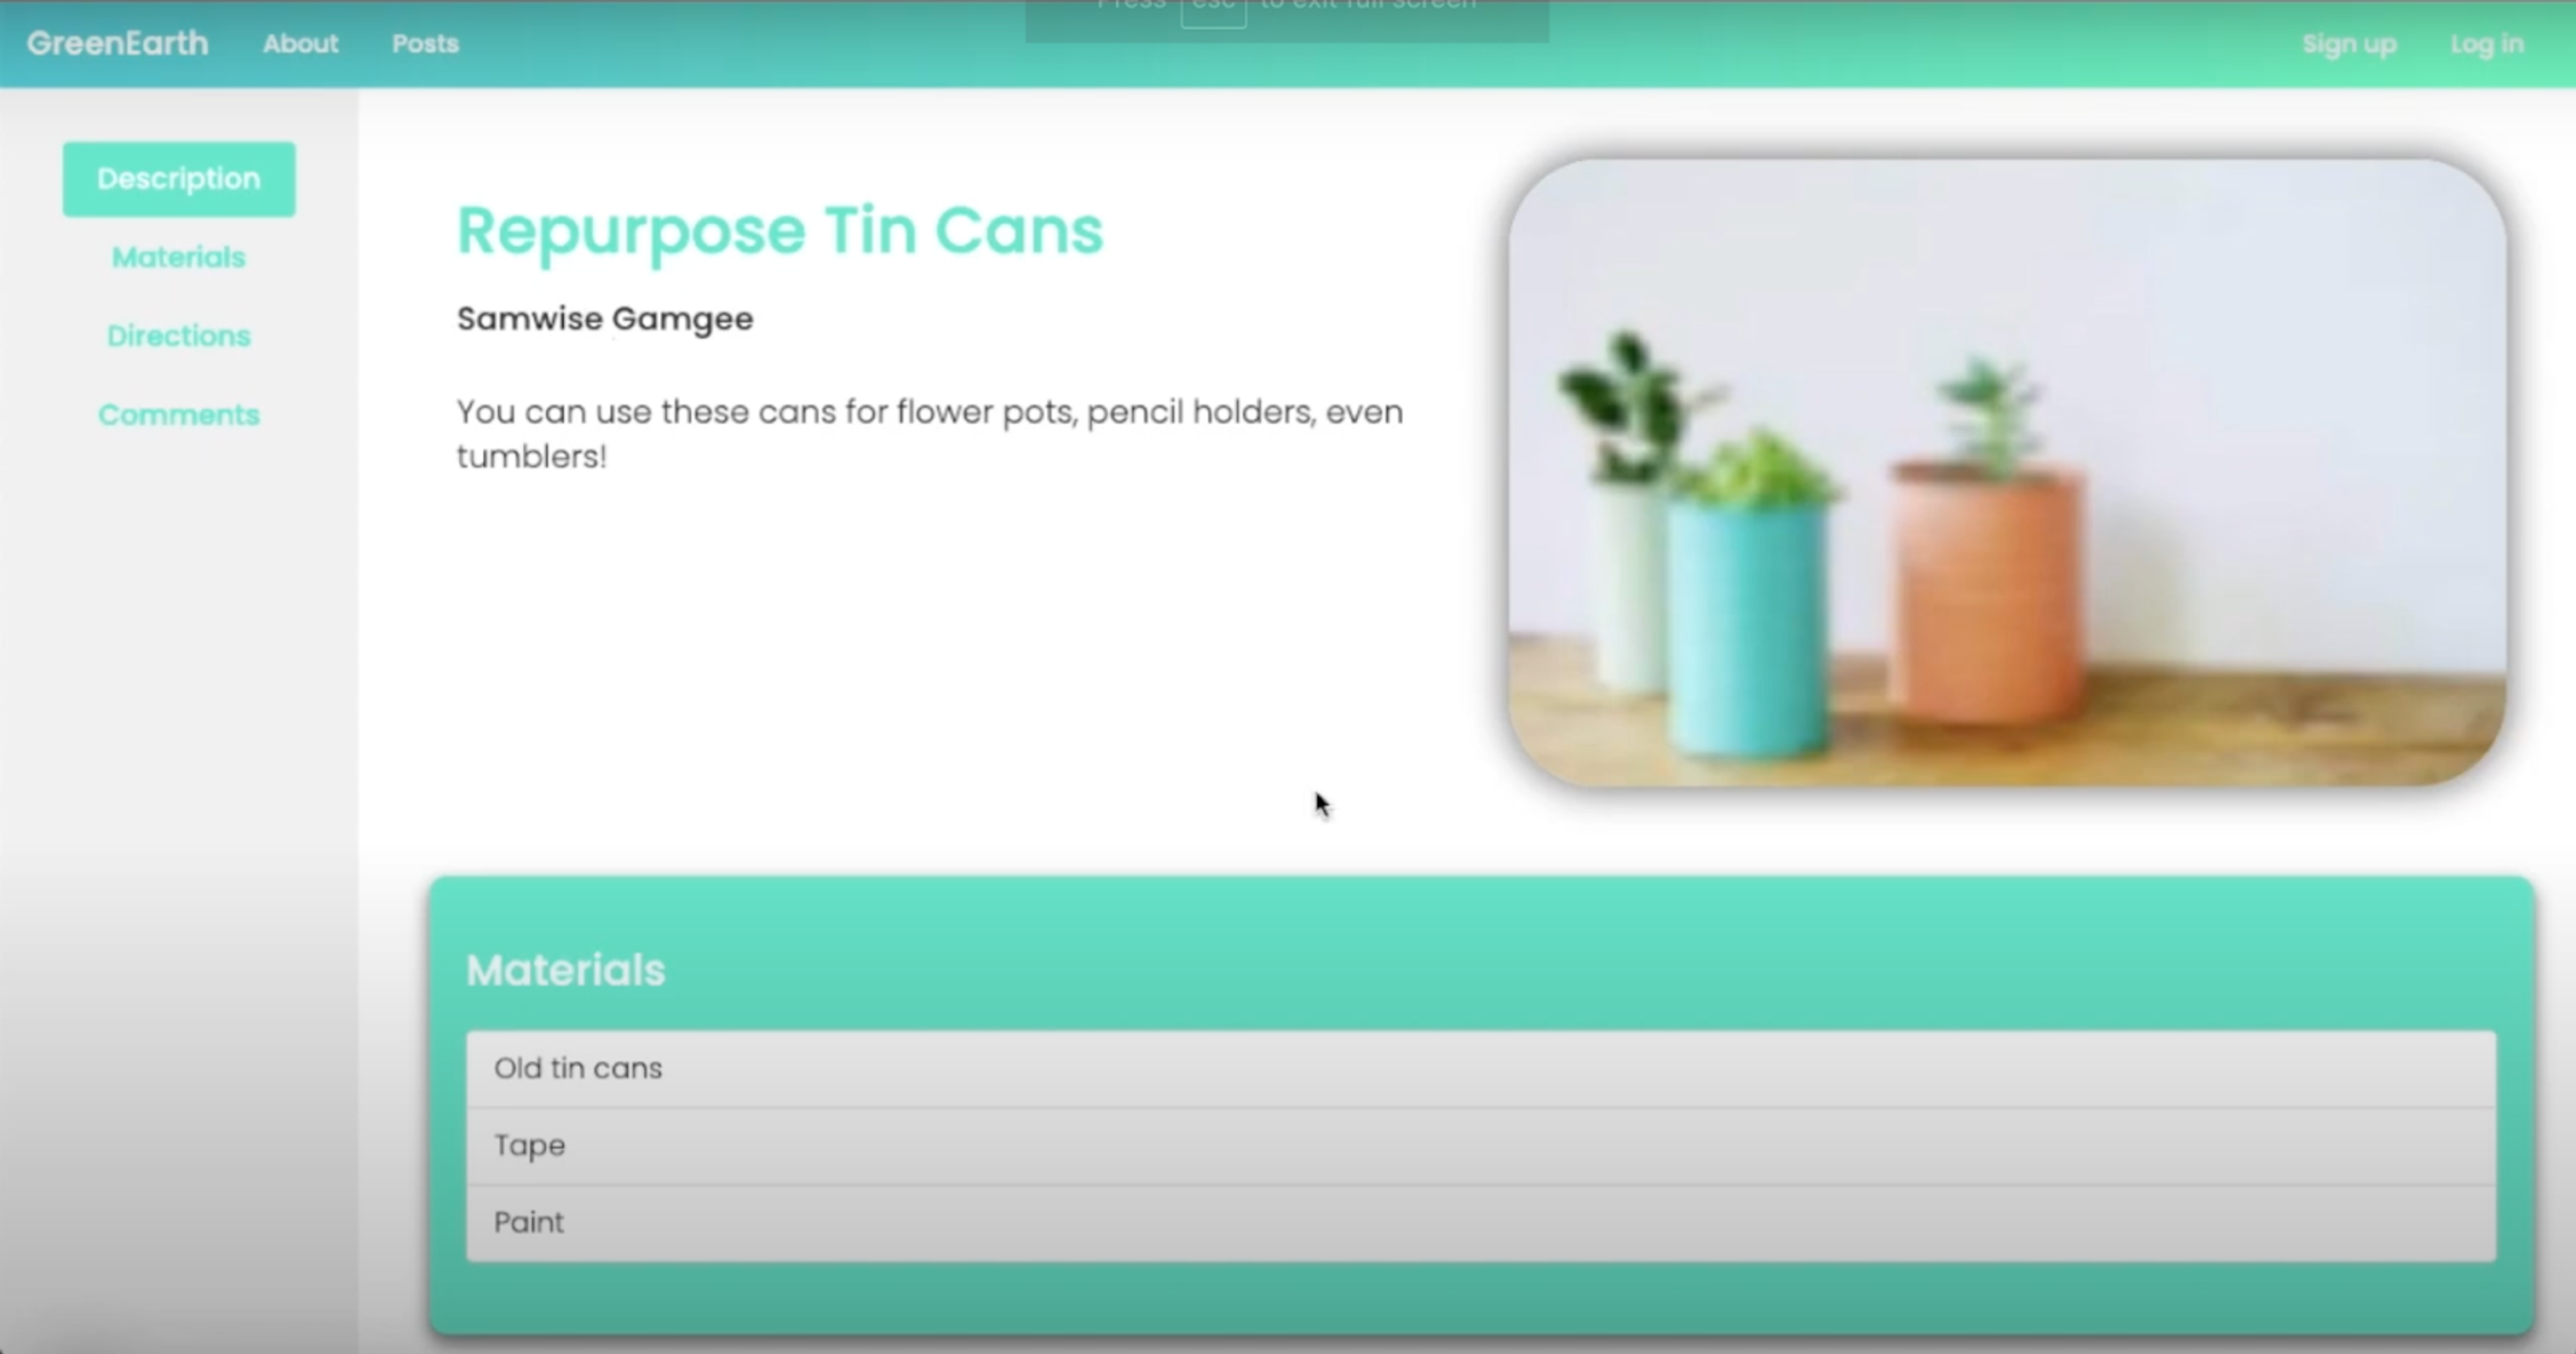
Once you’ve typed this in, a list of projects that require your household item will be displayed. Clicking on one of the results will take you to the project page of that post.
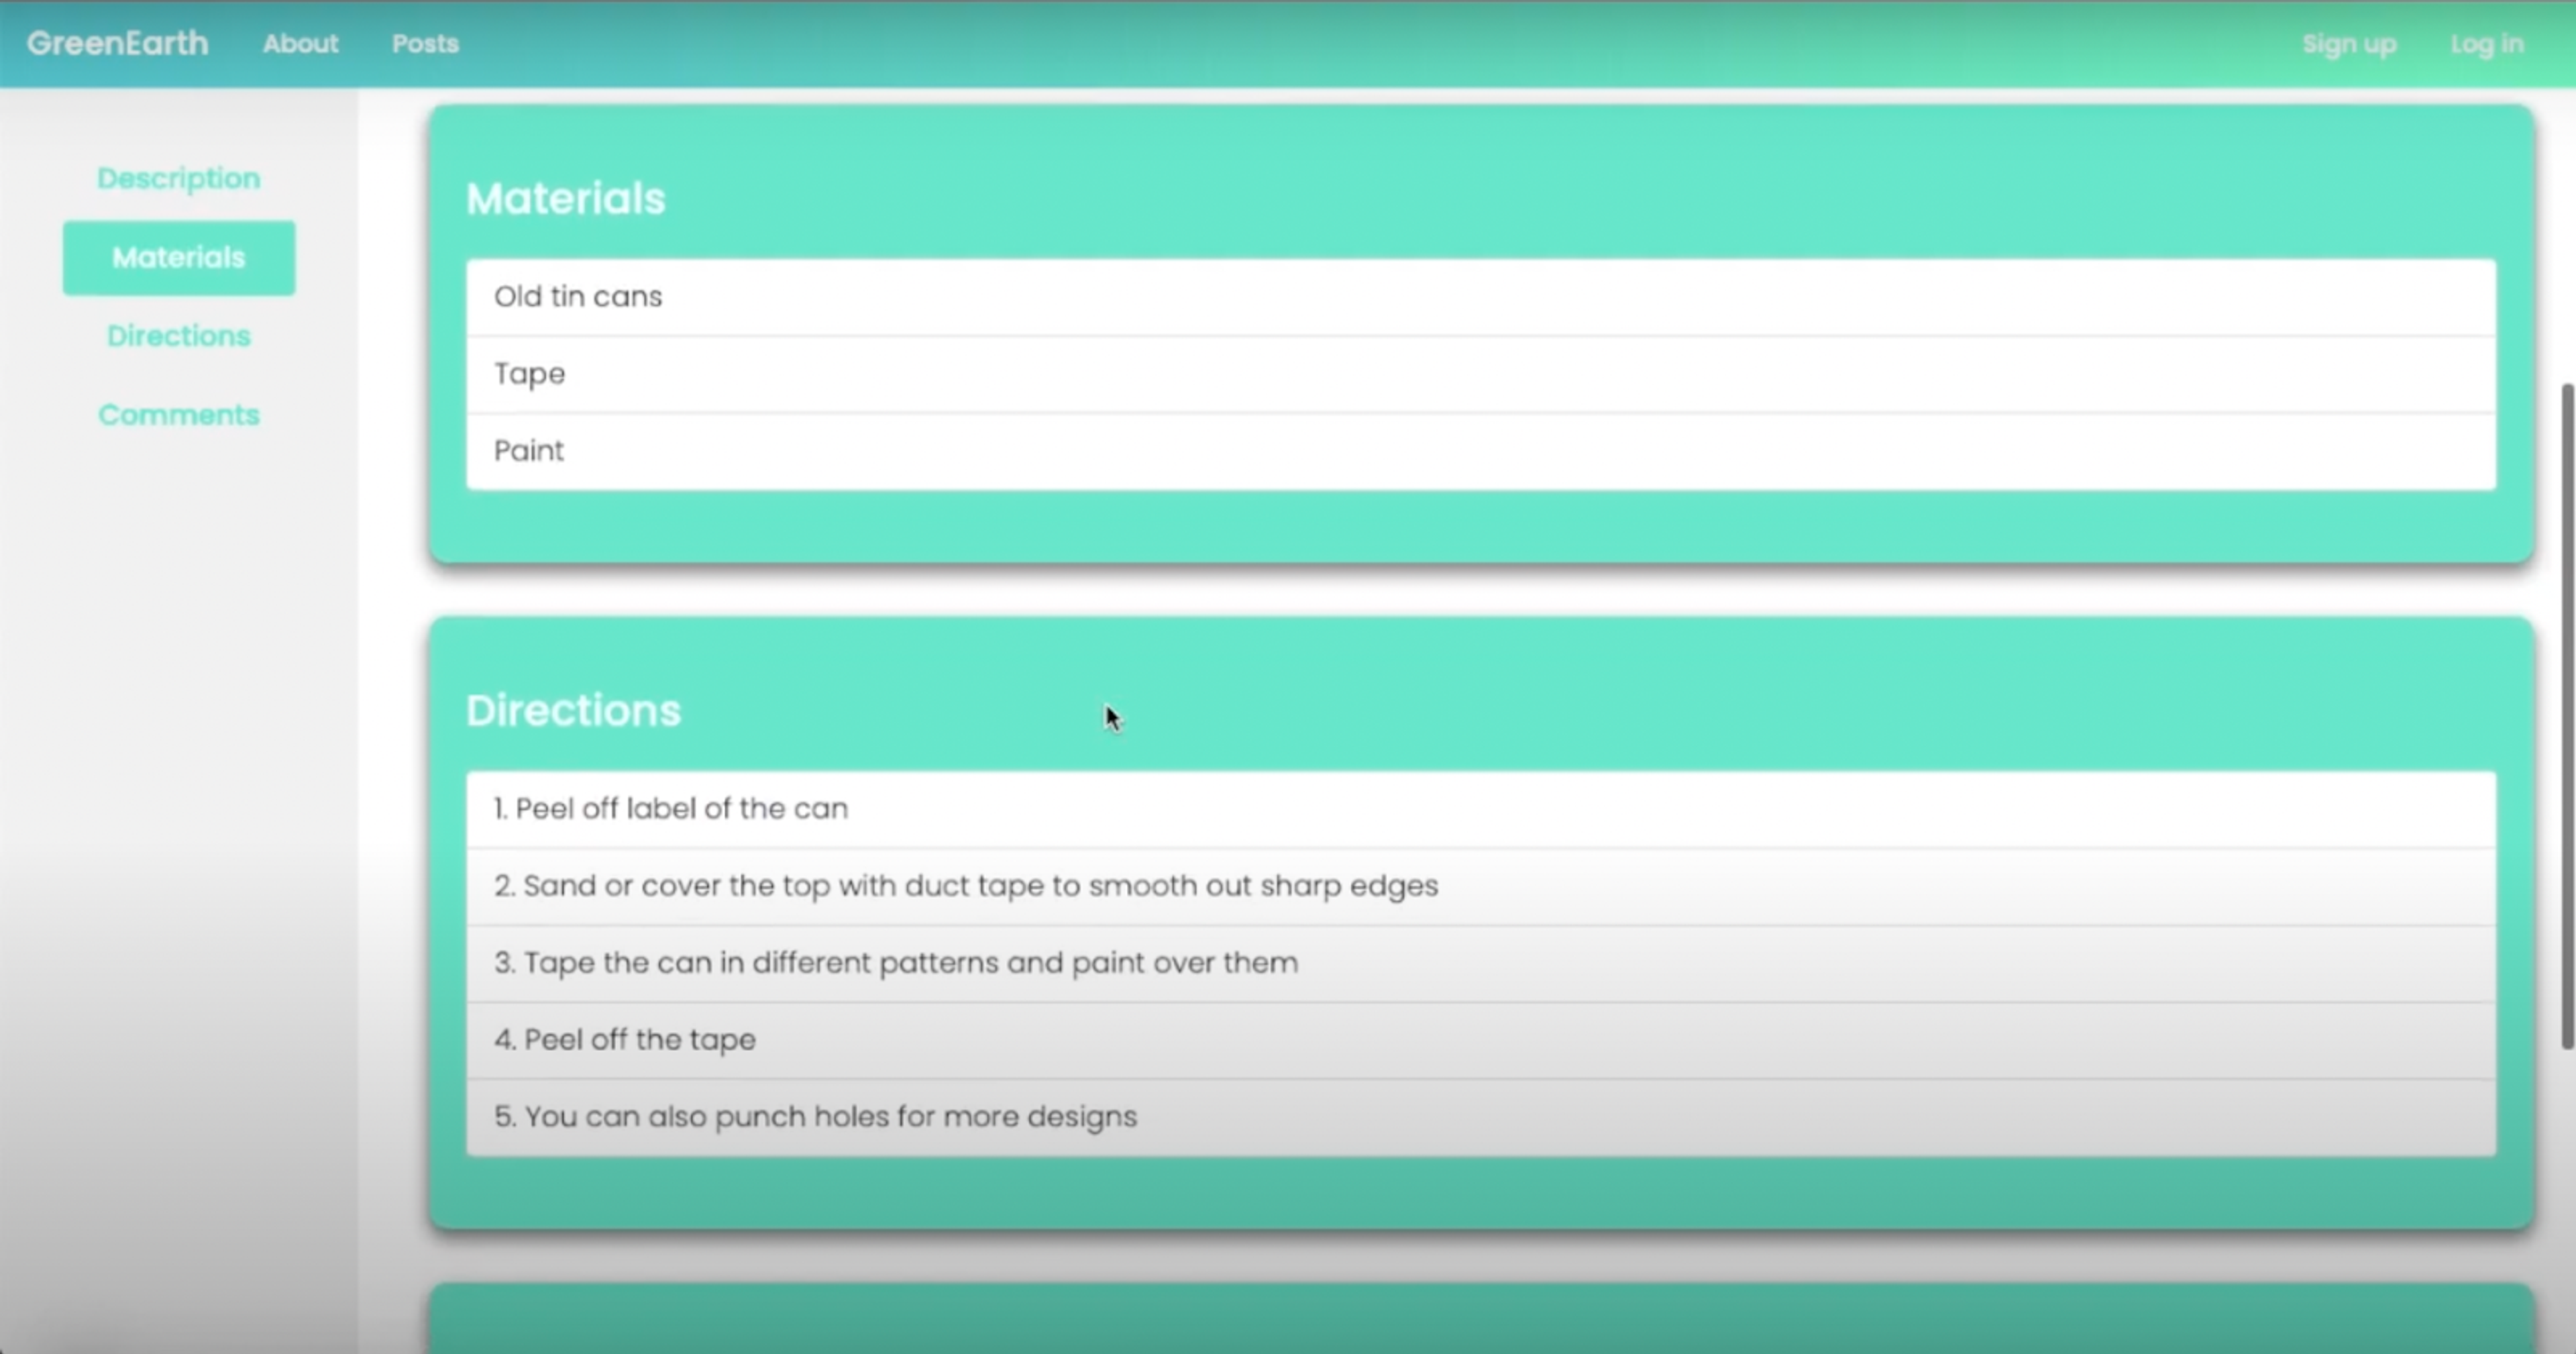
Here you’ll discover everything you need to know about the project, ranging from user comments to the required materials through to the directions you’ll need to follow (see below).
How to create an account
Click on the ‘sign up’ tab at the top of the page. Here you’ll be able to create a username and password for your account.
Once you’ve created an account and are logged in, the next step will be to update your profile. You can do this by clicking on your username at the top of the navigation bar and selecting ‘profile.’
You’ll then be directed to your profile page which will be empty (see below).
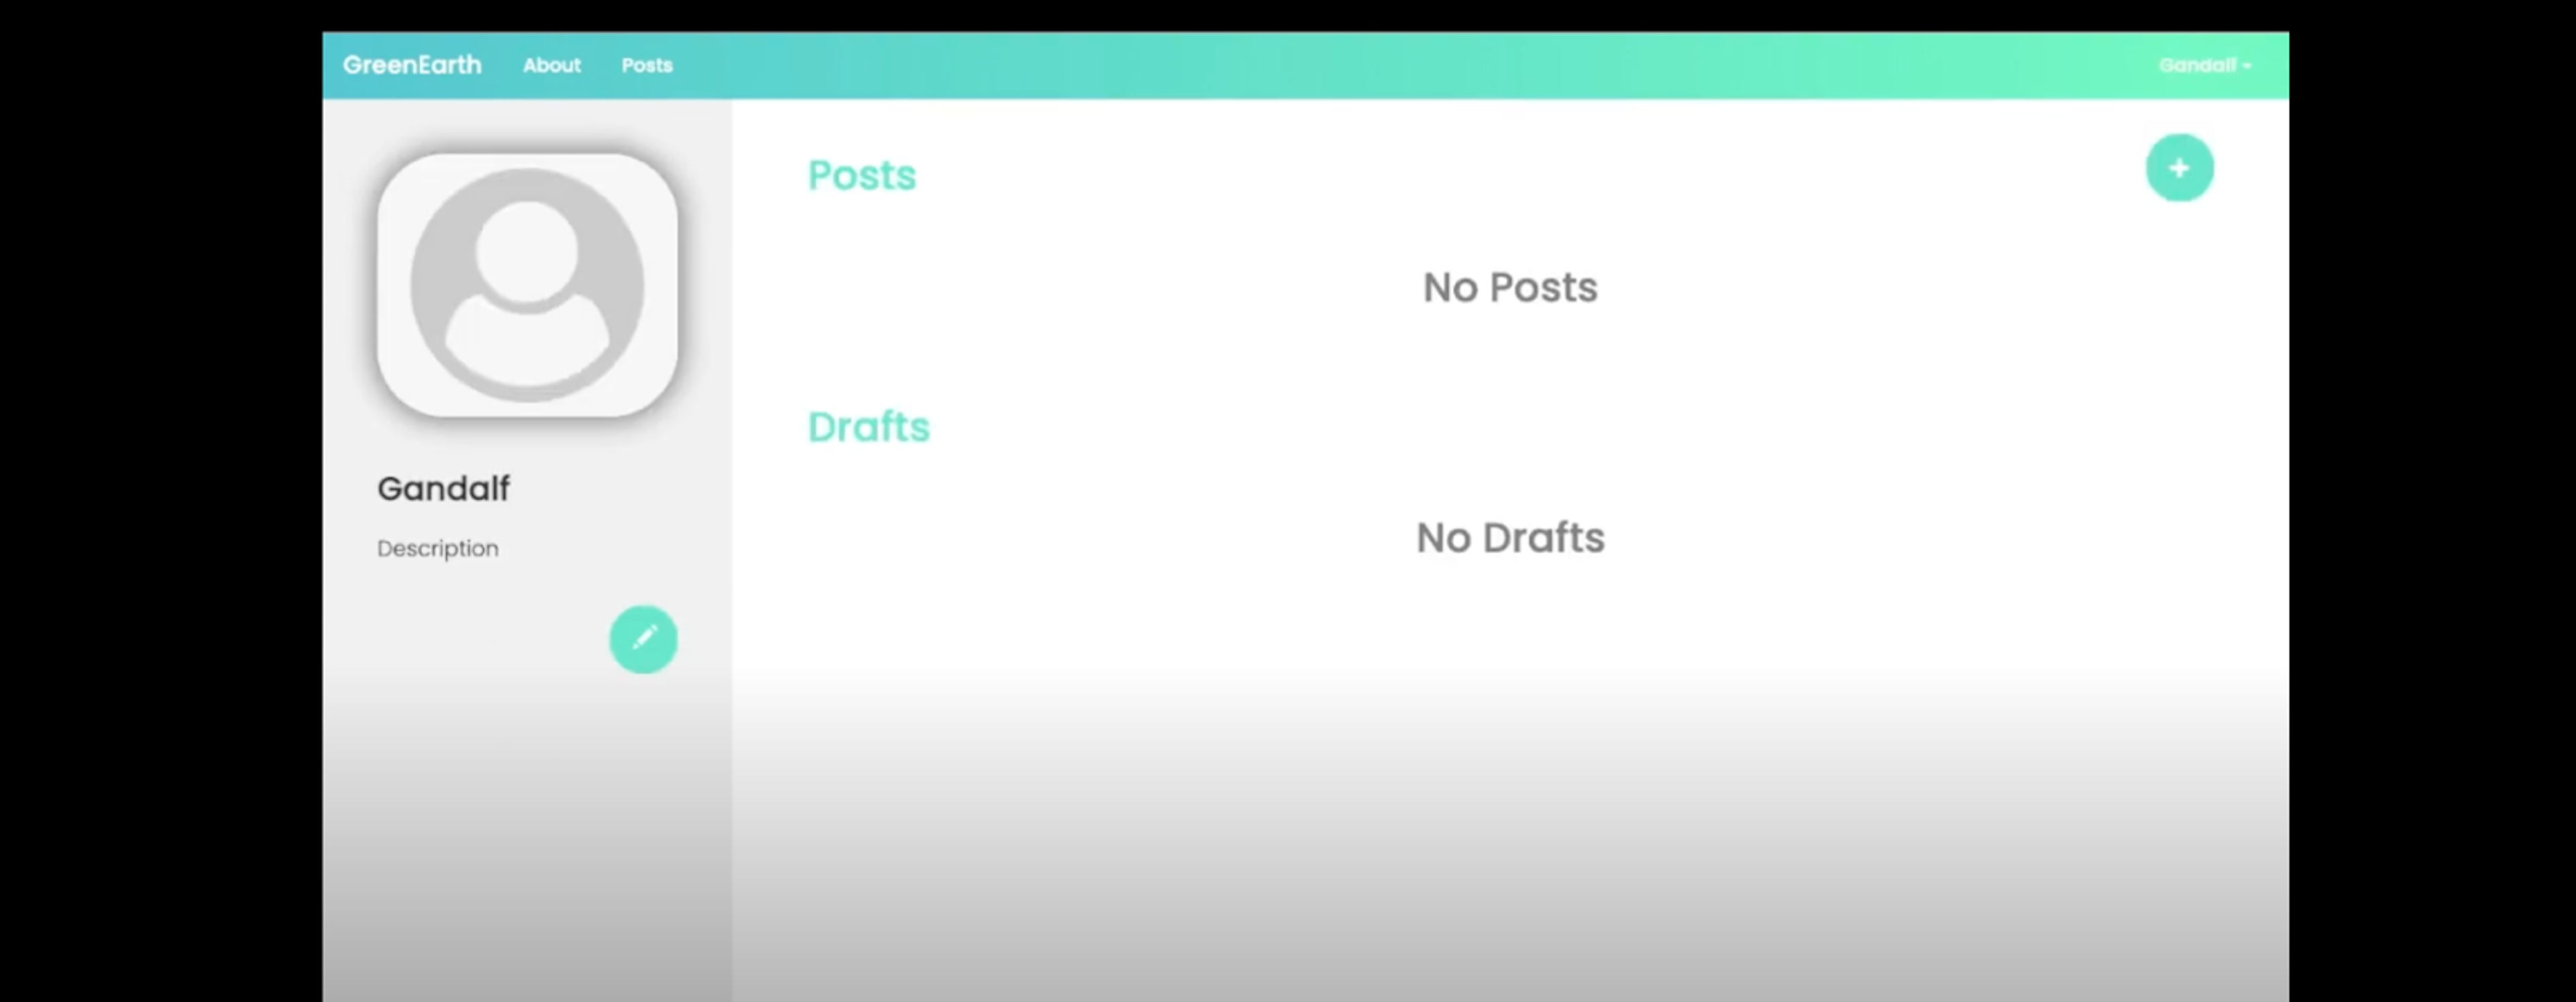
From here you’ll be able to update every section of your profile, including your profile photo and bio.
How to leave a comment
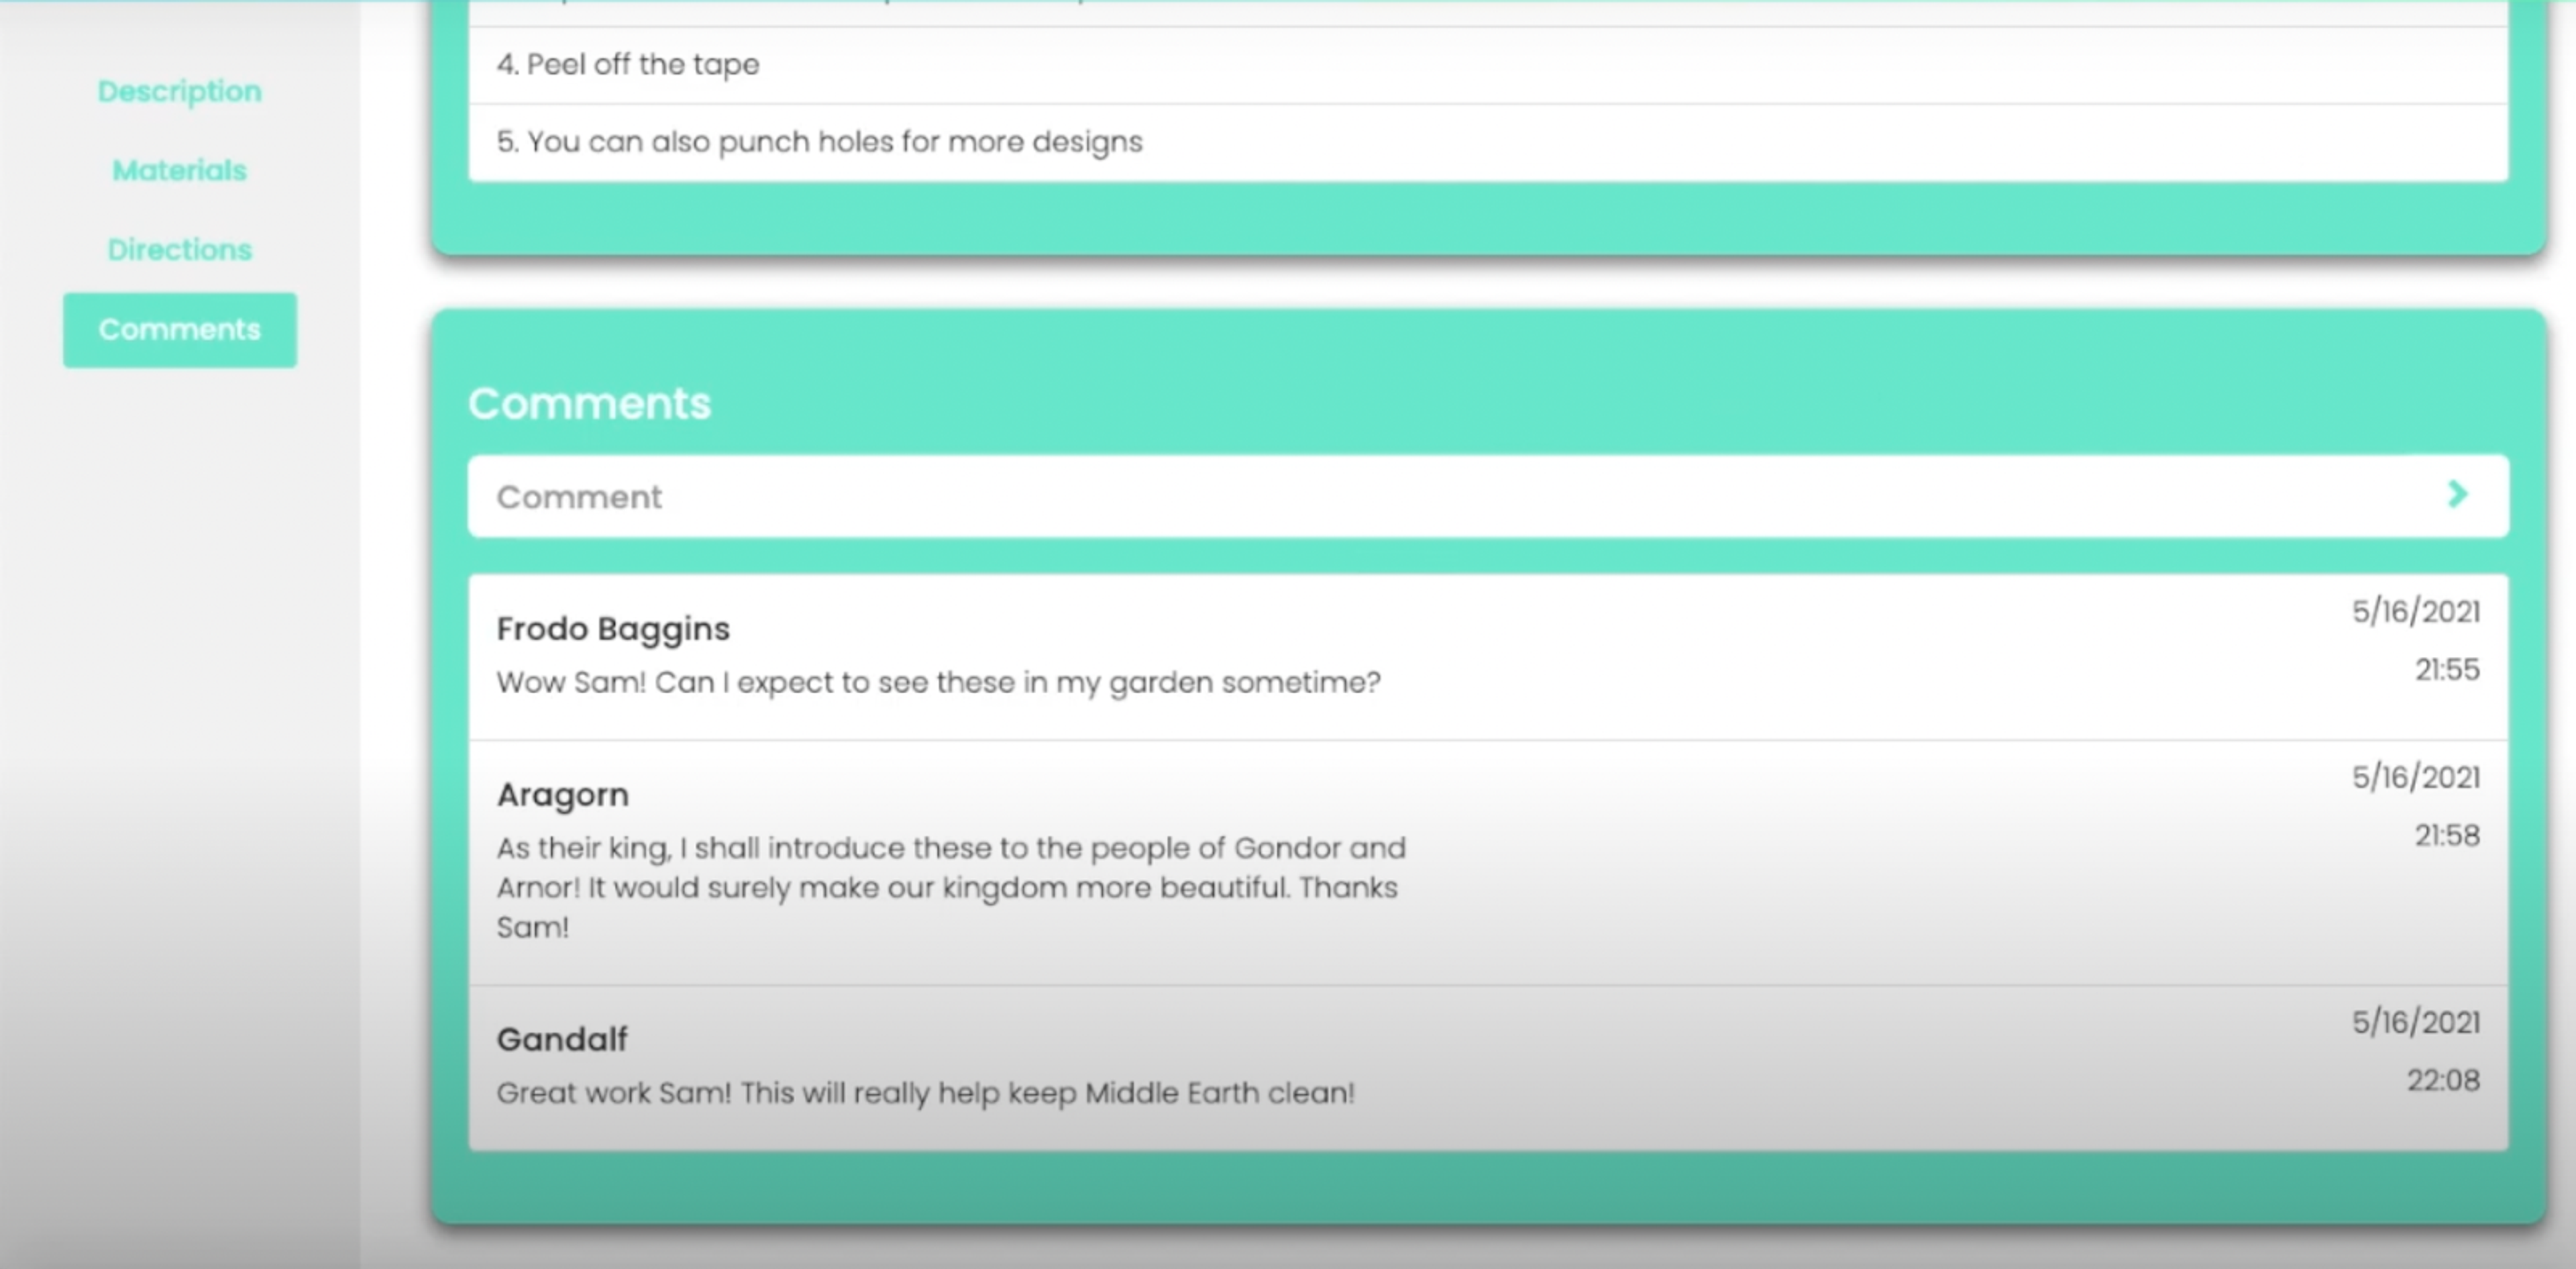
Once you’ve set-up a profile, you’ll then be able to leave comments on posts. To do this, first find a post you want to comment on (see ‘how to find a project’ section). The comment section in each post can be found at the bottom of the project page (see example below).
How to create a post
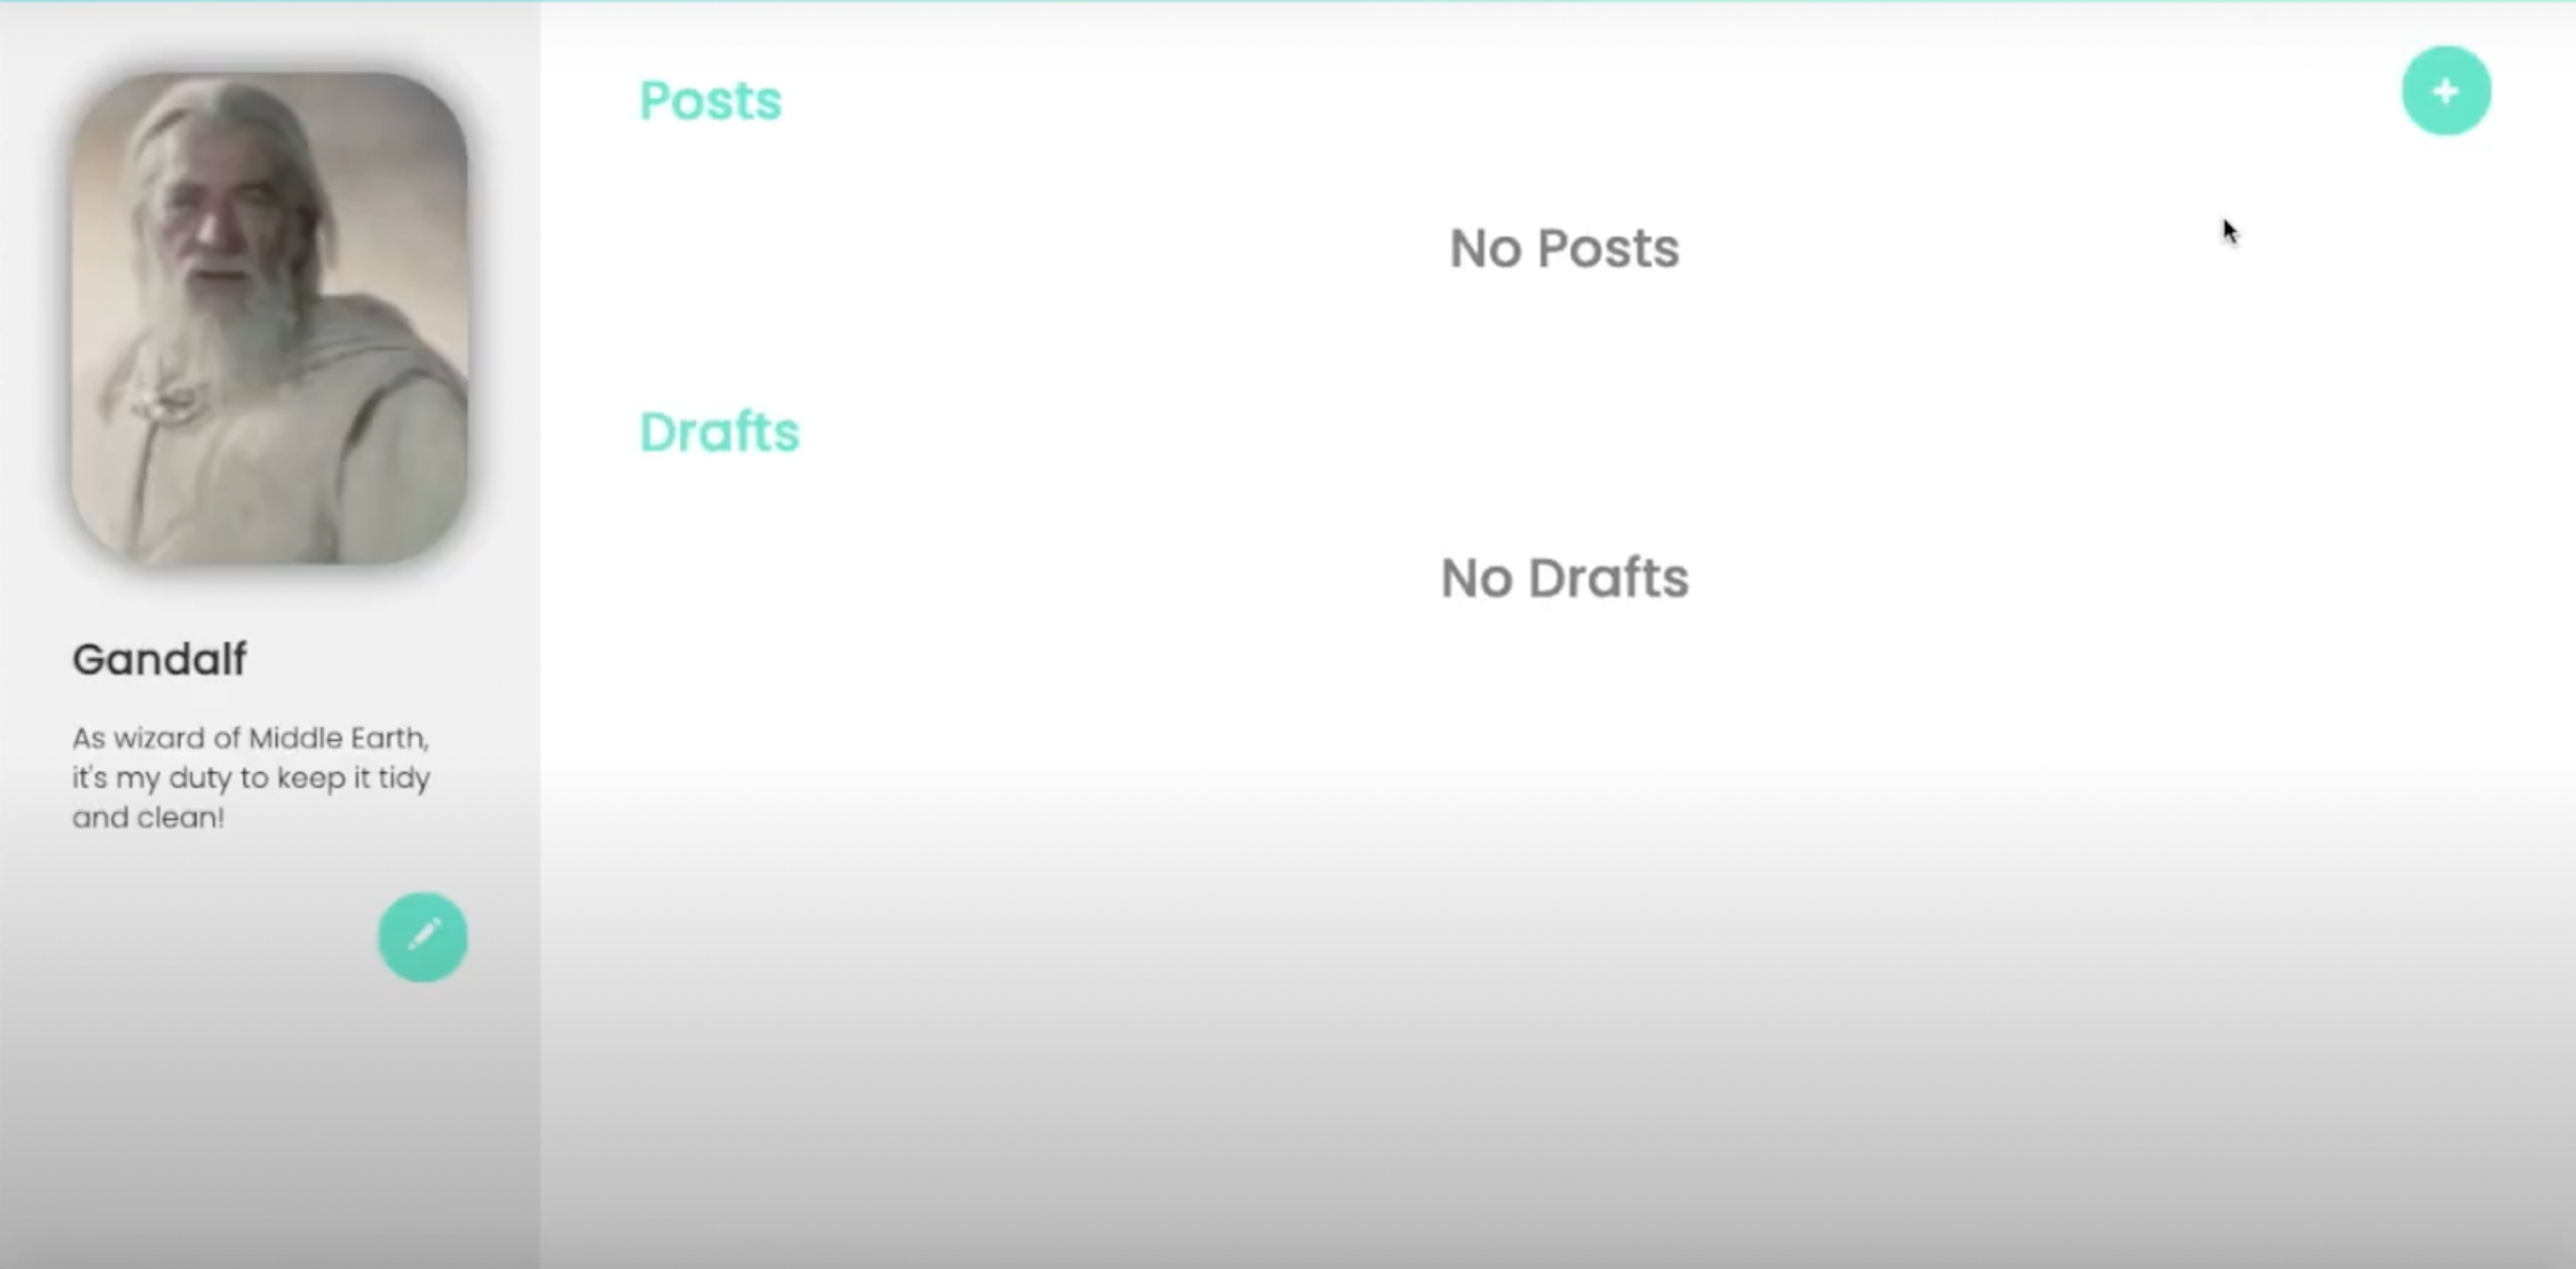
To create a post, you first need to go to your profile dashboard. Click on the ‘+’ sign at the top right hand corner of your profile (see below).
You’ll then be directed to the ‘create a post page.’ From here you’ll see a number of different fields that need to be filled in, ranging from project name to directions through to the materials required to bring this project to life.
Add the details of your project in each section as demonstrated below.
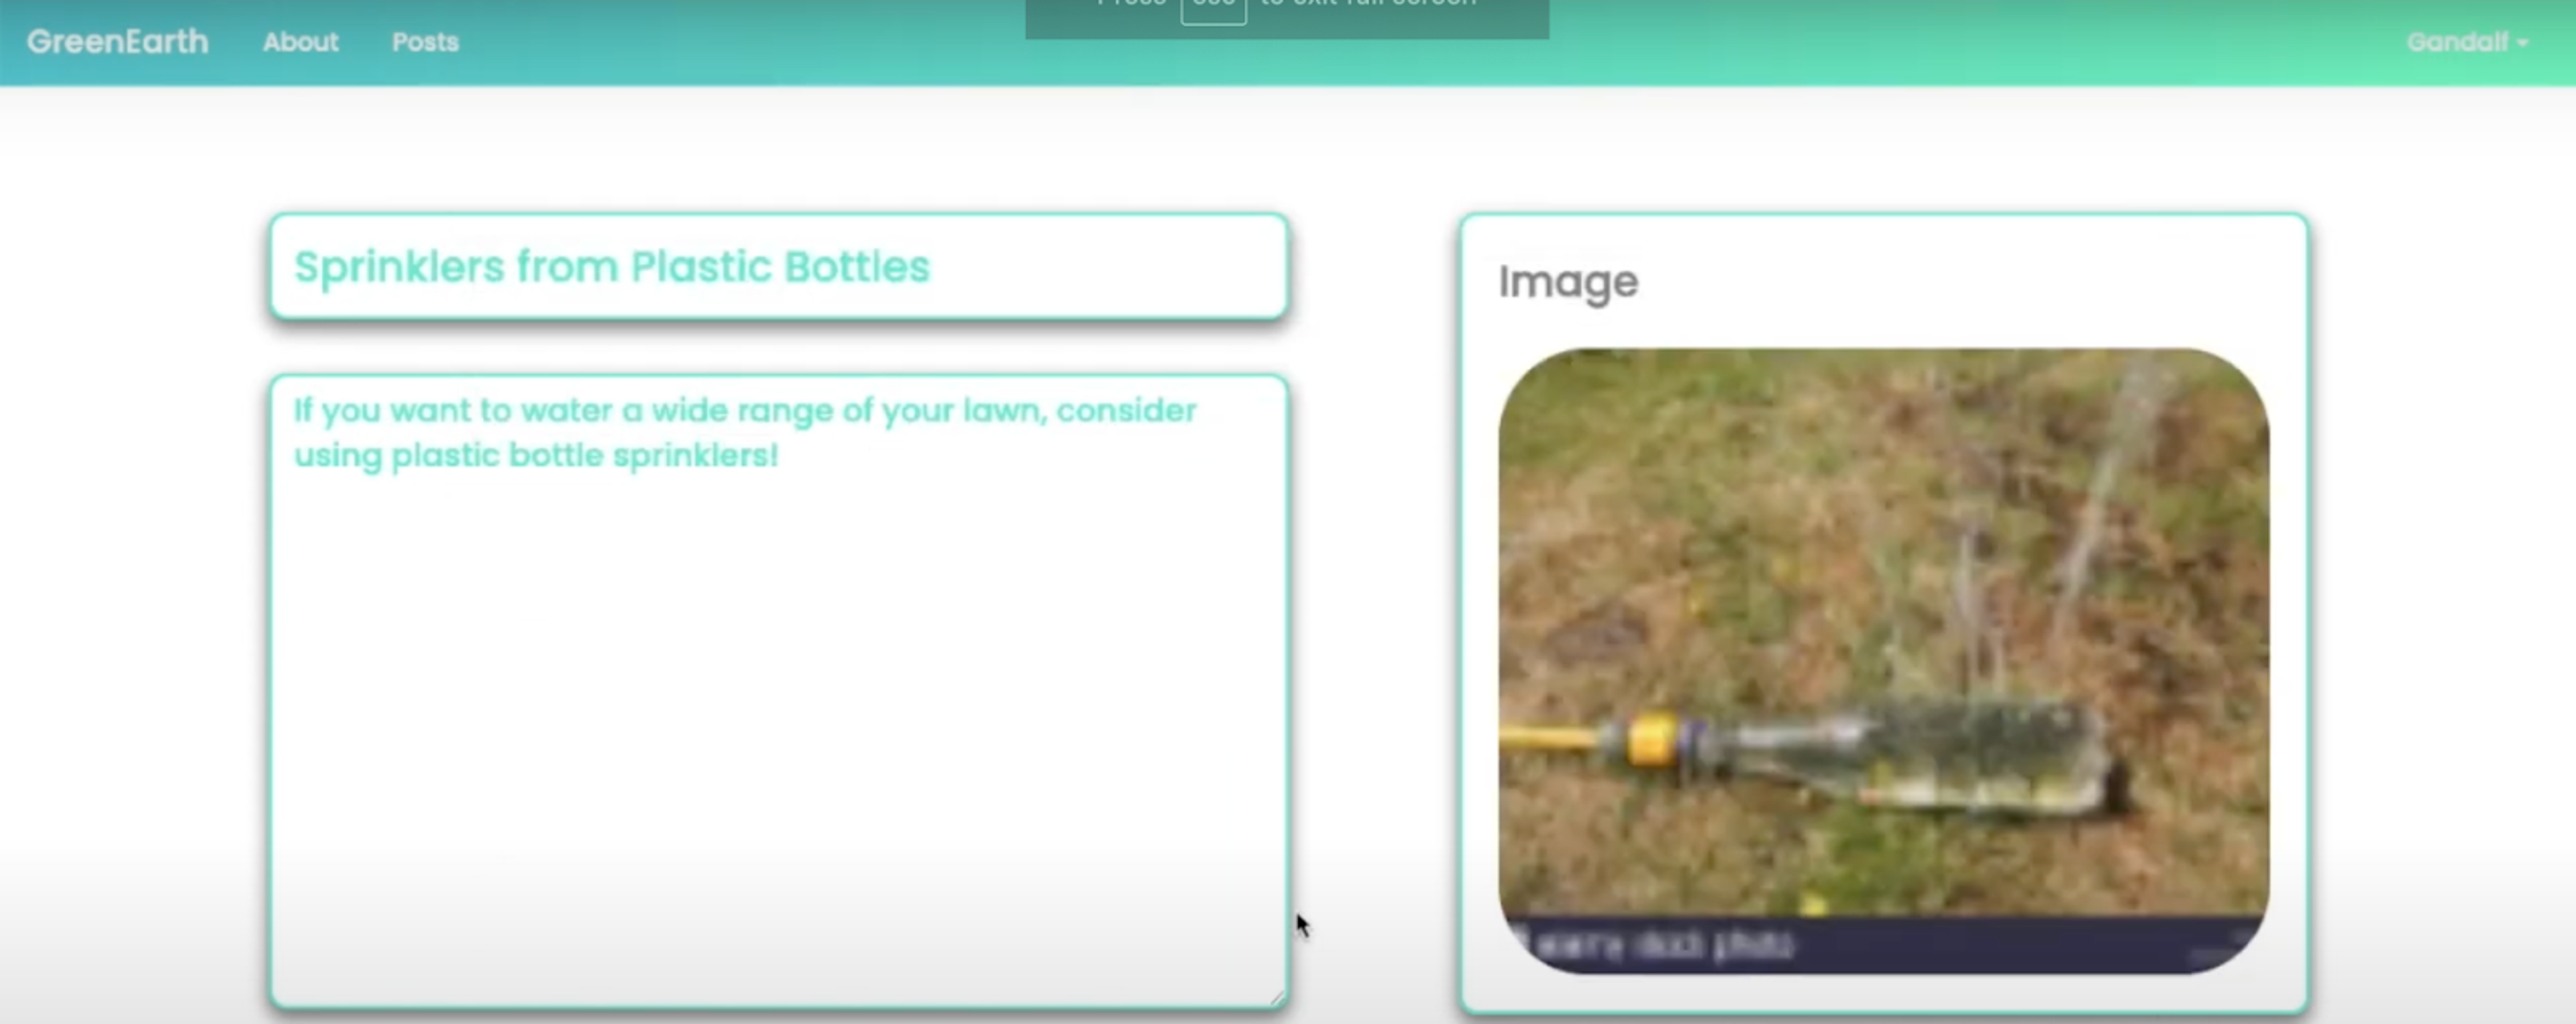
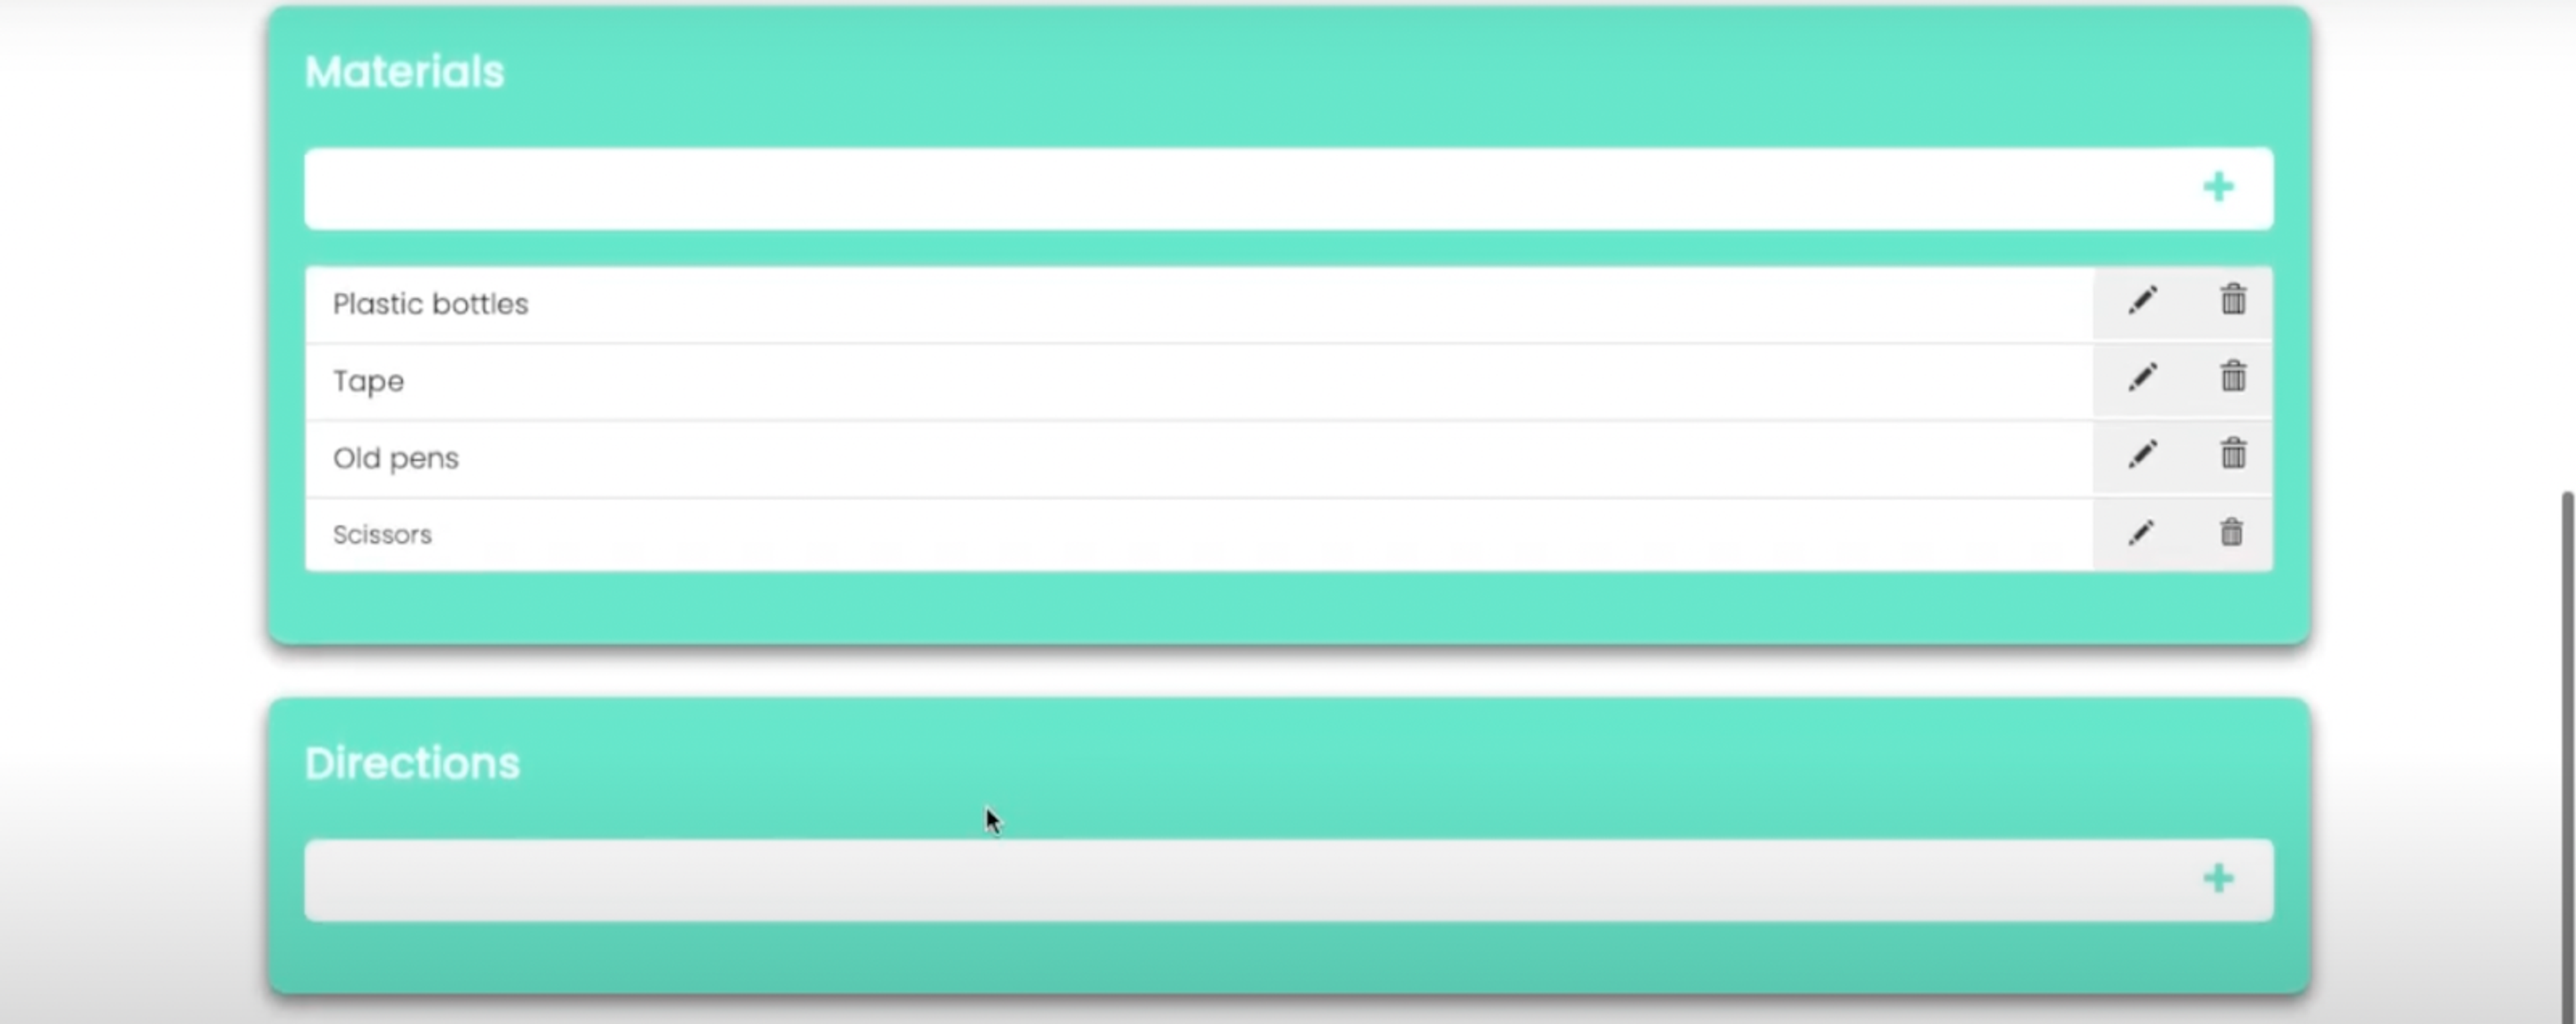
Once you’ve completed each section, you’ll have the option to either delete, save or publish this post at the bottom of the page.
How to edit a post
All of your drafts and posts will be displayed in your profile dashboard.
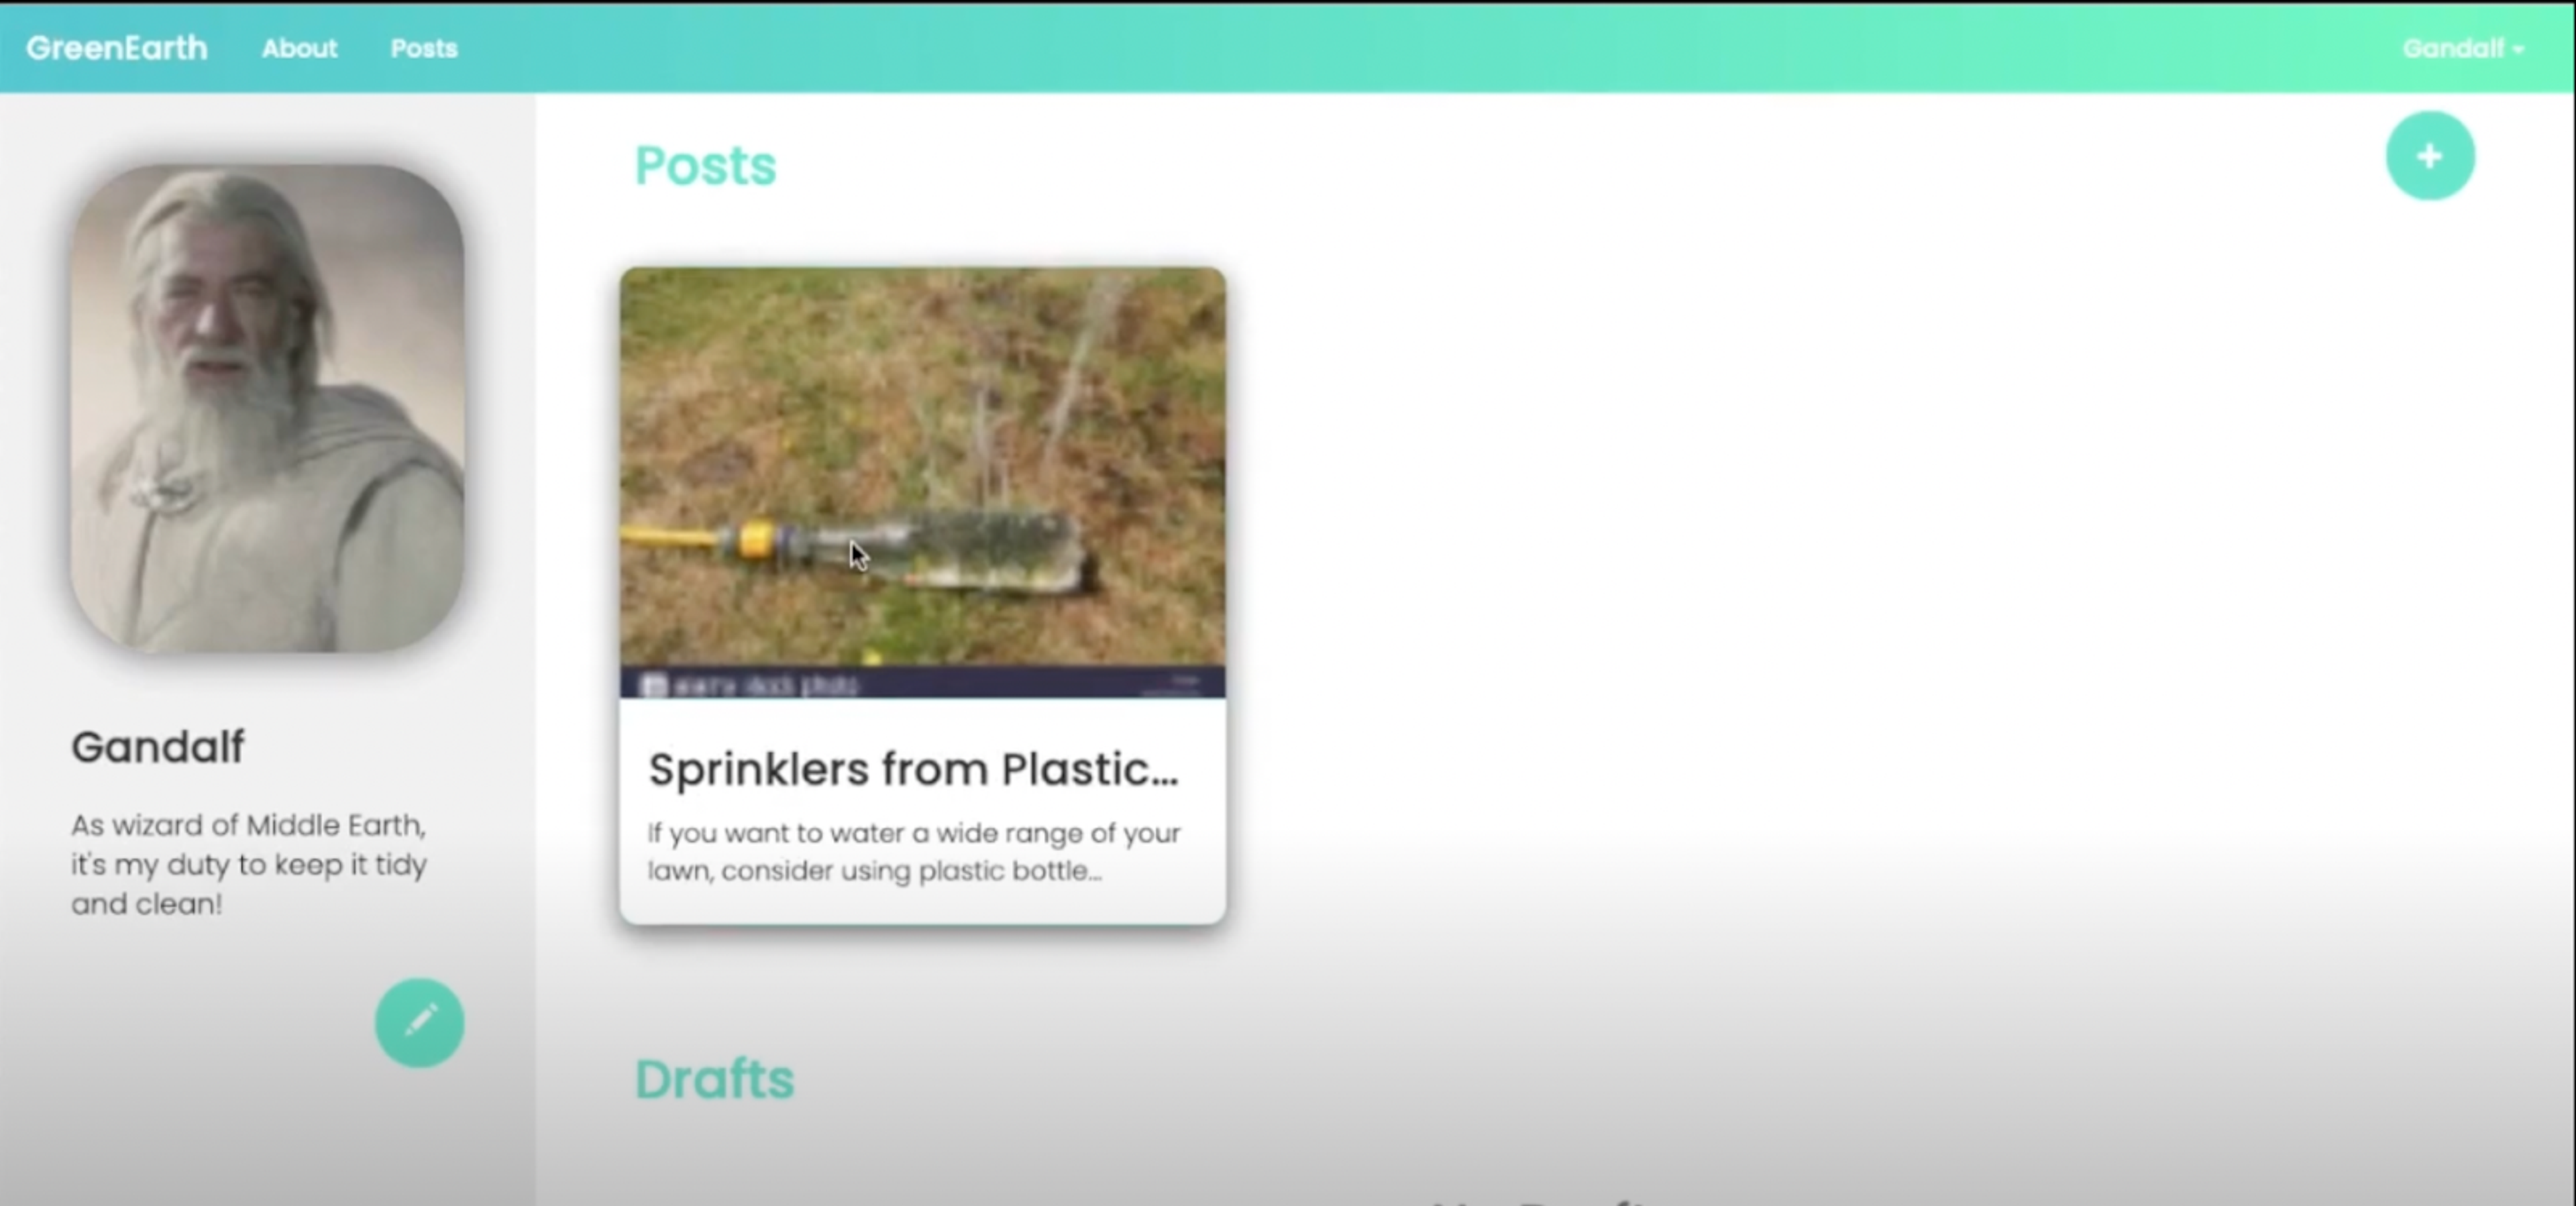
To edit one of these, first, click on the post or draft you want to edit. Next, click on the edit button on the bottom-left-hand side of the page. Alternatively, you can delete the post by clicking on the trash icon next to it.
Conclusion: Championing the green movement with Redis
Climate change is on everyone’s radar, galvanizing people to adopt a greener way of living. But for green initiatives to come to fruition, online platforms need to be efficient and powered by a database that’s capable of transmitting data at great speed.
This is because any delays will hamper the user’s experience and push people away from these platforms. With Redis however, GreenEarth was able to function at such a speed that it enabled all components within the application to become more interconnected.
Thanks to Redis, retrieving user information from the cloud database, along with storing individual user attributes, was an effortless process. From start to finish, everything was carried out with hyper-efficiency.
Who built this app?

Rajesh Ramamurthy
Rajesh is a renowned problem solver in the tech-sphere, providing clients with simple solutions to complex problems.
Make sure to check out his GitHub page to see what other projects he’s been involved with.
If you want to discover more about how this application was deployed, make sure to check out Rajesh’s YouTube video here.
We also have a great selection of different applications for you to check out on the Redis Launchpad where programmers across the globe are harnessing the power of Redis to change everyday lives. Check it out. Be inspired. And join in the fun.
Get started with Redis today
Speak to a Redis expert and learn more about enterprise-grade Redis today.