Blog
How to Build an App That Allows You to Build Real Time Multiplayer Games Using Redis
Online games are rapidly becoming one of the most popular forms of entertainment. The technological boom, along with our increased usage of the internet, has made games more accessible, allowing people from all over the world to compete against each other.
Because of this geographical spread of players, games must operate with a low latency database to allow users to interact with each other in real time. Any instances where there’s a delay between the command and gaming response will create friction and hamper engagement.
Advanced programmer Tinco Andringa took this challenge on and created his own gaming platform, Topscorio. By using Redis, data is sent, processed, and retrieved in real time with exceptional consistency, creating a gaming platform that’s hyper-responsive to player commands.
Let’s take a look at how Tinco put this application together. But before we go any further, we’d like to point out that we have an exciting range of applications for you to check out on the Redis Launchpad. So make sure to give them a peek after this post!
How to Build an App That Allows you to Build Real Time Multiplayer Games
- What will you build?
- What will you need?
- Architecture
- Getting started
- How it works
- How data is stored
- How data is accessed
- Conclusion
1. What will you build?
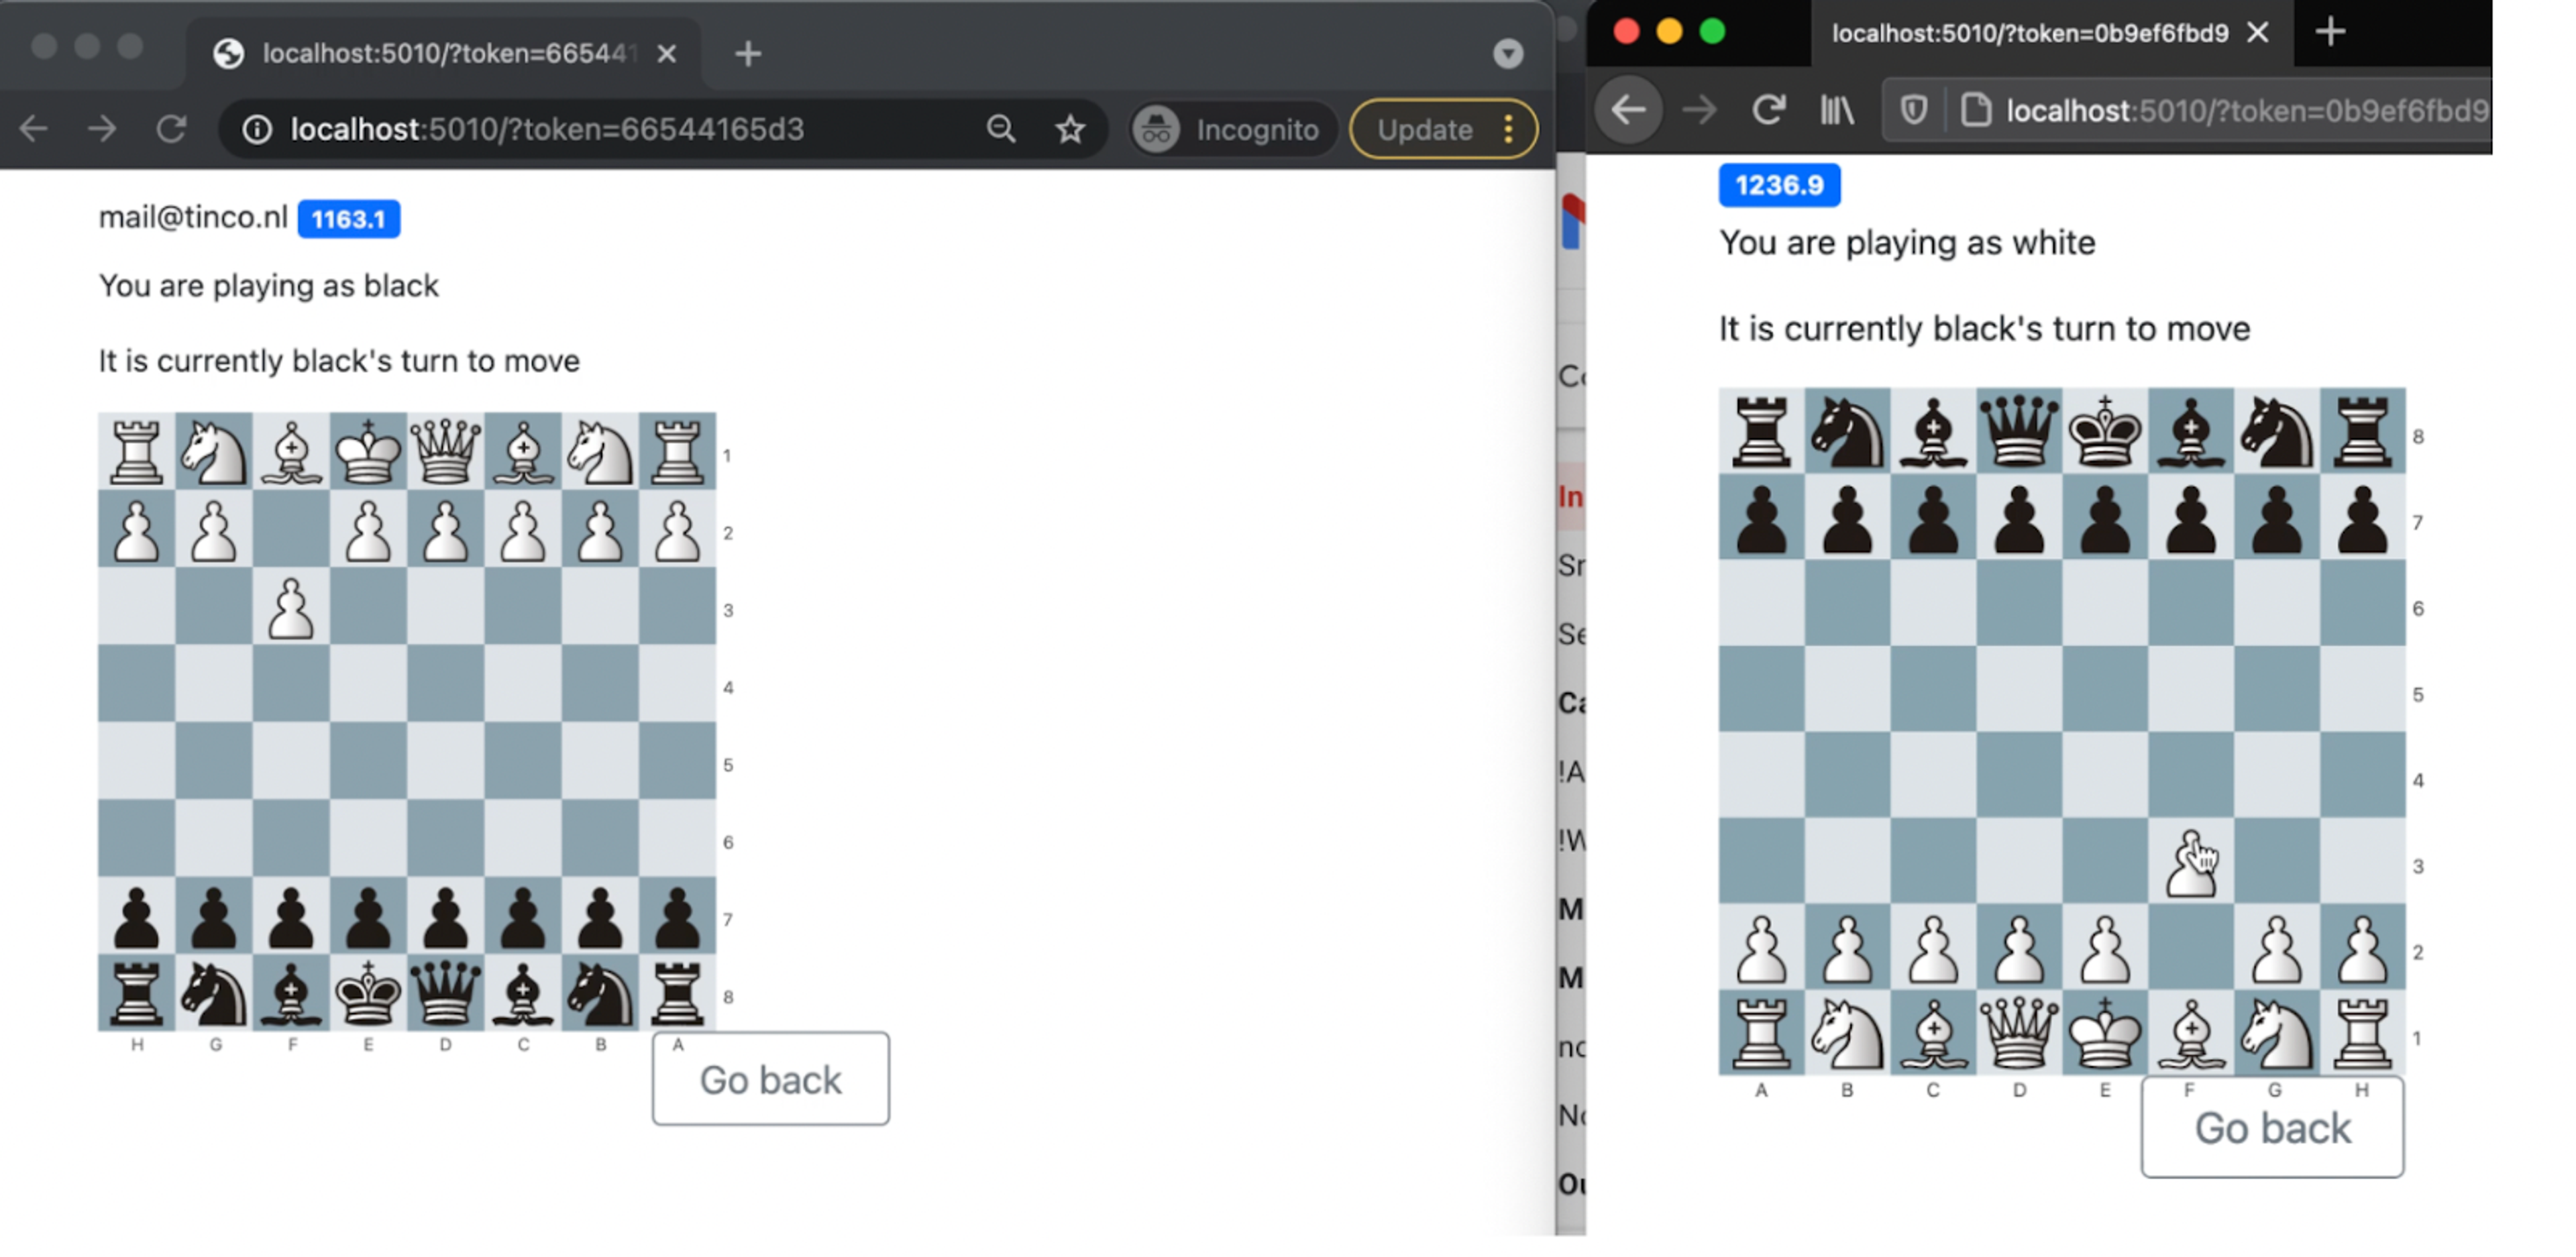
You’ll build an app that will allow developers to create their own online multiplayer game. Topscorio optimizes the gaming experience by keeping track of high scores without having to worry about players cheating and managing big network infrastructures.
Below we’ll show you how to build this application from the bottom up, highlighting what components you’ll need along with its functionality.
2. What will you need?
- JavaScript: Used as the preferred programming language.
- TypeScript: Used as a typed programming language that builds on Javascript.
- Redis: Used as an open-source, in-memory data structure store, database, cache, and message broker.
- RedisJSON: Allows storing, updating, and fetching JSON values from Redis keys
- WebSocket.IO: Used as a library to abstract WebSocket connections.
3. Architecture
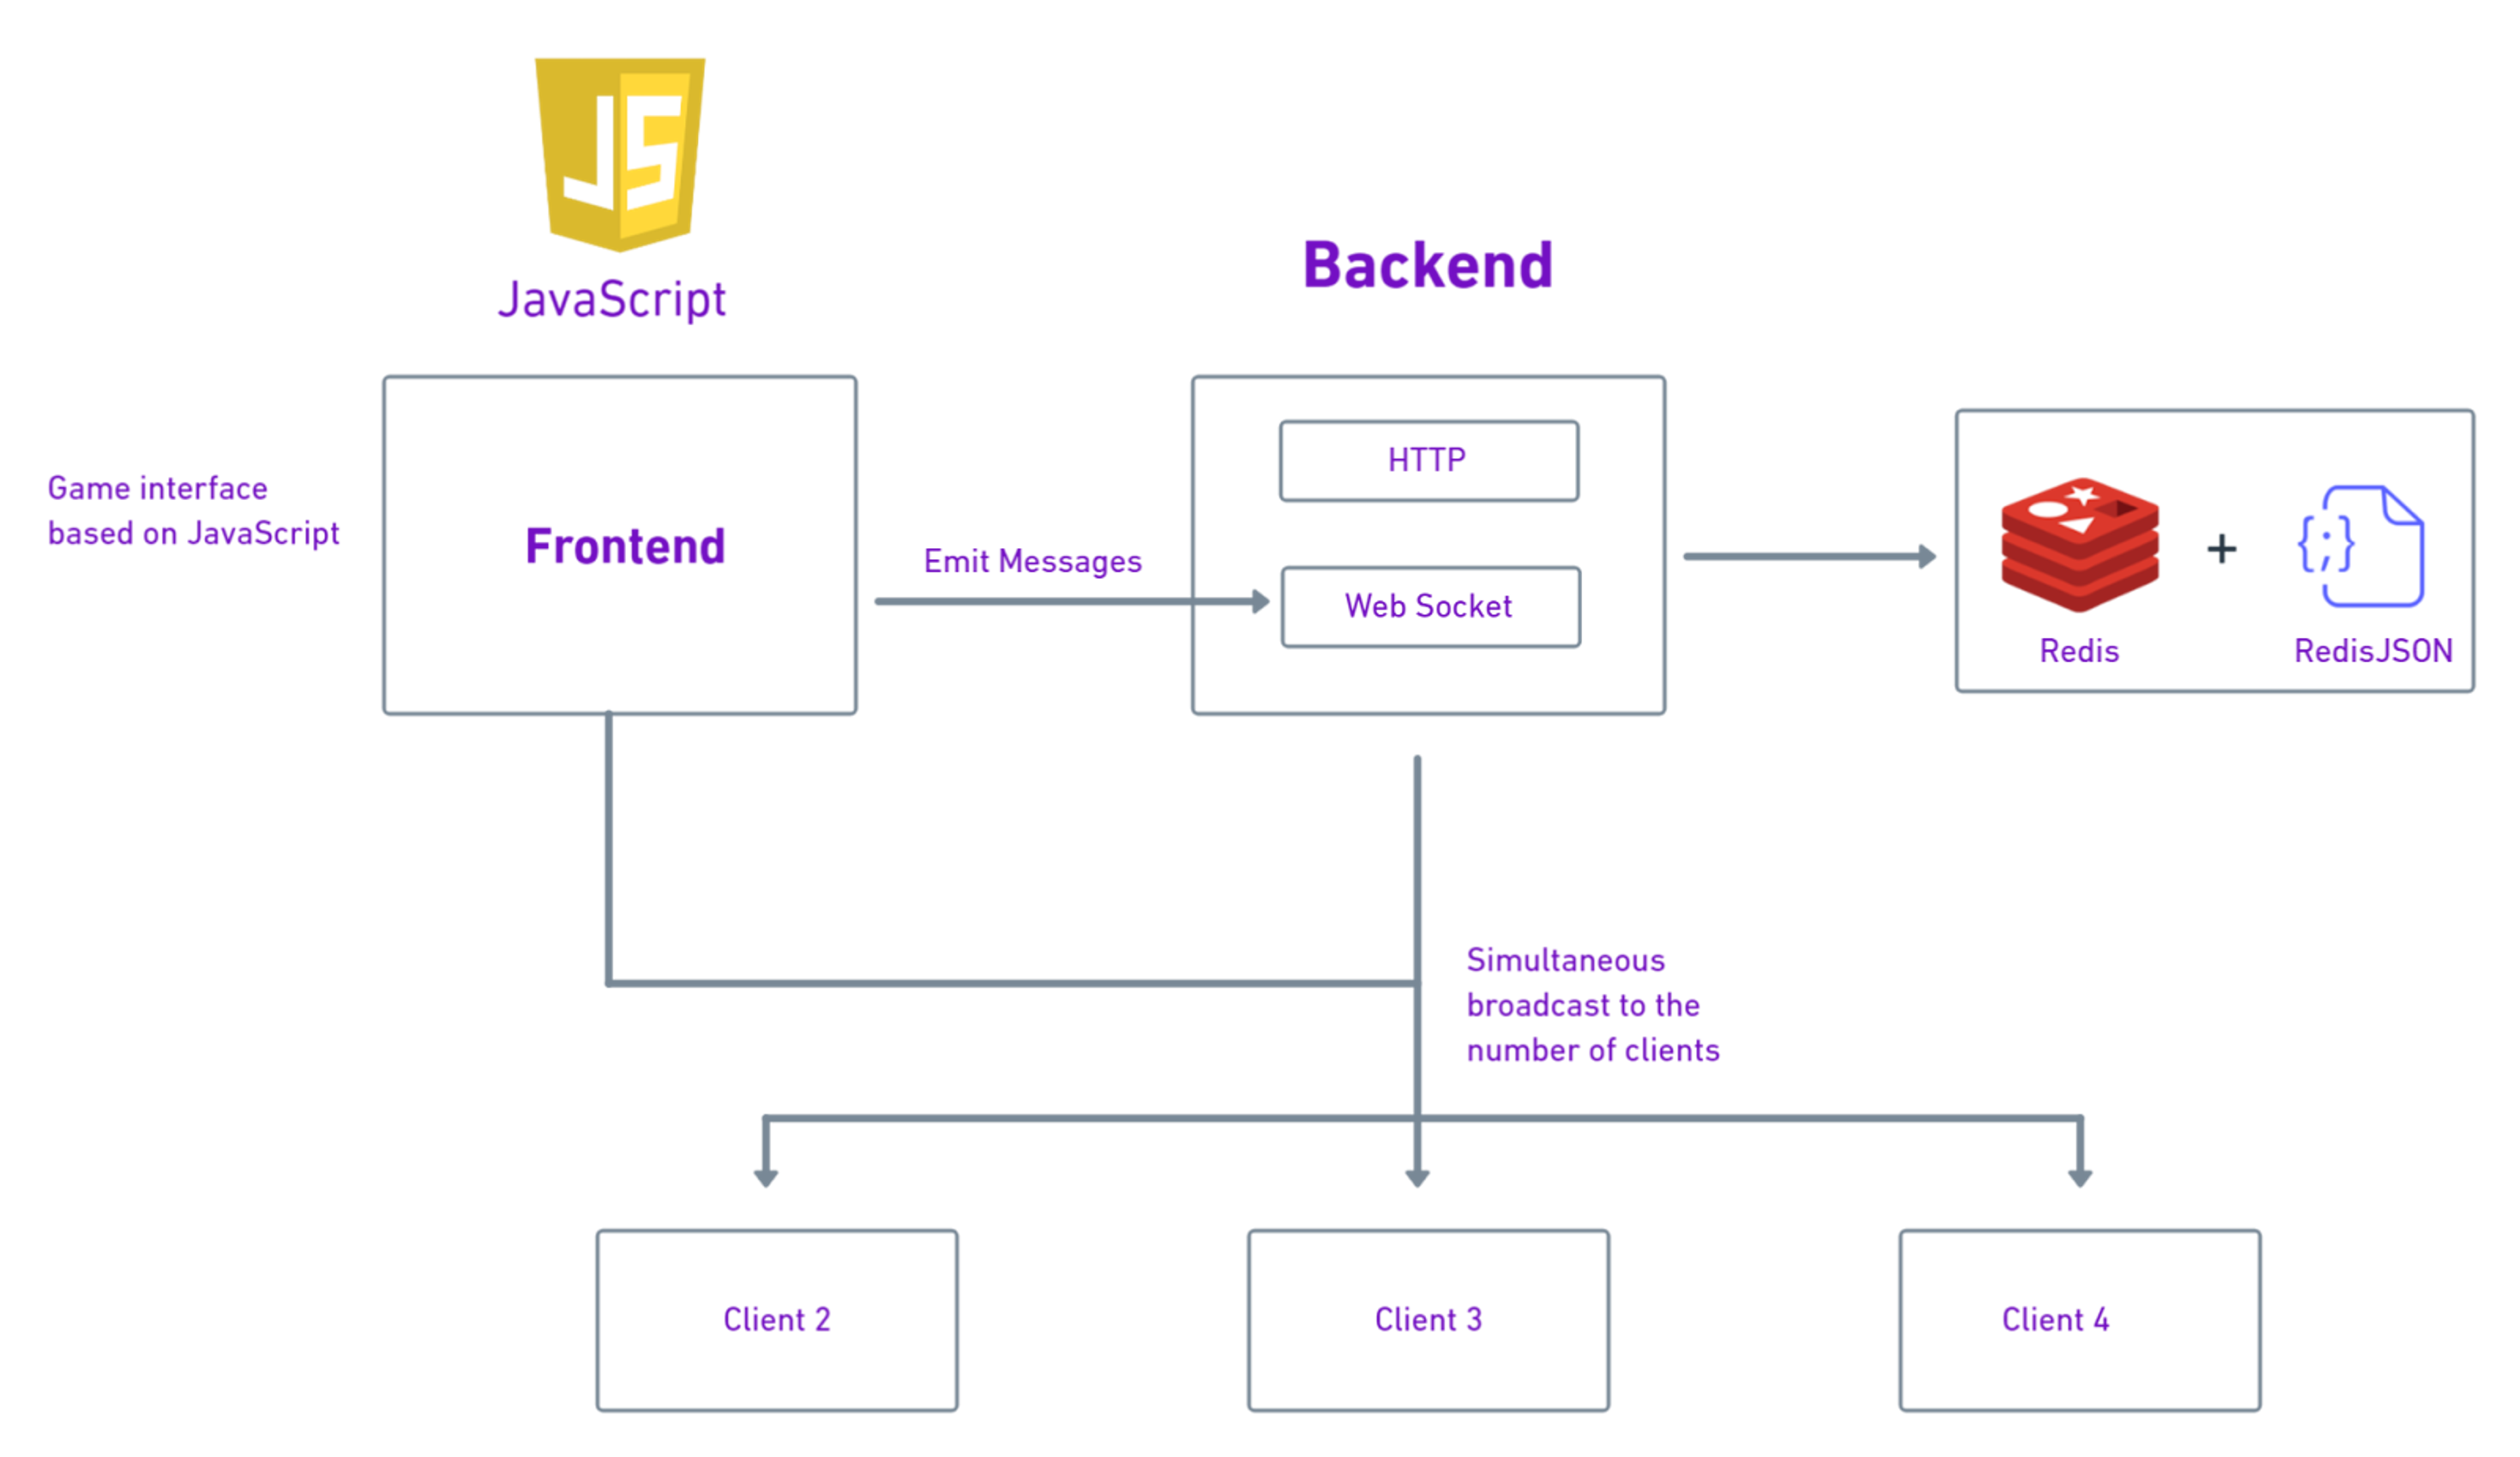
- The frontend connects to the backend through a WebSocket.
- The frontend sends requests to the backend, requesting subscriptions on channels, and executing commands.
- The backend then broadcasts channels to all connected clients and sends messages with updates as responses to client commands.
- User sessions and information are stored in the Redis database with an expiry set.
- Game logs are instances of players using a game together. This is where all game moves and states are saved. Persistence is also recommended here.
4. Getting started
Prerequisite:
- Git
- NPM
- Sendgrid API configured via https://app.sendgrid.com/settings/api_keys
- Redis Enterprise Cloud Subscription
Step 1: Clone the repository
git clone https://github.com/redis-developer/topscorio
Step 2. Set up Redis Enterprise Cloud
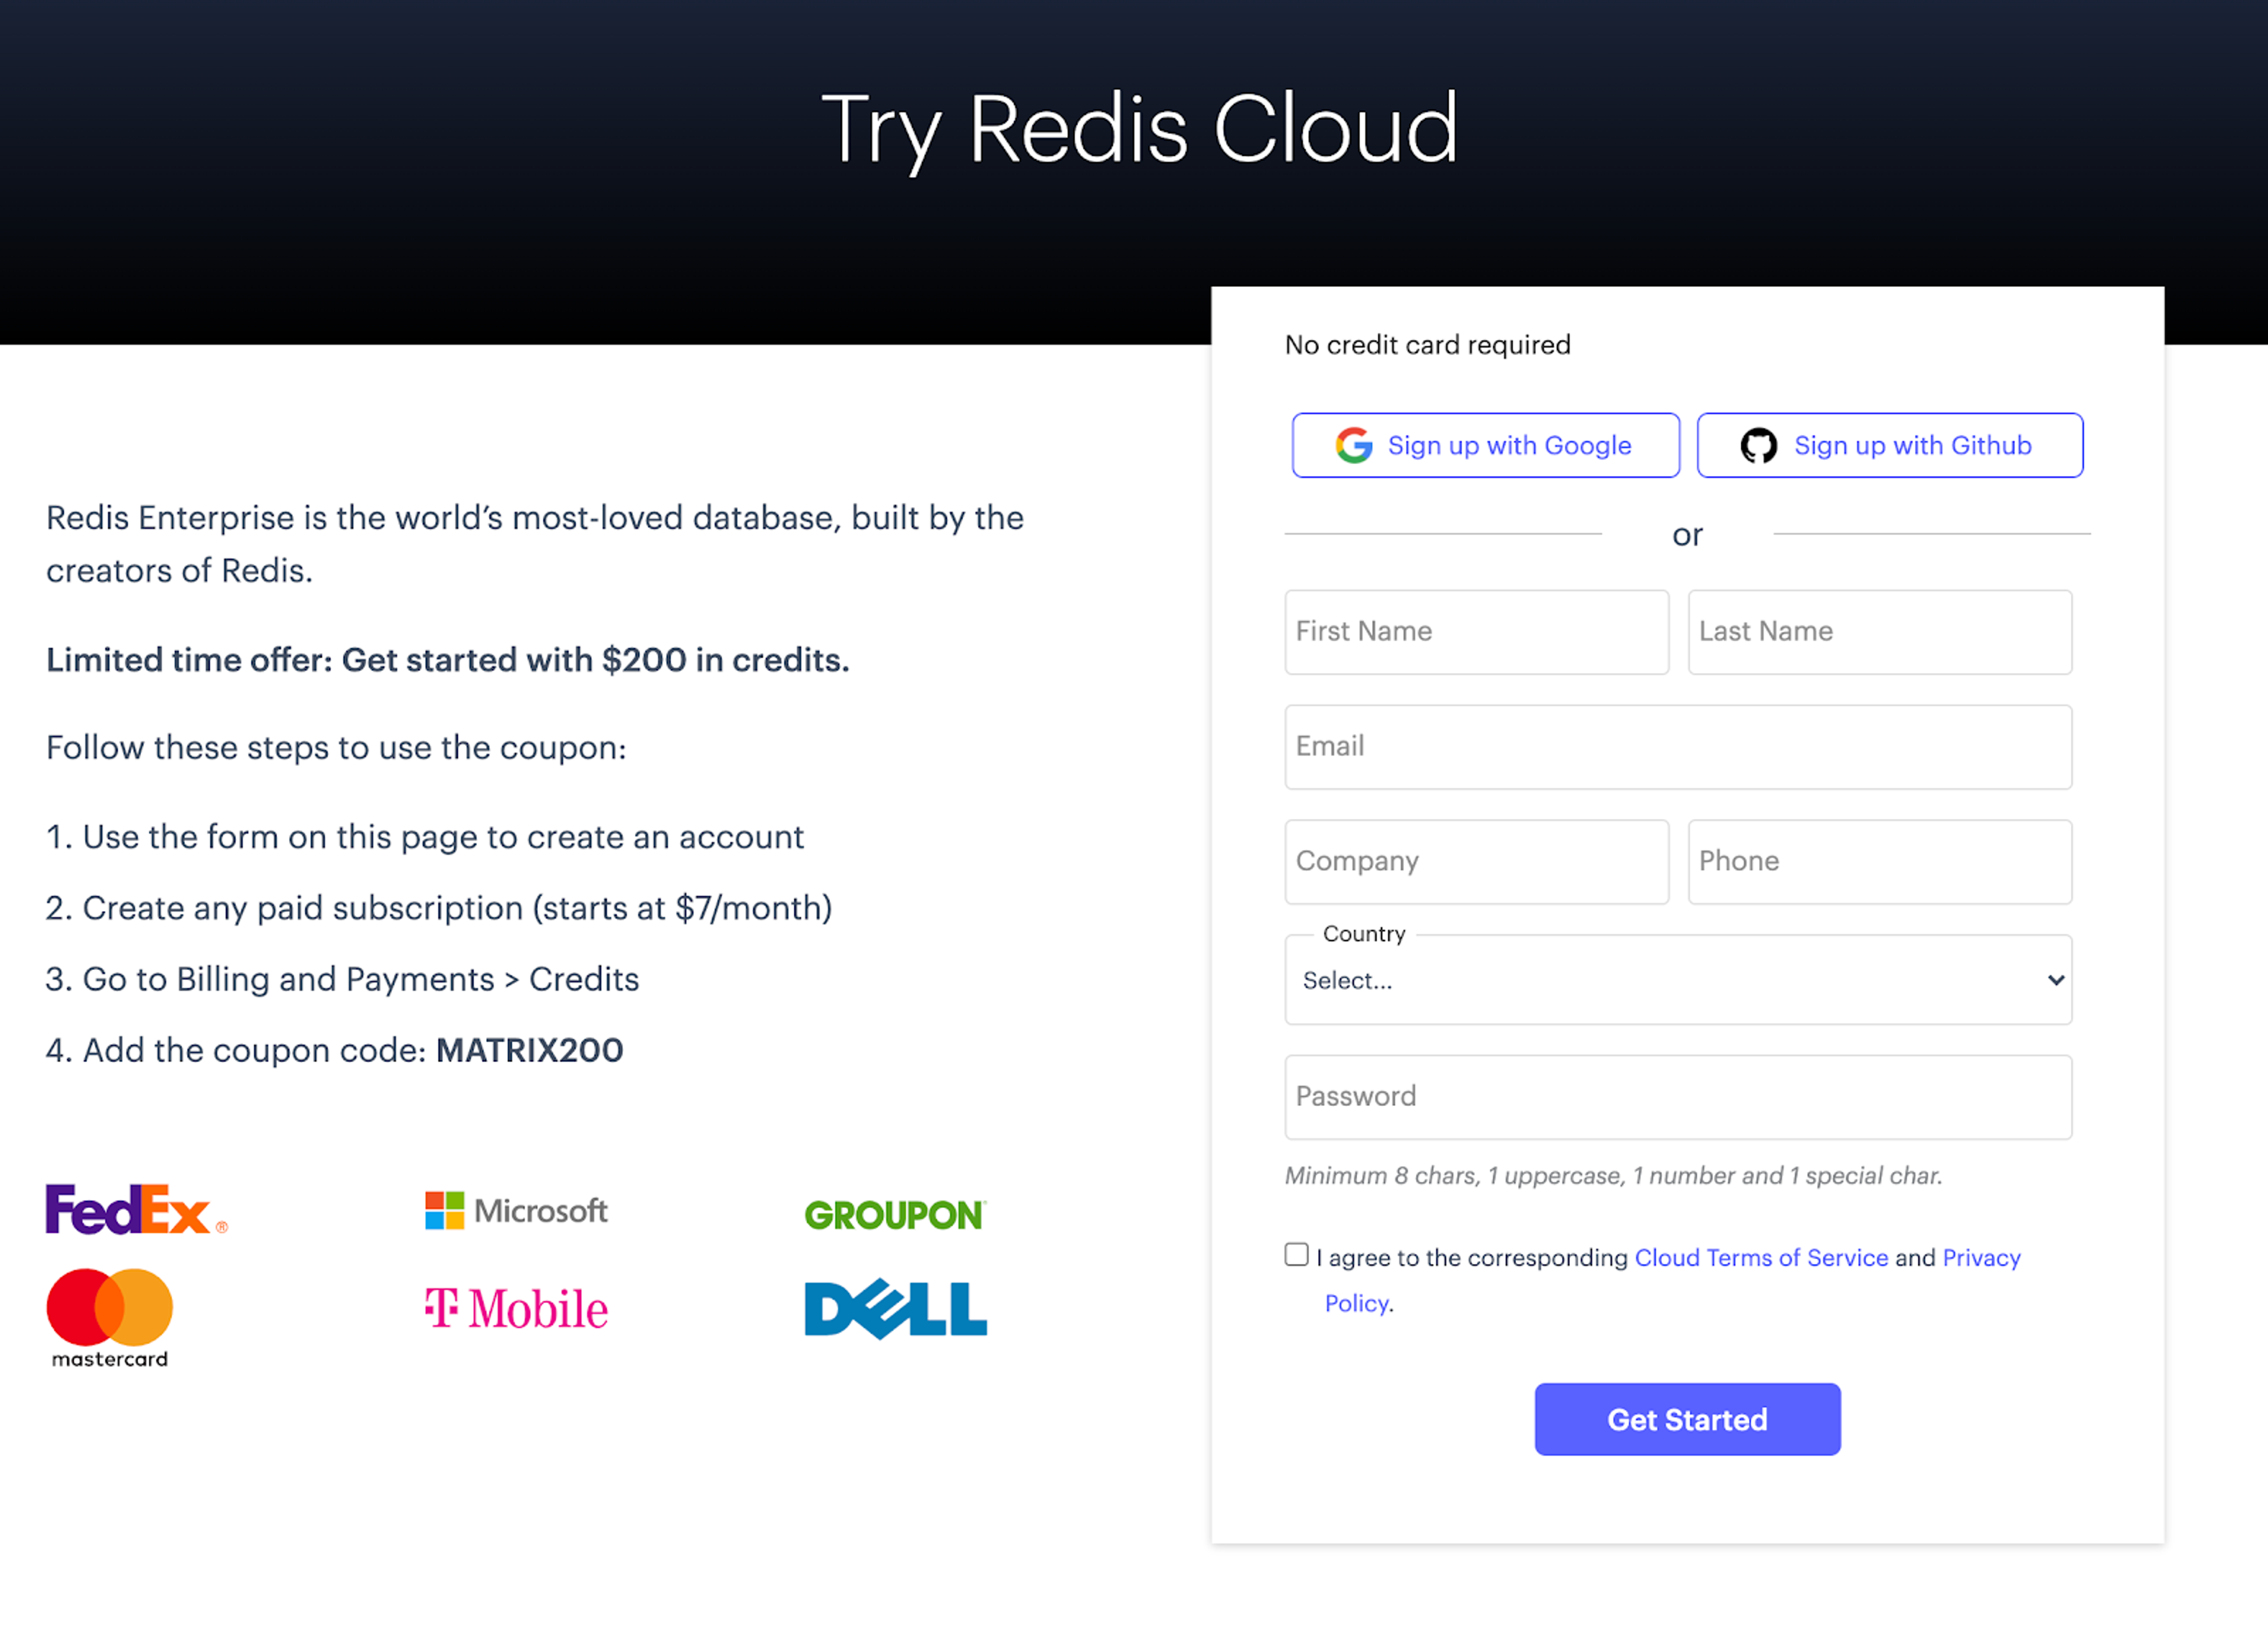
Create your free Redis Enterprise Cloud account. Once you click on ‘Get Started,’ you’ll receive an email with a link to activate your account and complete the signup process.
Step 3. Create your subscription
Next, you’ll have to create a Redis Enterprise Cloud subscription. In the Redis Enterprise Cloud menu, click ‘Create your Subscription.’
Follow https://docs.redis.com/latest/rc/rc-quickstart/ to create Redis Enterprise Cloud with RedisJSON module enabled.
Step 4. Enter database details
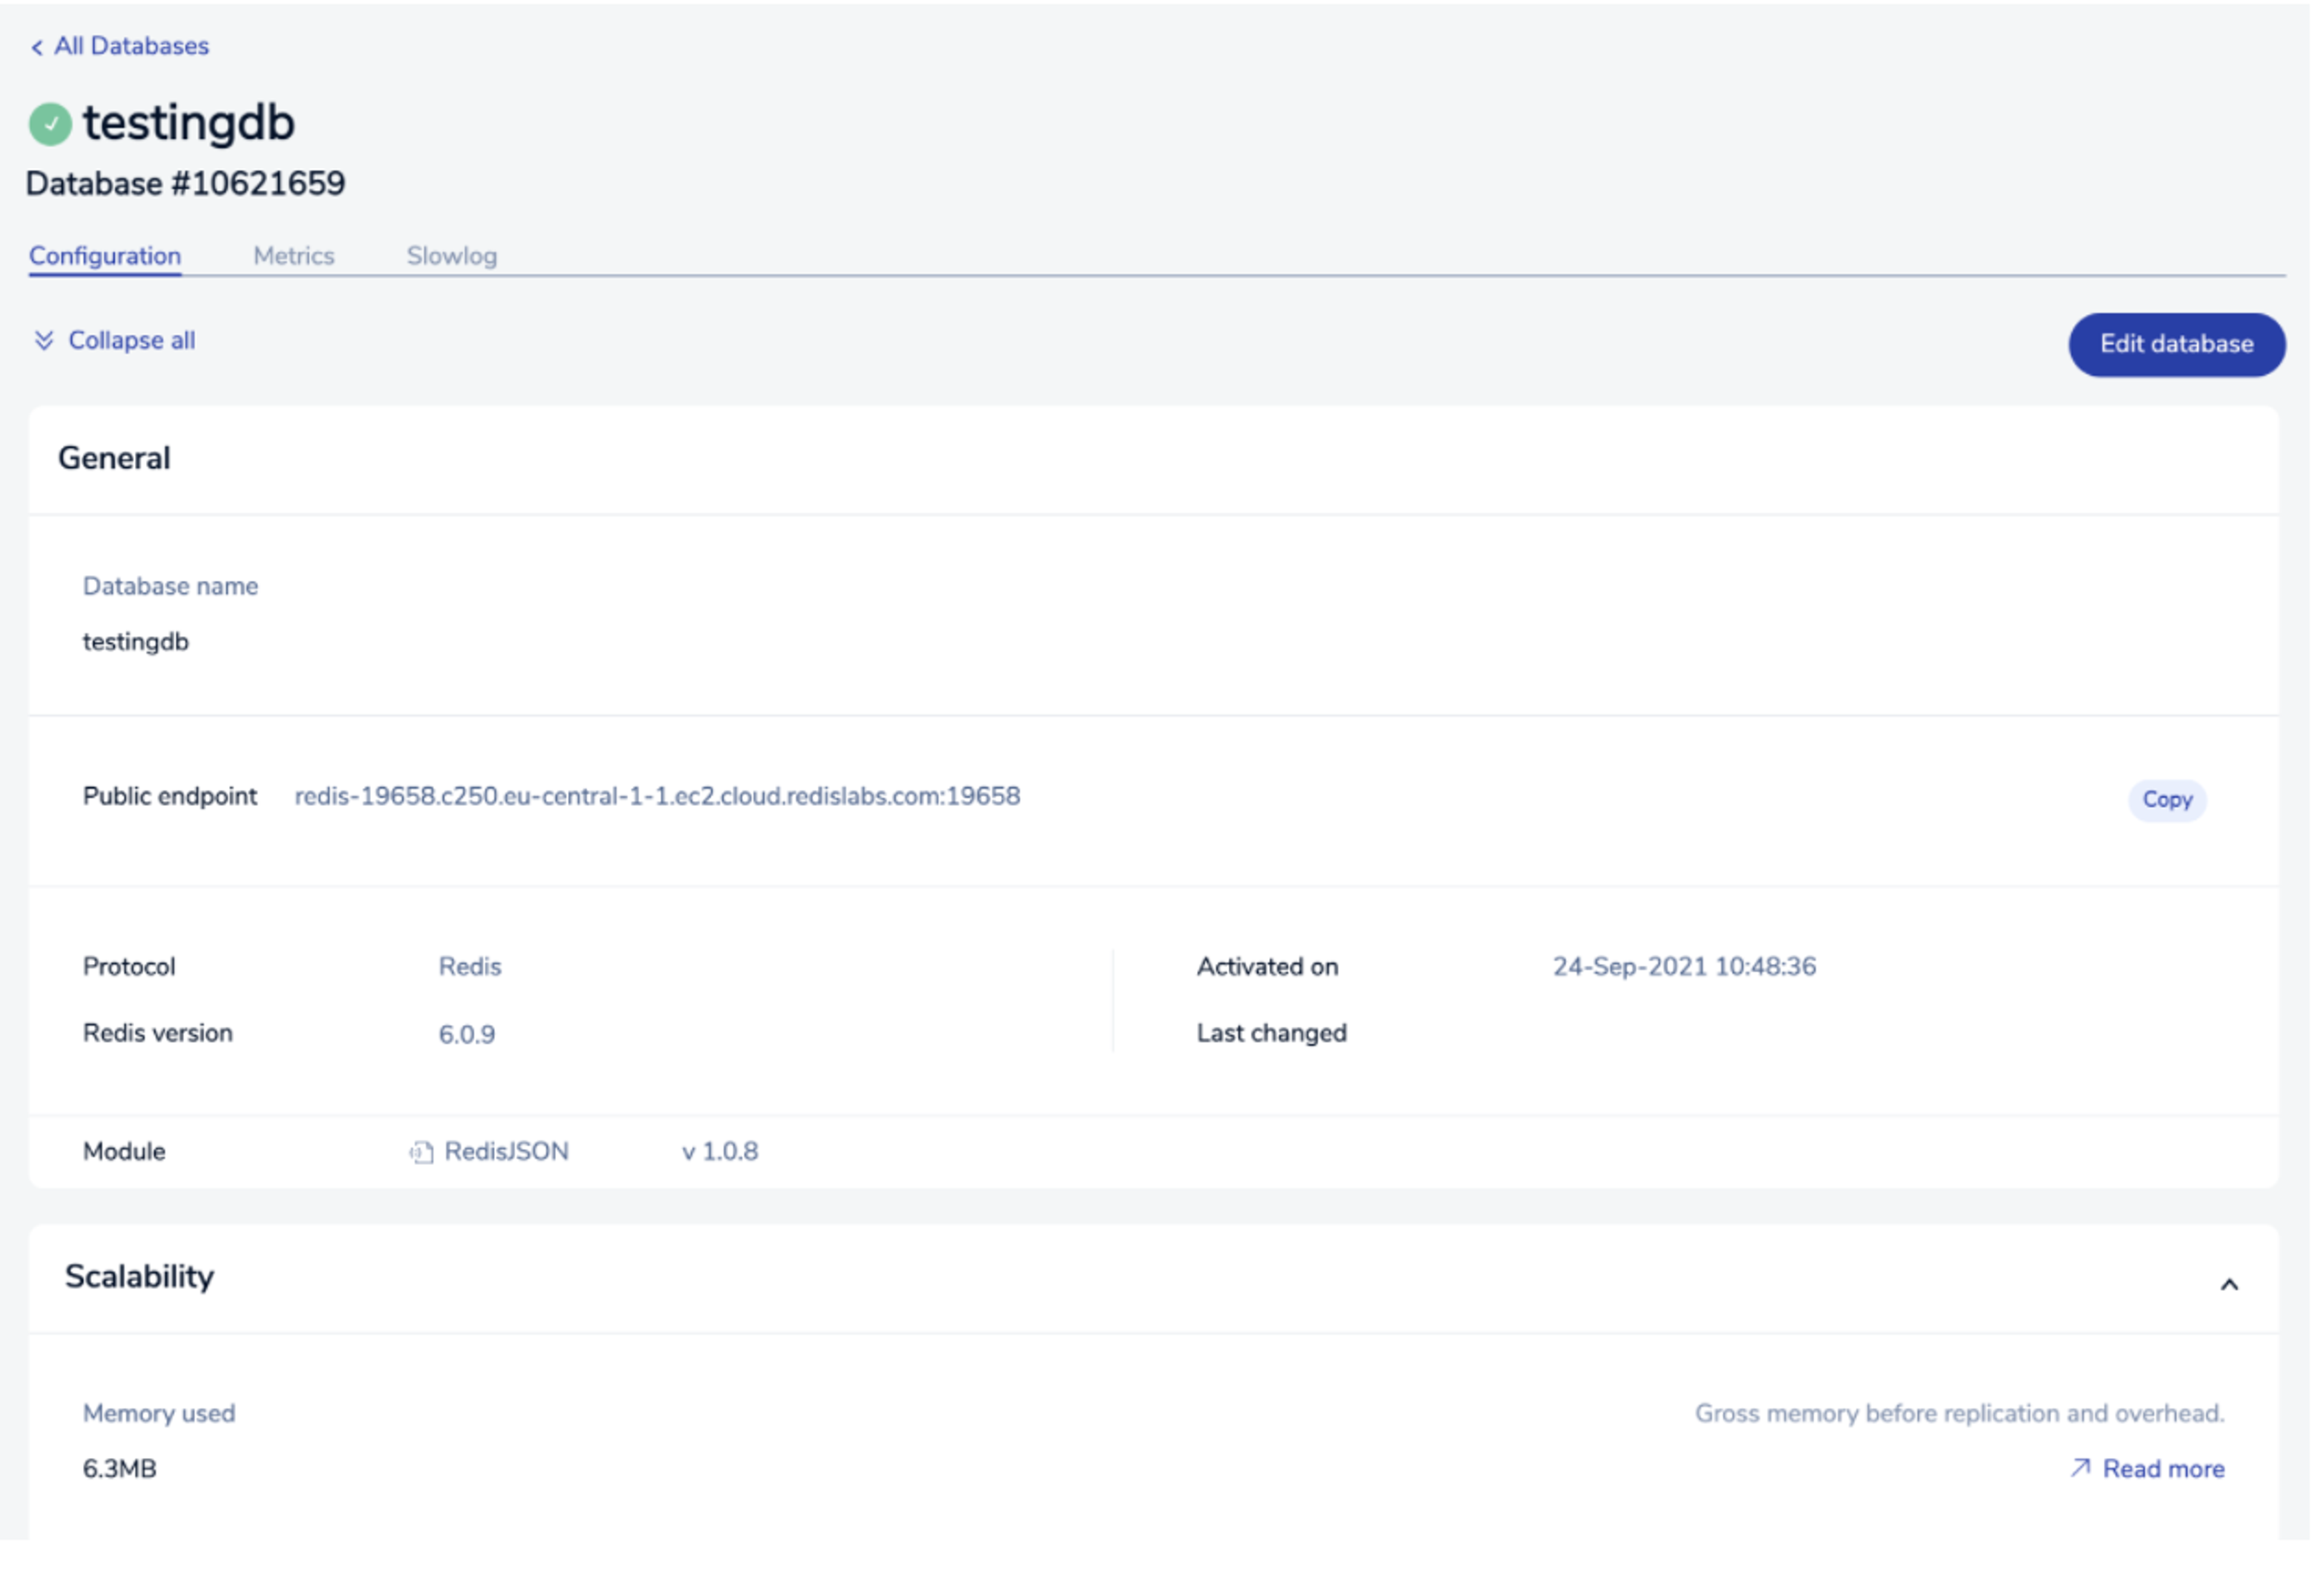
Click ‘Create Database’. Enter the database name and choose RedisJSON module.
Step 5. Set up environmental variables
Create an empty .env file and add the below parameters:
Fill in database addresses, passwords, and the sendgrid API key as needed.
Then in one terminal run:
Then, in another terminal, run the following command:
And navigate to http://localhost:5010 in your browser.
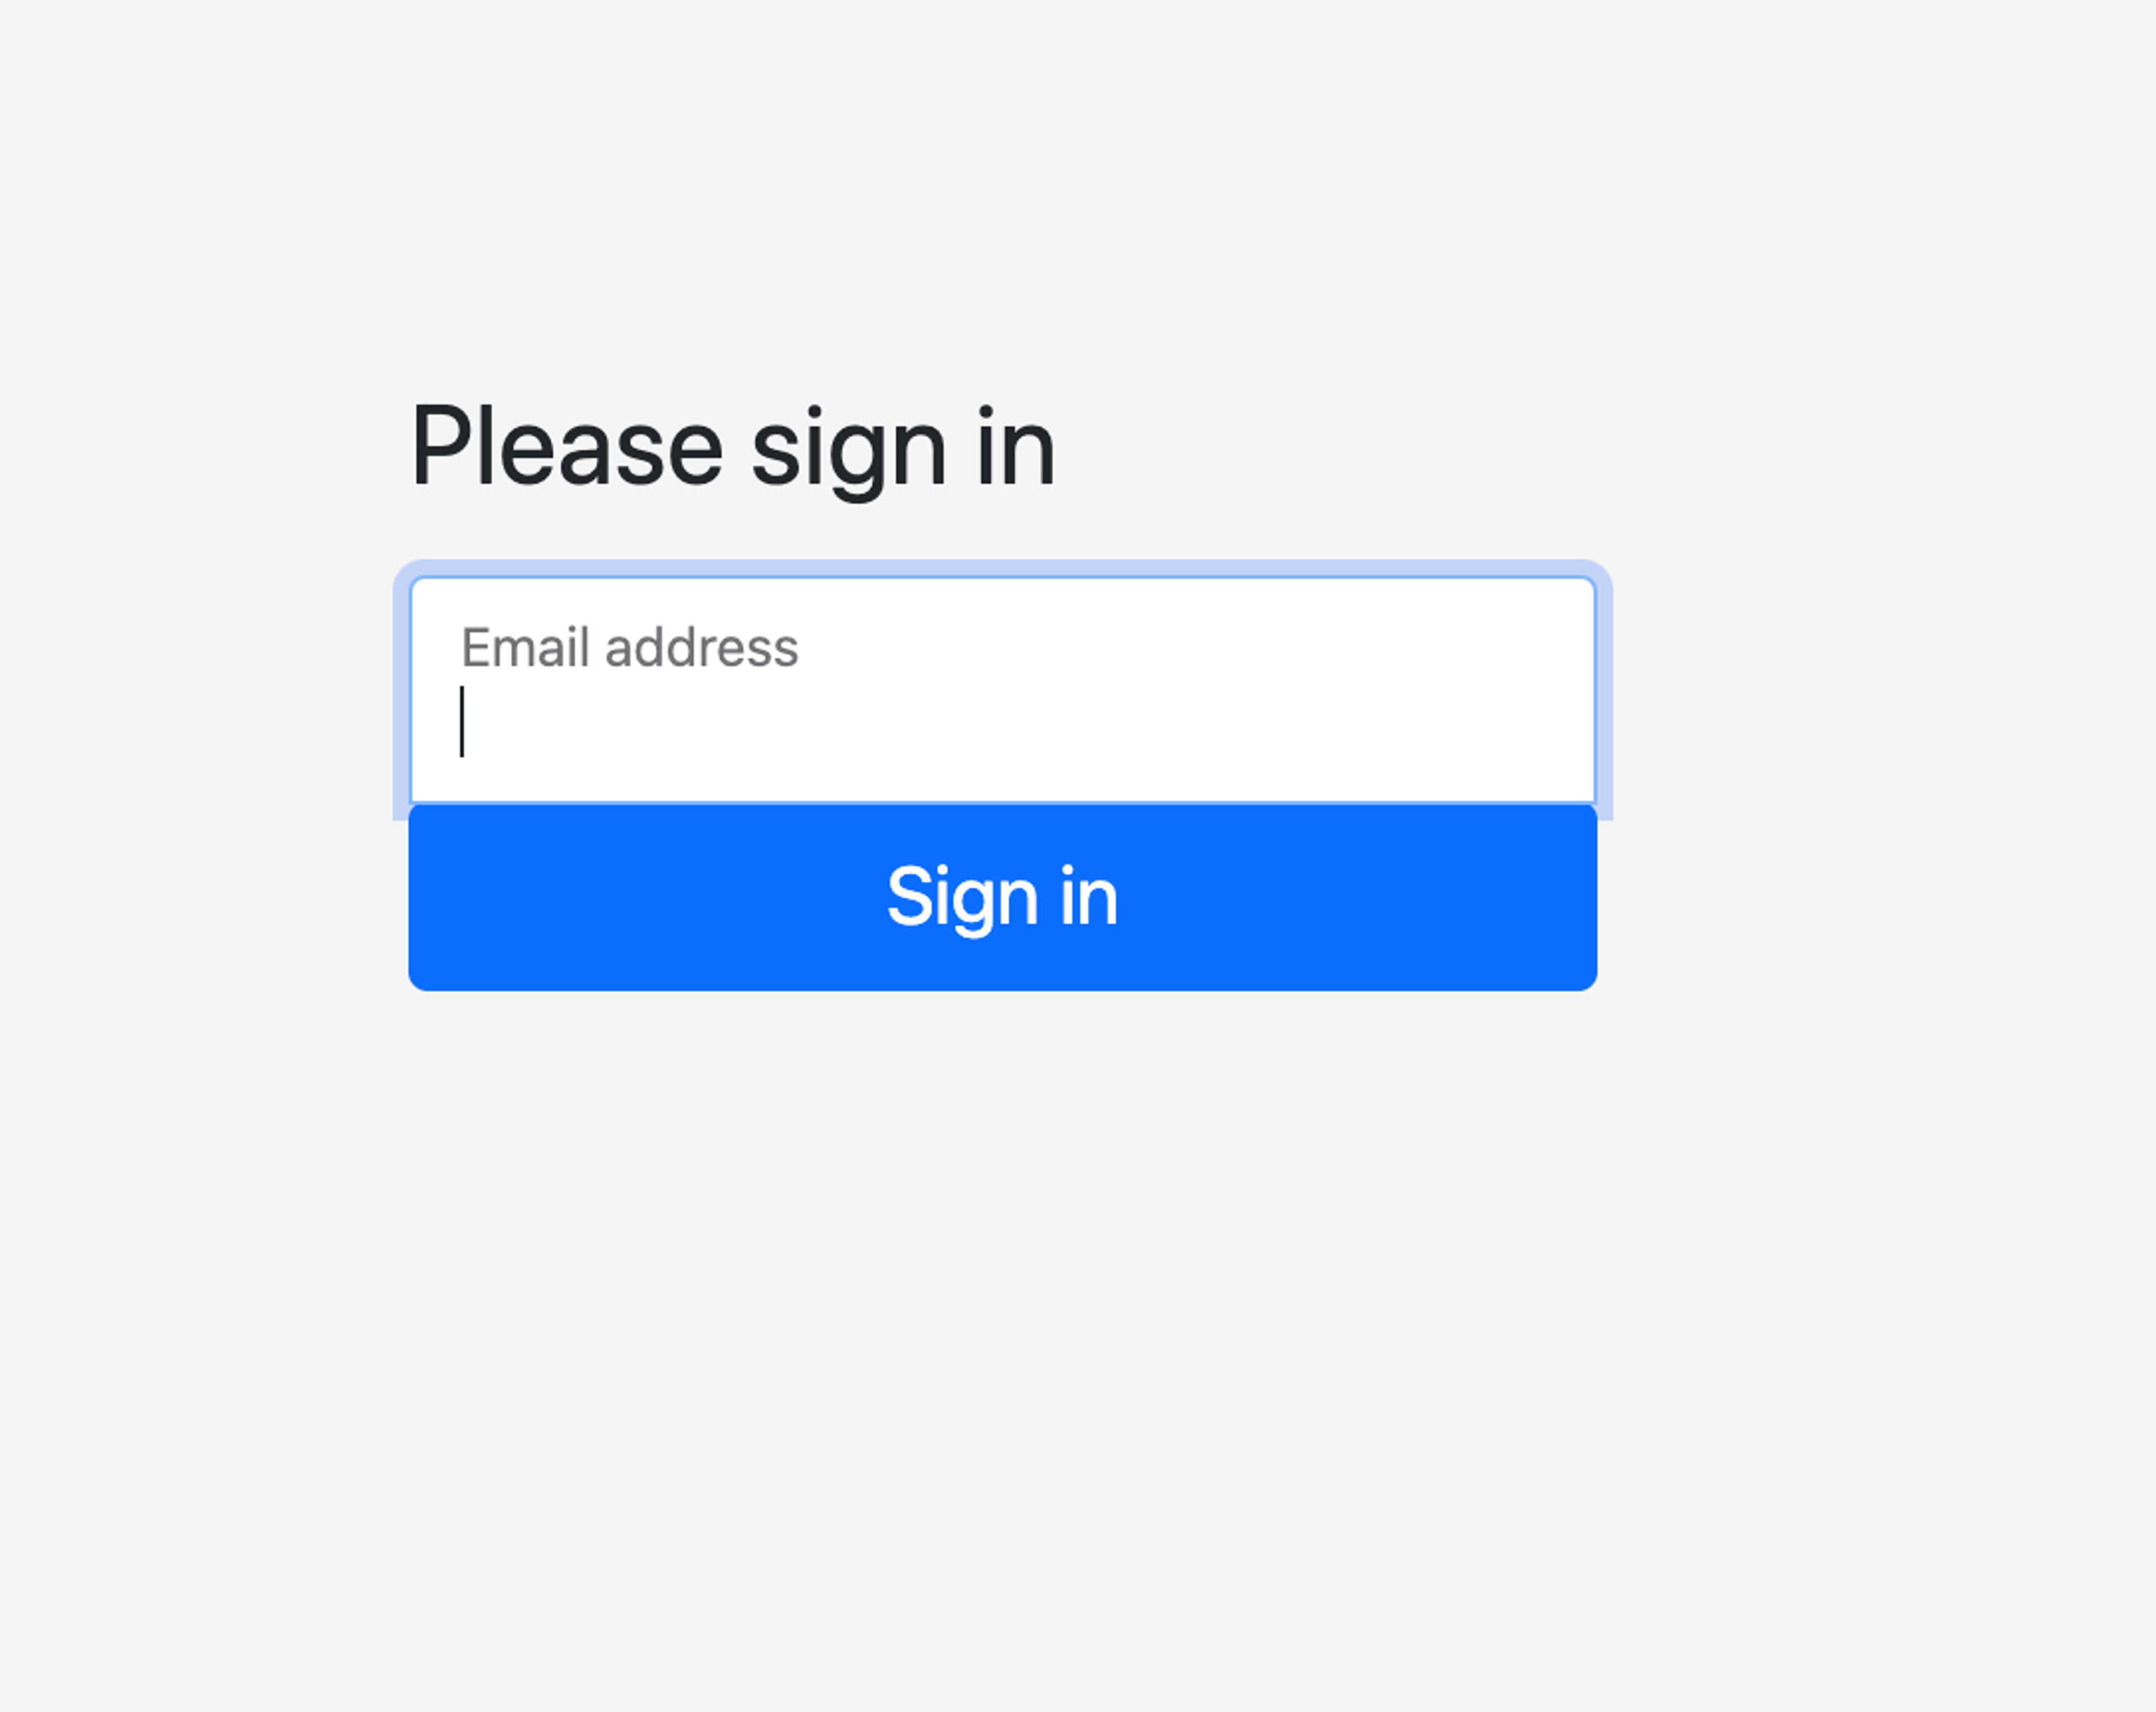
Click ‘Start now’ and enter the email address:
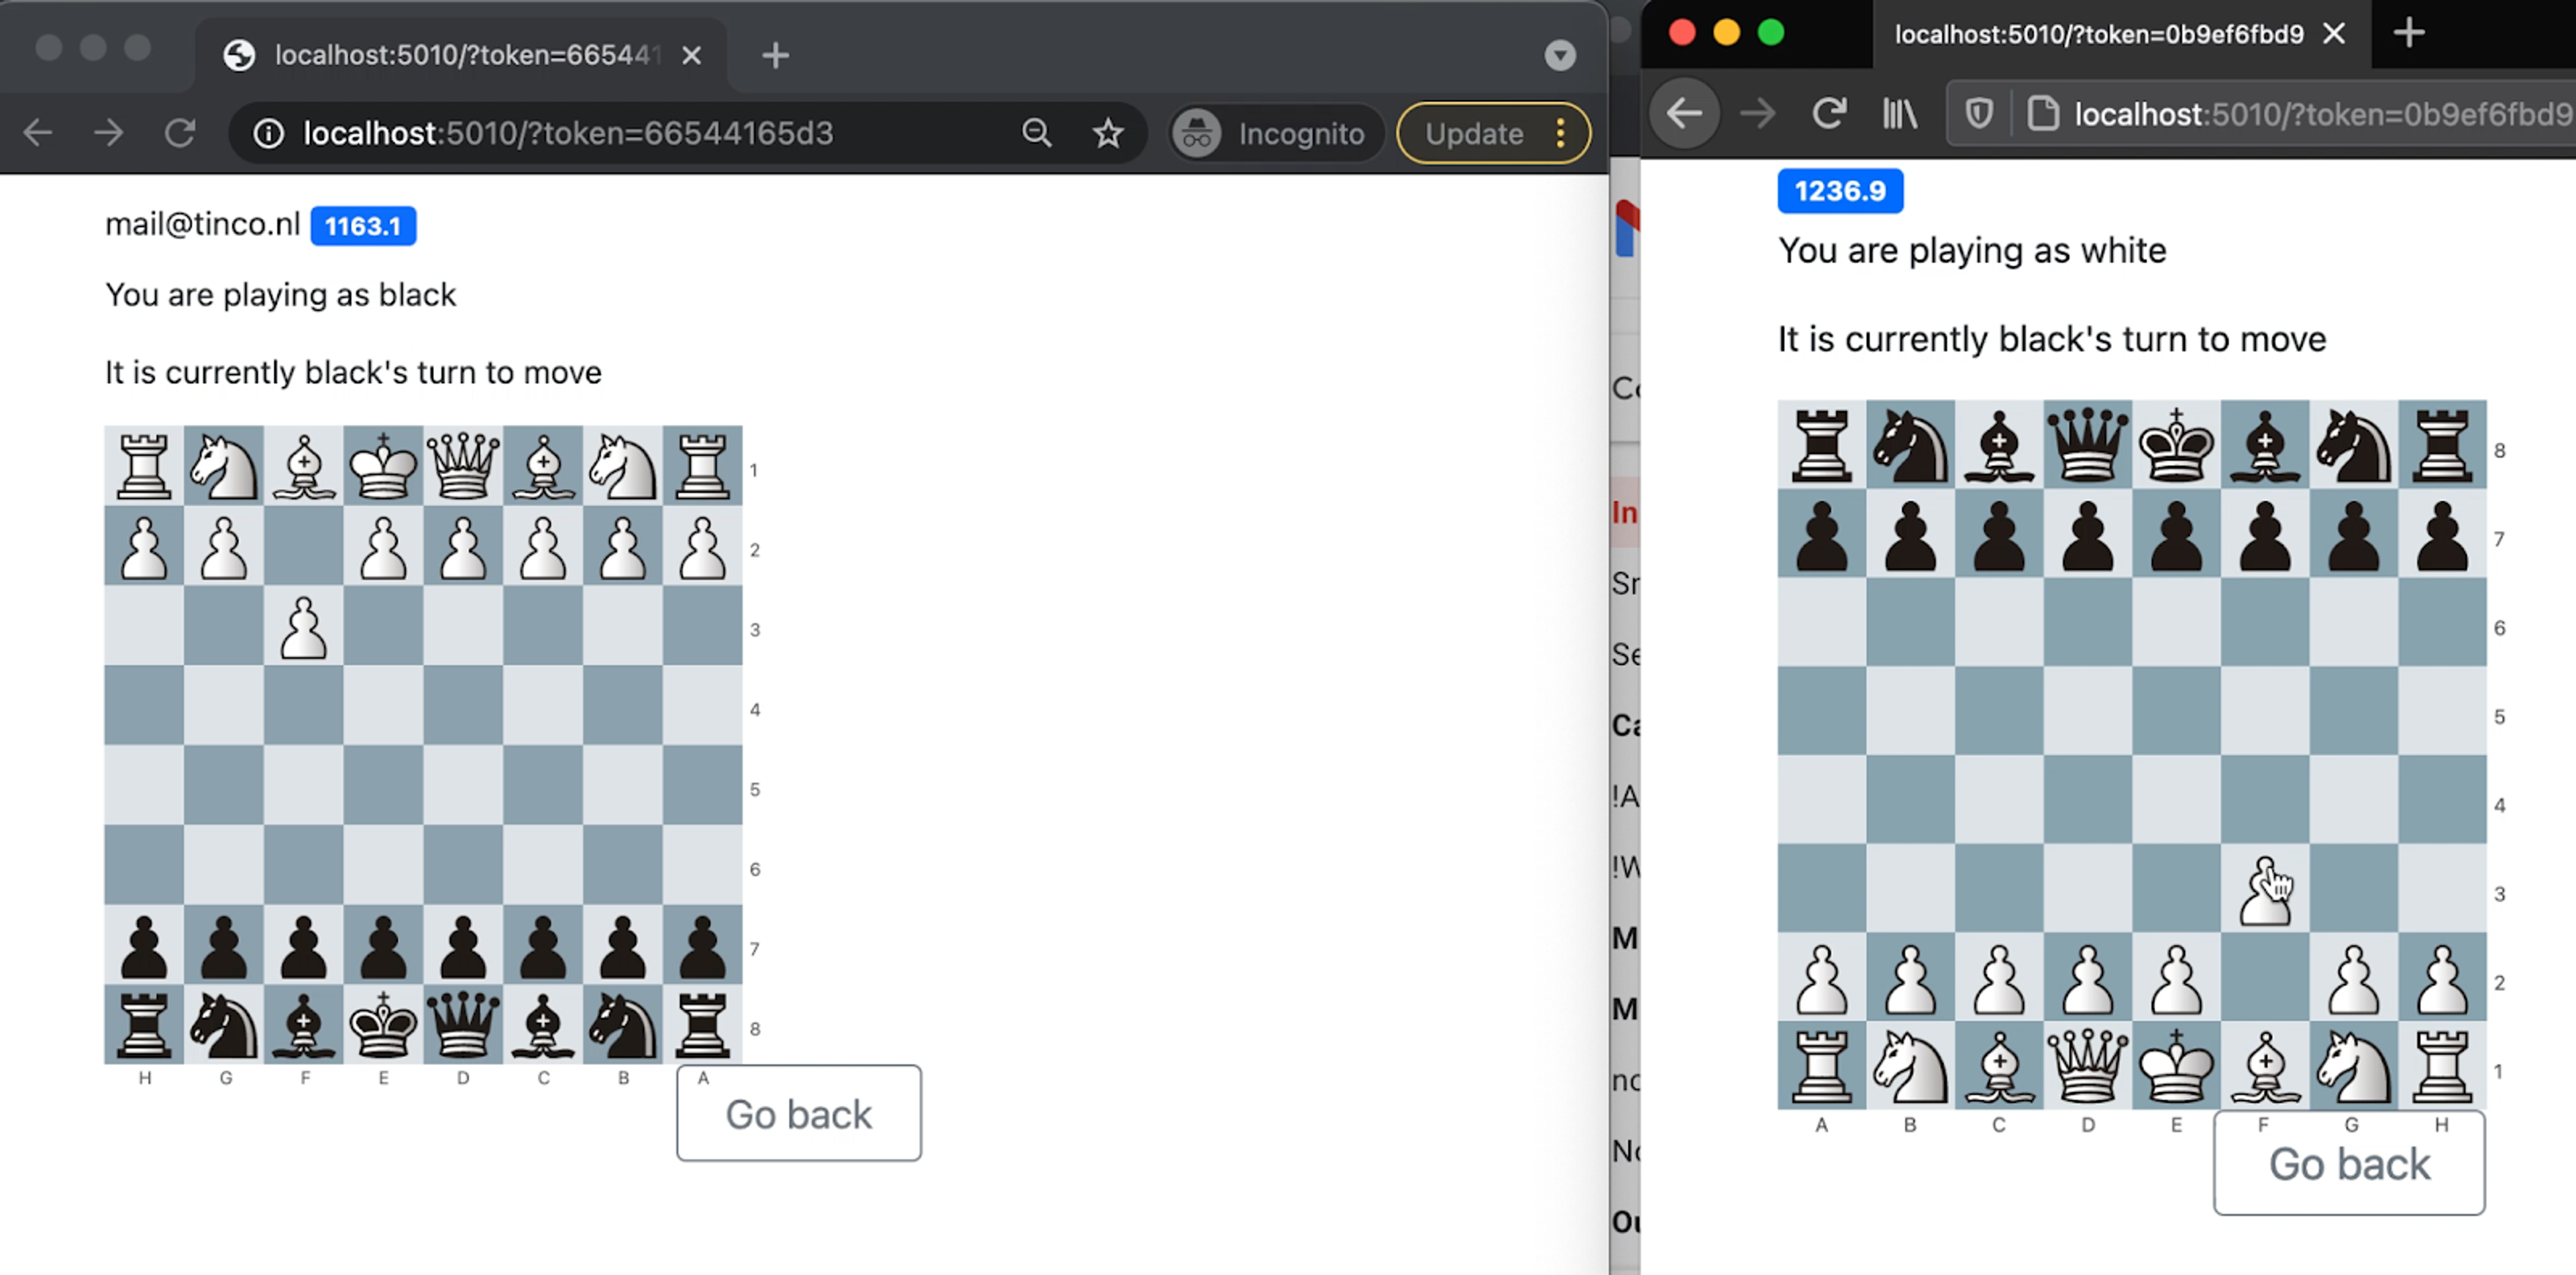
The app has an example chess game implemented, opening up multiple browser sessions to test this.
5. How data is stored
Users and sessions
User and session storage is managed in backend/authentication_store.ts. This generates a unique session token for each session. Here’s an example:
Sessions are resumed by fetching the setting from localStorage and then retrieving the session from Redis. Here’s an example:
New authentication tokens are stored in the same way but with a shorter expiry.
Users are stored using the following command:
Note: The email address is used as the key.
Users are retrieved using the following command:
Note: This is used as the path to retrieve the whole object.
6. How it works
- The frontend connects to the backend through a WebSocket.
- The frontend sends requests to the backend, requesting subscriptions on channels, and executing commands.
- The backend then broadcasts channels to all connected clients and sends messages with updates as responses to client commands.
- User sessions are stored in the SESSION_REDIS database, with an expiry set.
- User information is stored in USERS_REDIS. Recommended persistence is enabled for this database.
- Games are saved in GAMES_REDIS; this should also be persisted. Game logs are instances of players using a game together. This is where all game moves and states are saved. Persistence is also recommended here.
Games and game logs storage are managed in backend/games_store.ts. A cache of all games is stored in the Redis database under the following key: all-games. When the server starts up it’s first retrieved using the following command:
If it’s null, then it will populate with the below command:
When the server starts up, it will subscribe to the newest channel on the games database as well as the open channel on the game logs database. It does this with the SUBSCRIBE command like so:
Whenever a client shows interest in a channel, the server will initiate a subscription. For example, when a user joins a game with the id abc123, the server will subscribe to that game using the following command:
At the moment, the server does not UNSUBSCRIBE. When a user creates a game the server publishes a message on the newest channel, like so:
Moreover, the server carries out the following command to add the user’s game to all of the game’s newest array:
To make sure that it doesn’t overflow, the server will follow up with the following command to shorten its backup:
Once created, the games are retrieved using the following command:
7. How the application works
Signing in/signing up
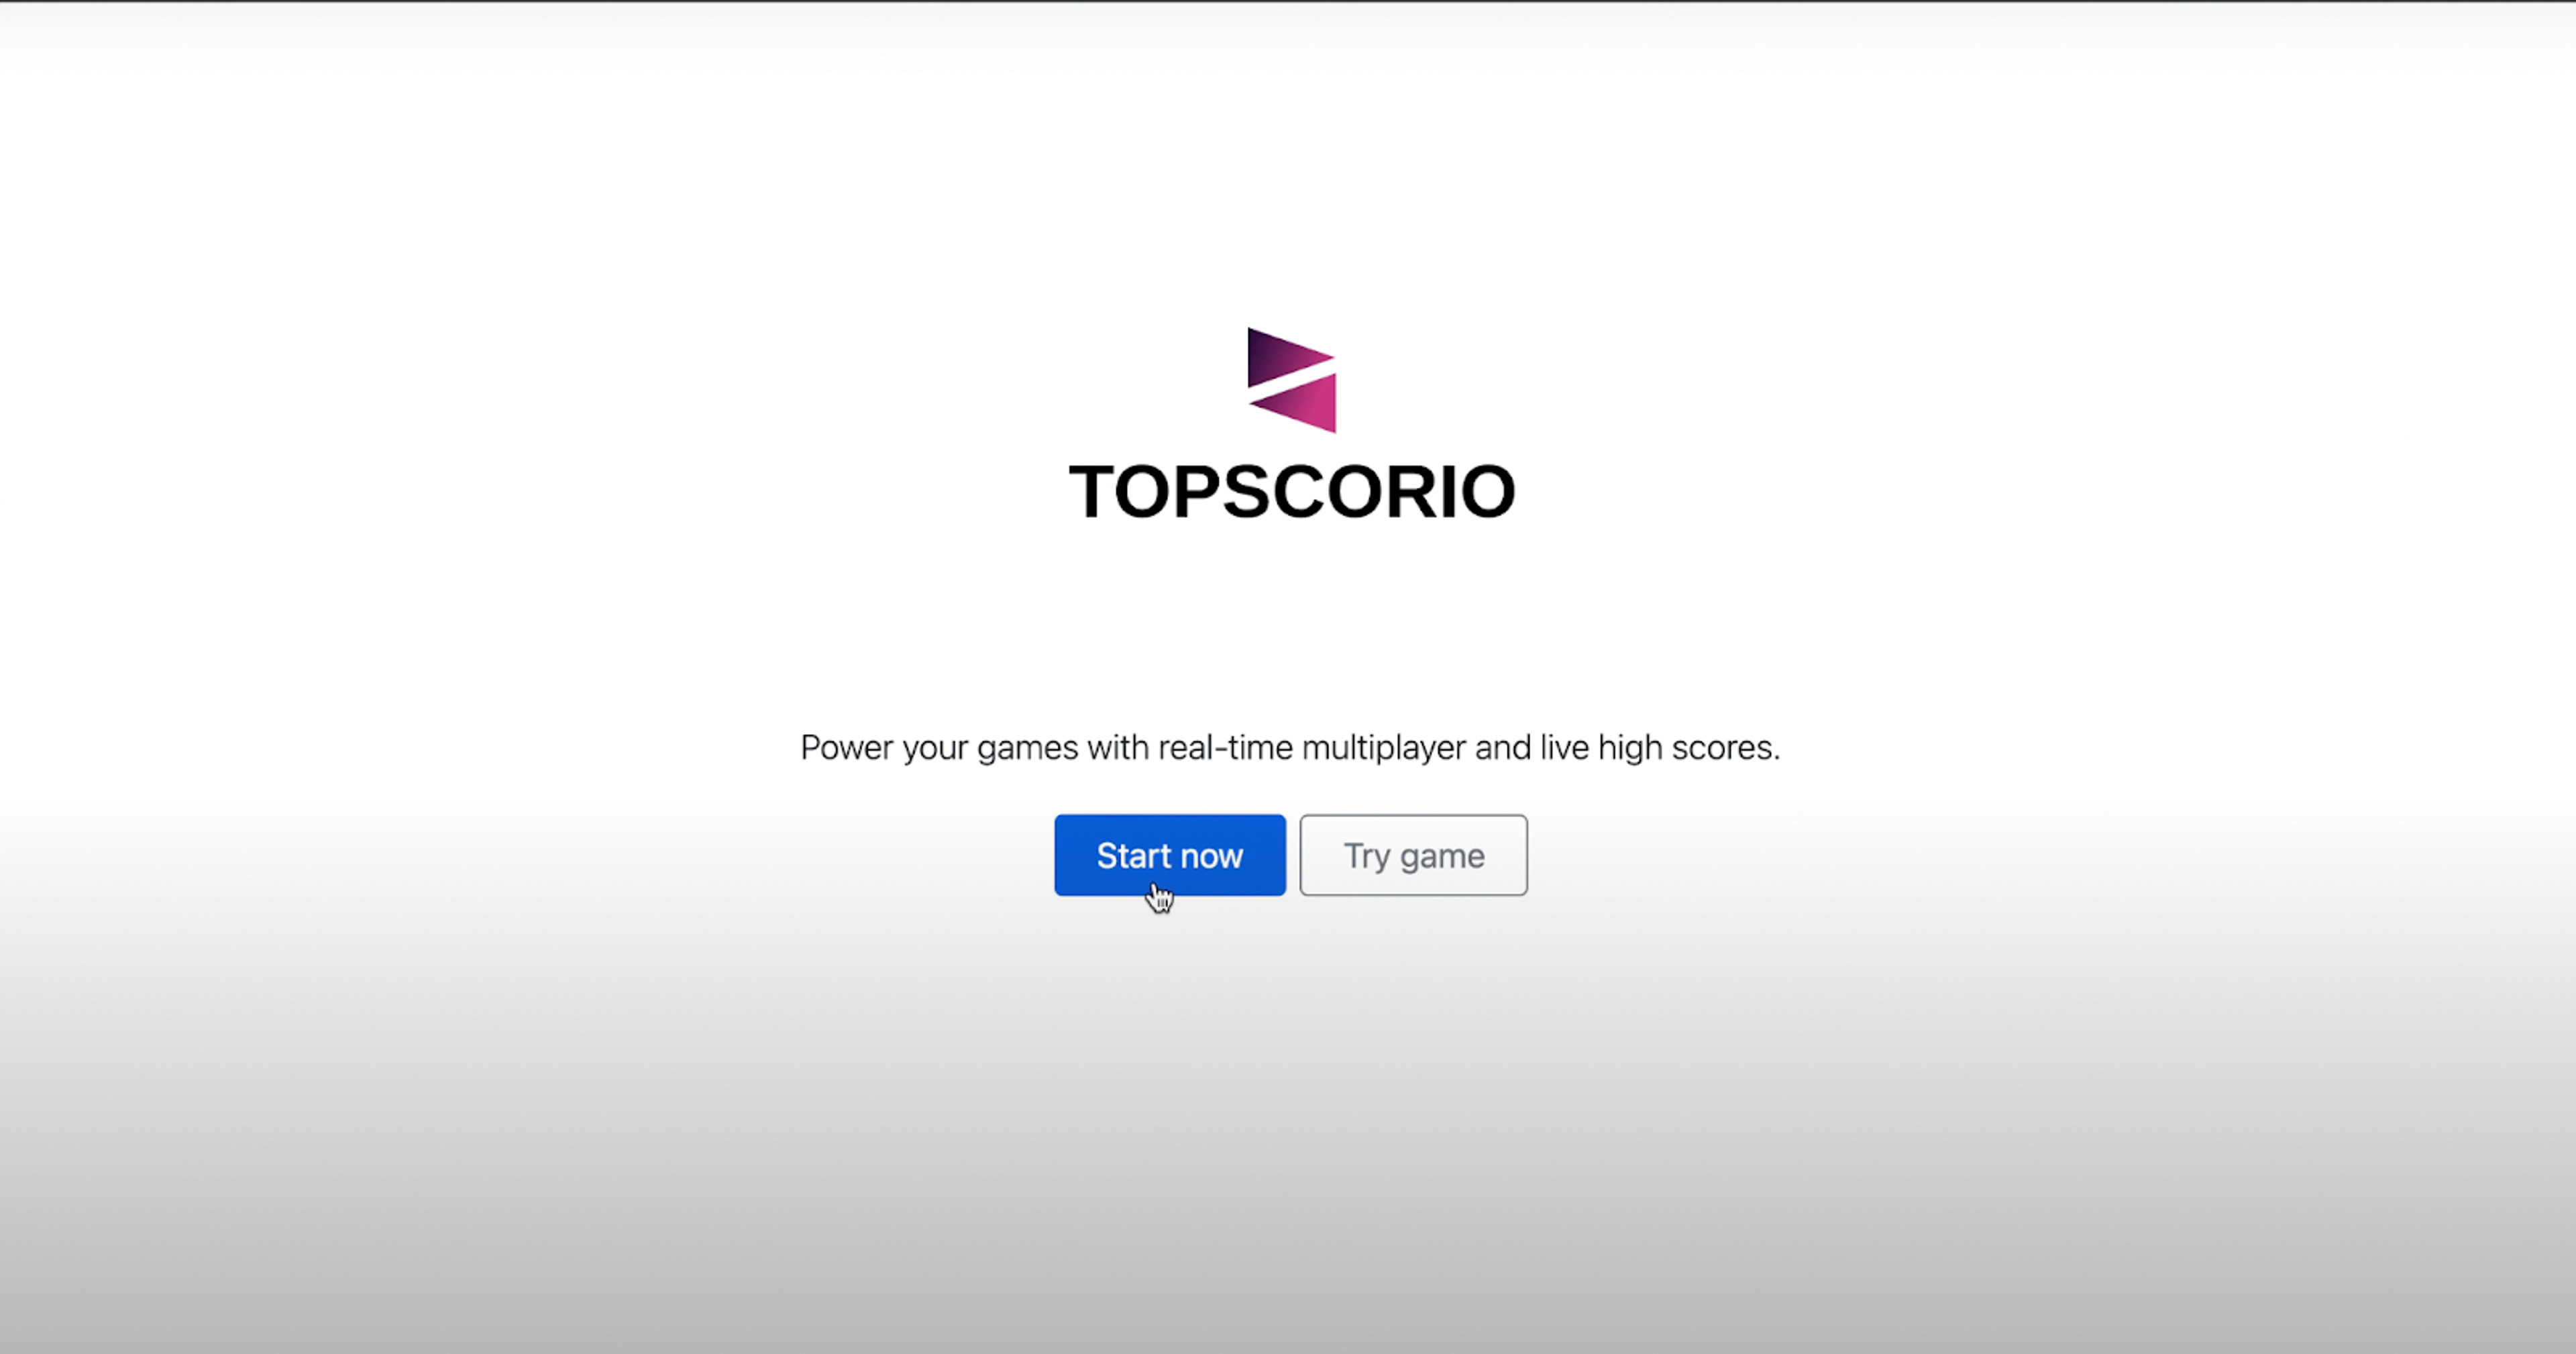
Both signing in and signing up share the same process. First, you need to click on the ‘Start Now’ button on the homepage. Next, you’ll be required to provide your email address for a confirmation email. Open this email in your inbox, copy the sign-up link and then paste it onto your browser.
You’ll then be taken to a new page. Click on the ‘Start Now’ button to get started.
Creating a new game
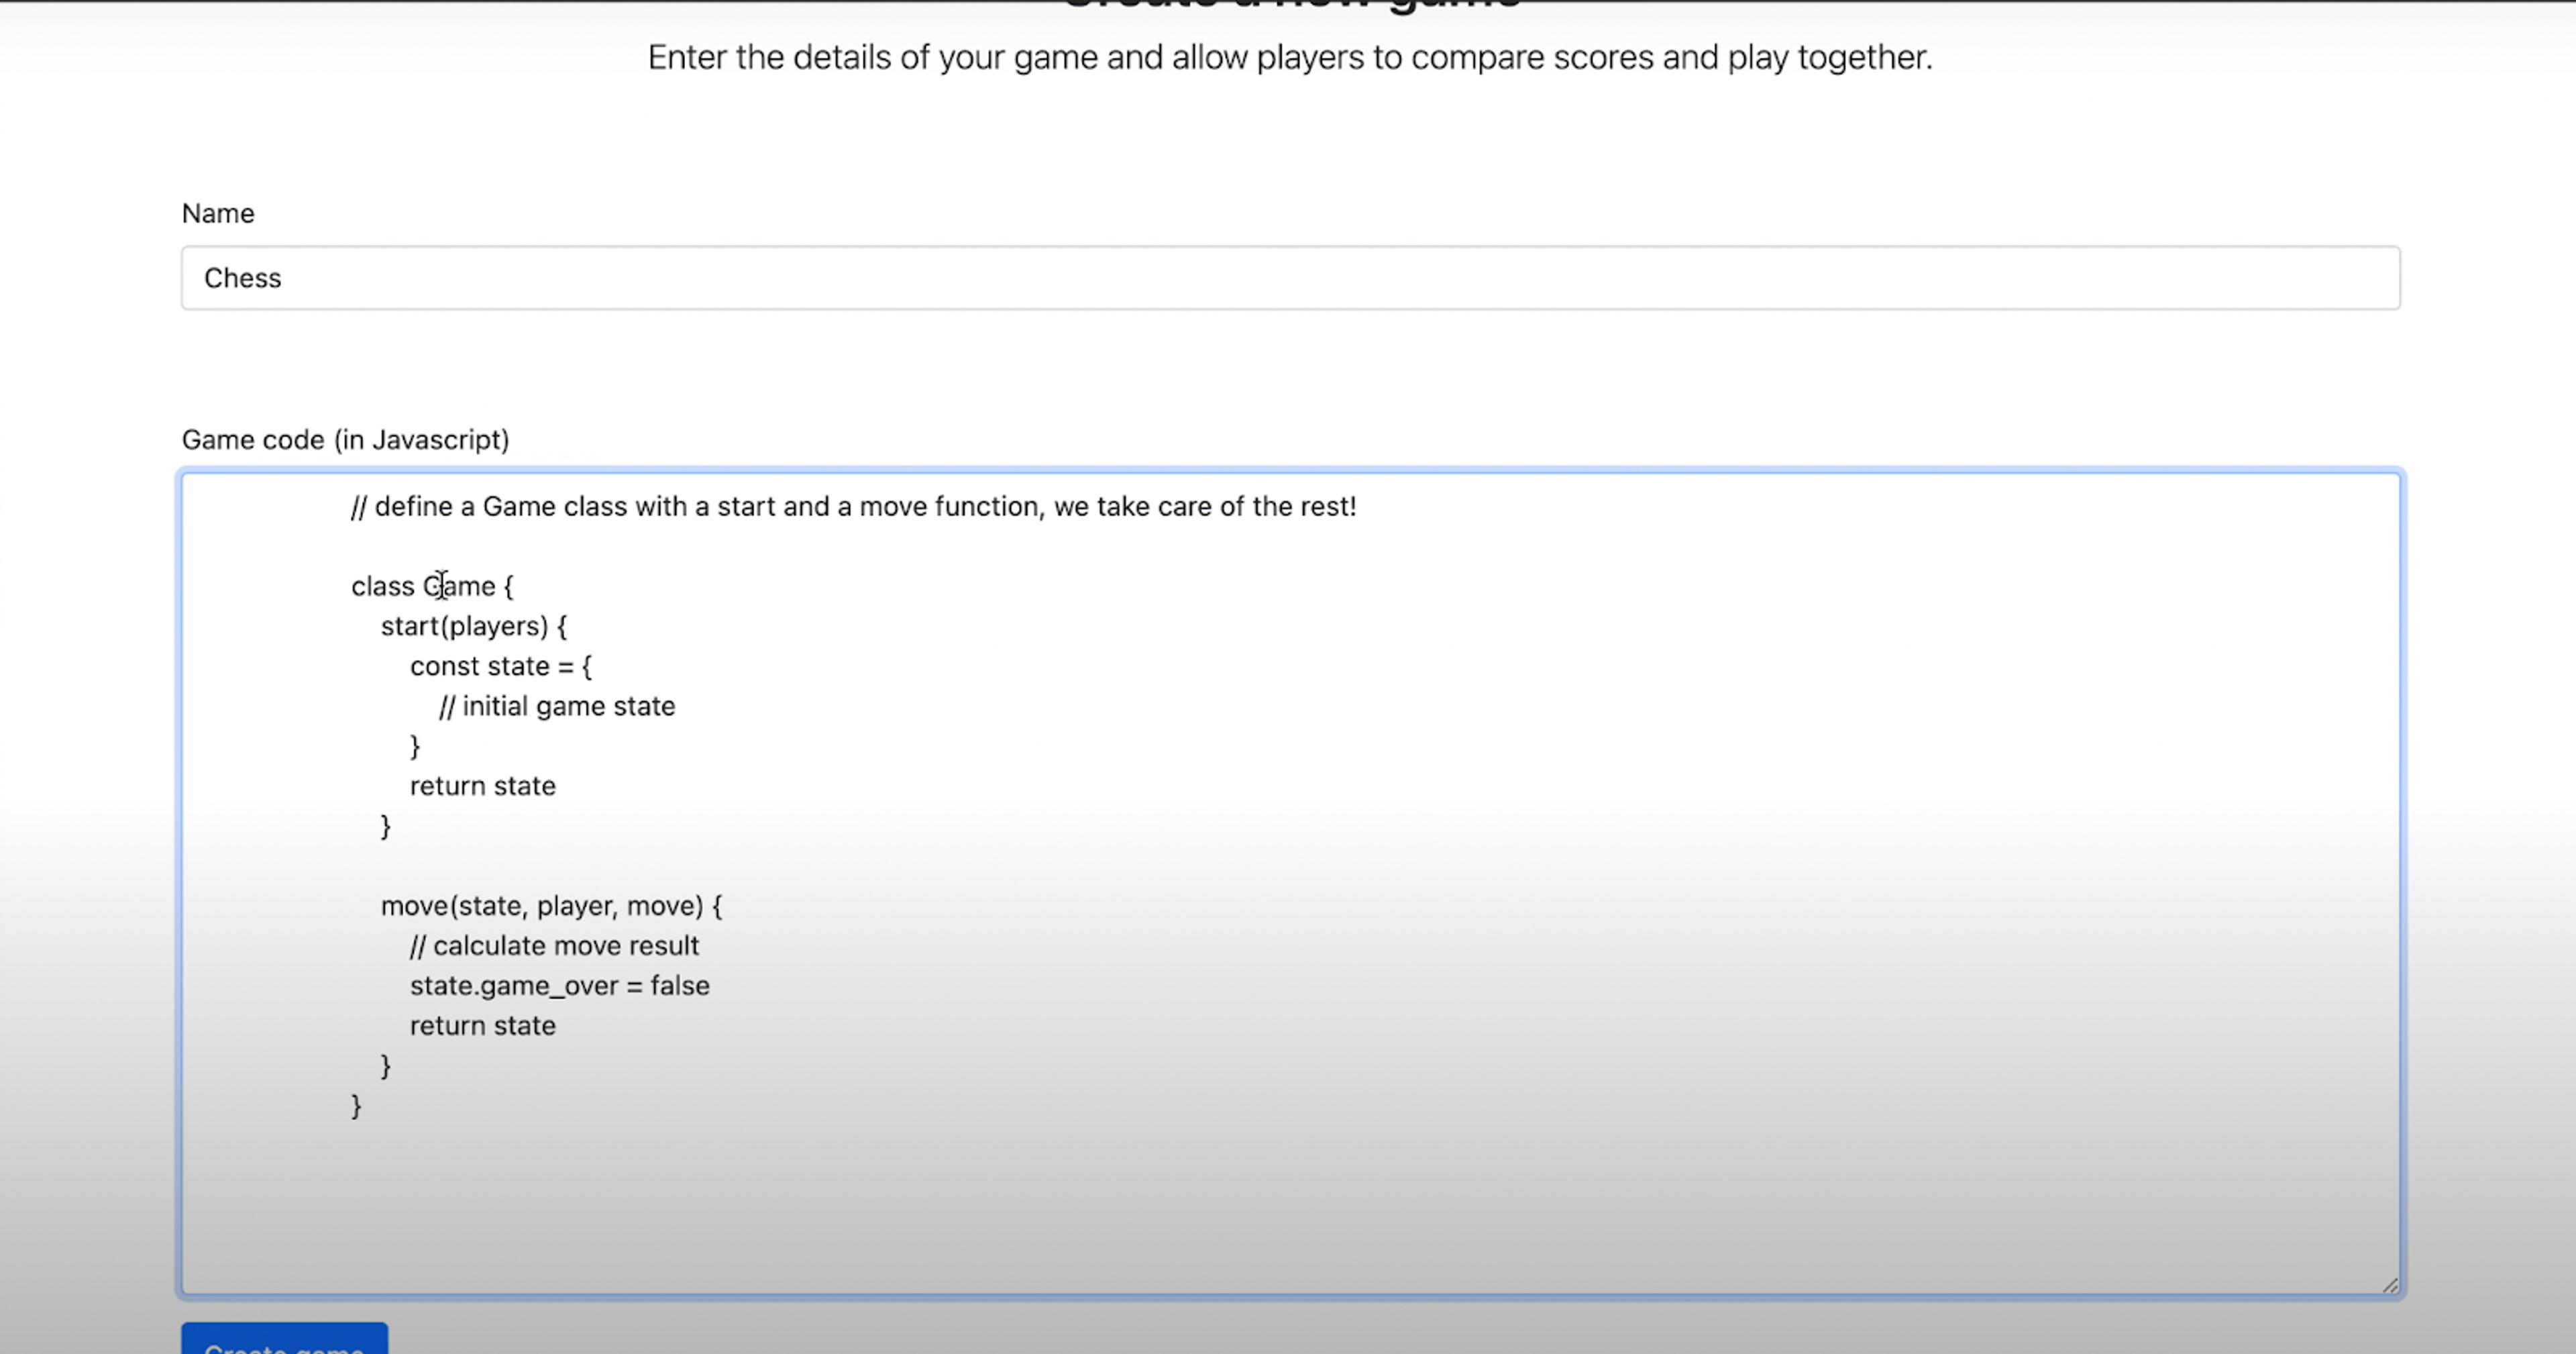
When you log in you’ll immediately land on the ‘Create a new game’ page. At the top, enter the name of your game in the given field. You’ll then need to paste your game logic in the big empty box below.
Once you’ve done this, press ‘create game’ to proceed to the next step.
Conclusion: Enhancing the gaming experience with low latency
Players today expect games to be hyper-responsive in all aspects, where delays between commands are almost non-existent. Even just one lag is enough to damage the user experience and frustrate players, which will only push them towards games that can run smoothly without any hiccups.
With Redis, Tinco was able to maximize the gaming experience through its ability to provide users with real-time responses. Components within the architecture became more interconnected where data transmission became both seamless and consistent, allowing players to compete with each other online in real-time, irrespective of their location.
To get the full visual demonstration of how this application was made, watch Timo’s YouTube video here. If you enjoyed this article, you should know that this is only the tip of the iceberg when it comes to Redis’ capabilities.
All around the world, programmers are using Redis to build innovative applications that are having a profound impact on everyday life. Make sure to check out the Redis Launchpad to have access to an exciting array of applications to inspire you.
Who Built This App?
Tinco Andringa

Tinco is a leading software engineer at AeroScan. Make sure to visit his GitHub page to keep up to date with all of the projects he’s involved with.
Get started with Redis today
Speak to a Redis expert and learn more about enterprise-grade Redis today.