Create data pipeline
Define the source connection and data pipeline.
| Redis Cloud |
|---|
After you have prepared your source database and connection information, and created the workspace for your pipeline, you can set up your new pipeline.
In the Redis Cloud console, go to your target database and select the Data Integration tab. You'll see your subscription's workspace. Select Add pipeline to add a pipeline to the workspace.
You can also go to the Pipelines page from the left-hand menu and select Add pipeline from your workspace. Or, you can go to the Data Integration tab of your subscription and select Add pipeline from your workspace.

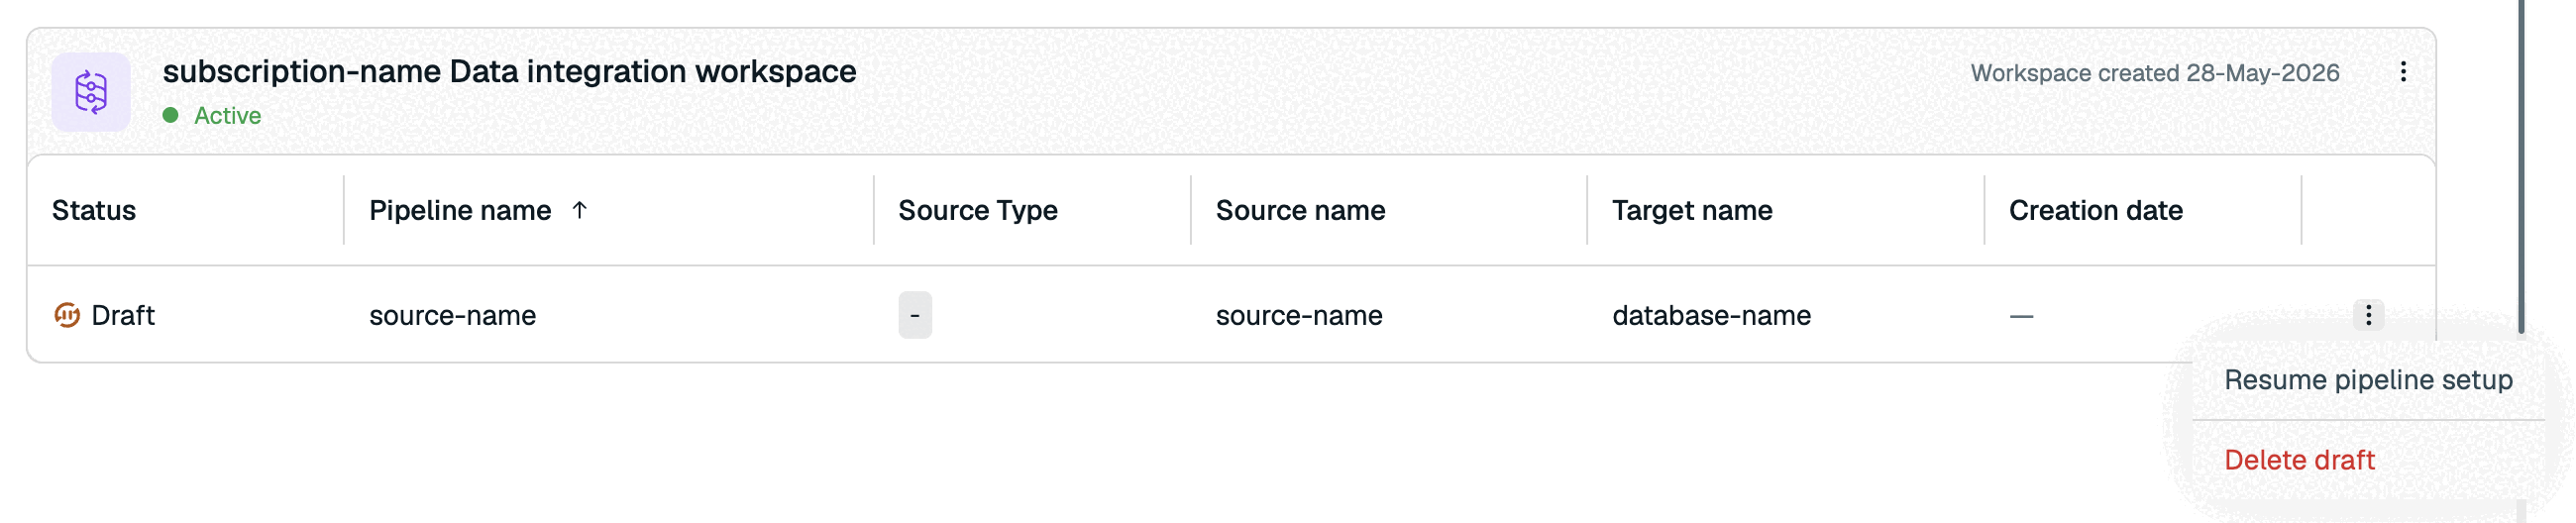
If you've started to create a pipeline, you'll see a draft pipeline. Select More actions > Resume pipeline setup to continue with pipeline setup.
Creating a pipeline is split into the following steps:
- Pipeline setup: Defines the source database type and the target database.
- Source configuration: Defines and tests the source database connectivity and credentials.
- Dataset: Defines the data to import to your Redis database.
- Transformations: Defines how records are stored in Redis.
- Review & deploy: Shows your pipeline details and deploys it.
Pipeline setup
In the Pipeline setup step:
-
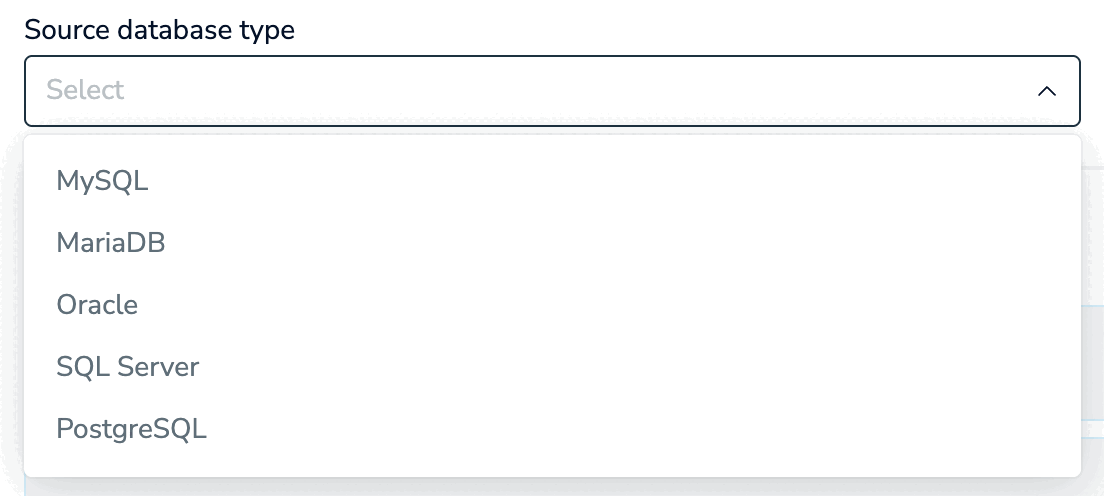
Select your source database type. The following database types are supported:
- MySQL
- mariaDB
- Oracle
- SQL Server
- PostgreSQL
- Snowflake (Preview)
-
Enter a name for your source database in the Source name field. This is a name for the source database that will appear on Redis Cloud.
-
Select the target Redis Cloud database from the Target database list.

Select Continue to source to move to the Source configuration step.
Source configuration
During the Source configuration step, you'll share the connectivity information and credentials you created when you prepared your source database.
This step is separated into three expandable sections:
- Source connectivity defines the connectivity method for your source database.
- Secrets defines the authentication needed for your source database.
- Source configuration defines the source-specific settings for your database connection.
When you've completed all three sections, select Test source to test Redis Cloud's connection with the source database. After the test completes, select Continue to dataset to move to the Dataset step.
Source connectivity
Select whether you want your pipeline to connect to your database using AWS Private Link or using the Public endpoint.
-
If your pipeline uses AWS PrivateLink, enter the Private Link service name of the PrivateLink connected to your source database.
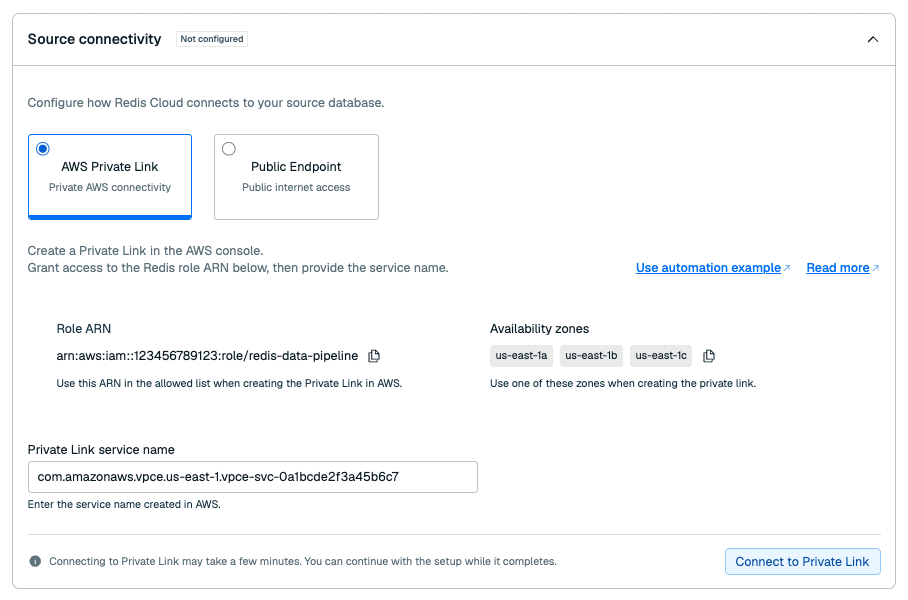
Select Connect to Private Link to test your Private Link connectivity. This will take a few minutes.
If Redis Cloud can't find your PrivateLink connection, make sure that the PrivateLink service name is correct and that Redis Cloud is listed as an Allowed Principal for your VPC. See Set up connectivity for more info.
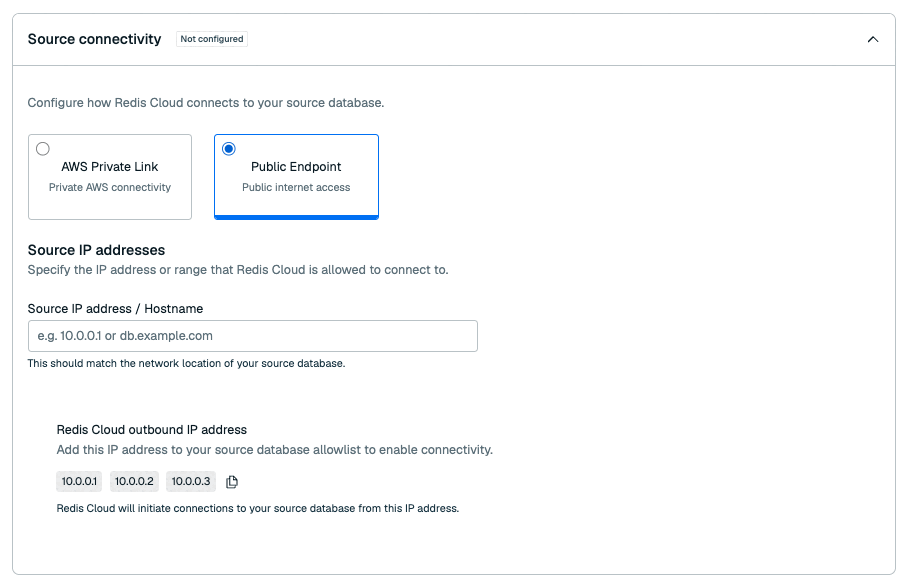
-
If your pipeline uses the public endpoint, enter the source IP address or hostname in the Source IP address / Hostname field.
Secrets
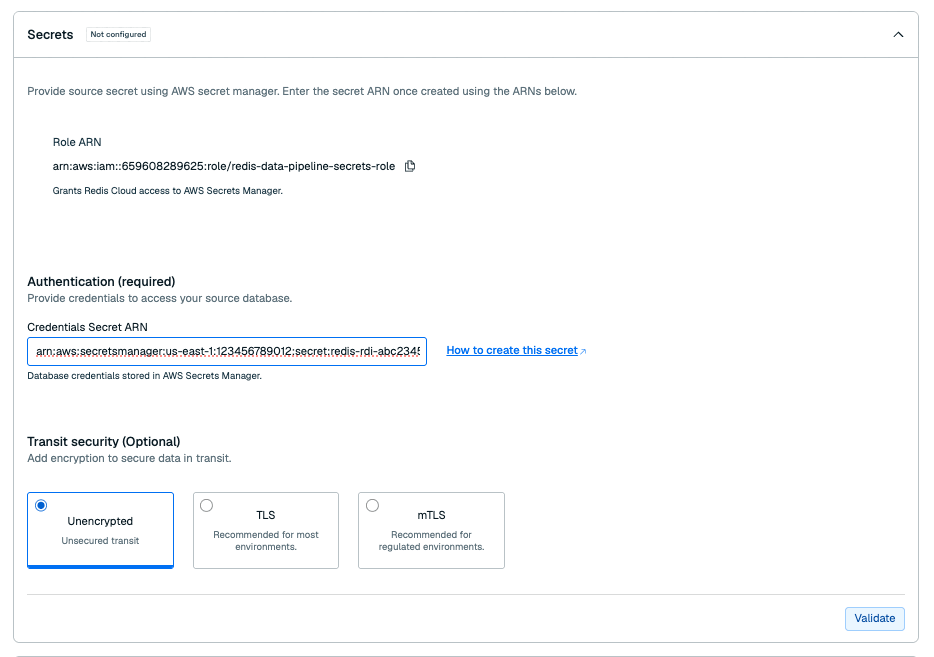
Enter the ARN of your database credentials secret in the Credentials secret ARN field.
For Snowflake source databases, select the authentication method that matches the credentials secret you created:
- Password: The credentials secret must contain both
usernameandpassword. - Key-pair: The credentials secret must contain the
username(if apasswordis present, it is ignored). Enter the ARN of your client key secret in the Private Key Secret ARN field. This secret must contain the private key in plain text PEM format.
Under Transit security:
-
If your database requires TLS, select TLS. Enter the ARN of your CA certificate secret in the CA Certificate Secret ARN field.

-
If your database requires mTLS, select mTLS.
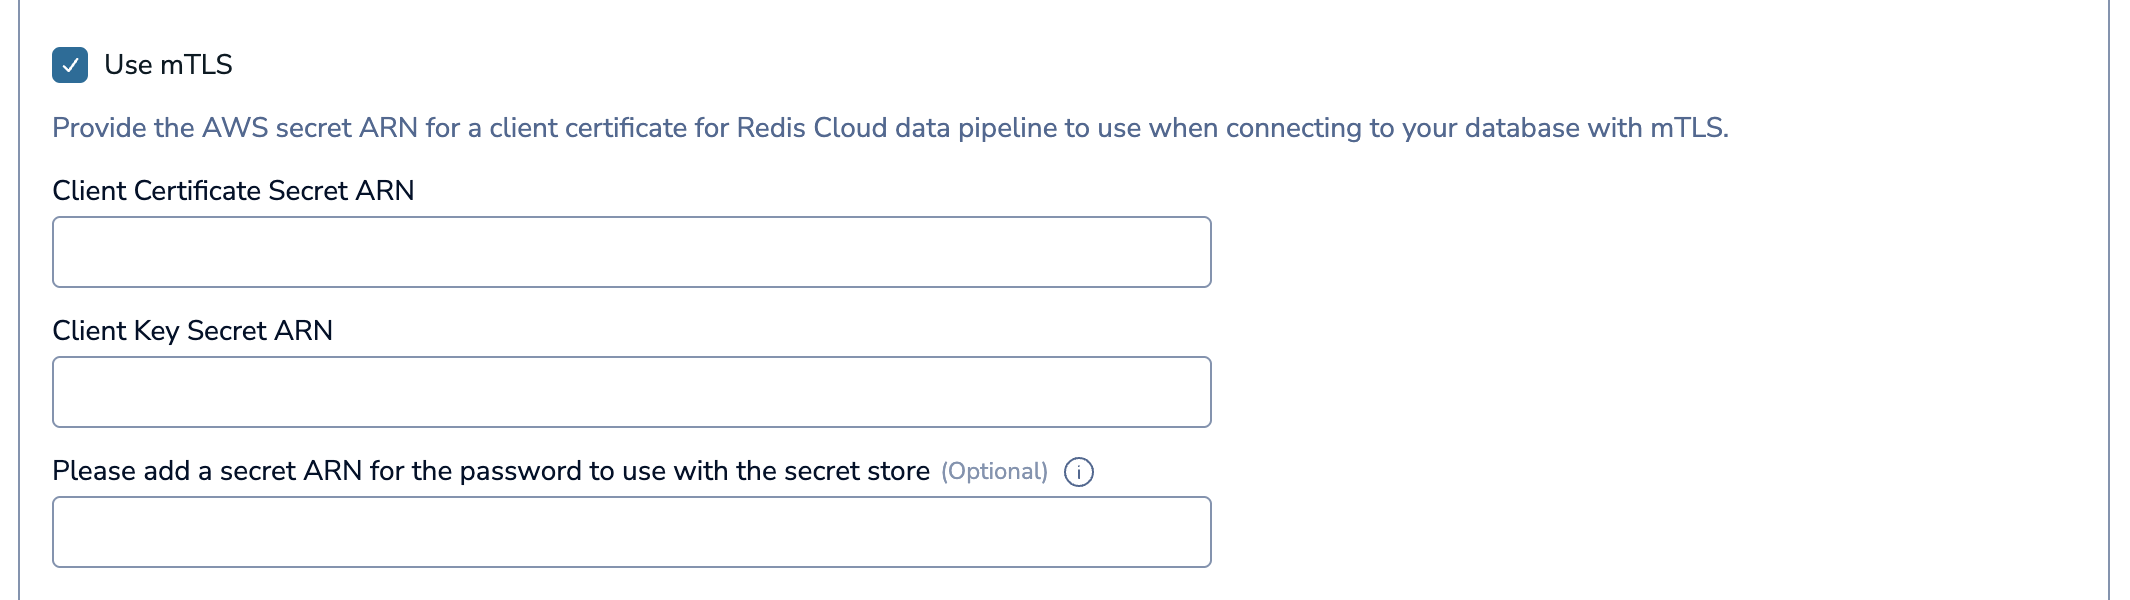
Enter the following secrets in the fields:
- CA Certificate Secret ARN: CA certificate secret
- Client Certificate Secret ARN: Client certificate secret
- Client Private Key Secret ARN: Client key secret
- Password secret ARN for secret store (Optional): Client key passphrase secret
Select Validate to check that Redis Cloud can access your secrets.
Source configuration
In this section, you'll enter your database details. This depends on your database type, and can include:
- Port: The database's port
- Database(s): Your database's name, or the root database (PostgreSQL, Oracle only), or a comma-separated list of one or more databases you want to connect to (SQL Server and MongoDB only)
- Database Server ID: Unique ID for the replication client. Enter a number that is not used by any existing replication clients (mySQL and mariaDB only)
- PDB: Name of the Oracle pluggable database (Oracle only)
- Connection string: The connection information for your database (MongoDB only)
Under Collector properties, Select Edit advanced properties to configure additional optional properties for your pipeline.
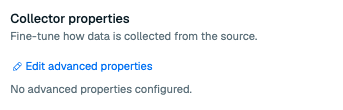
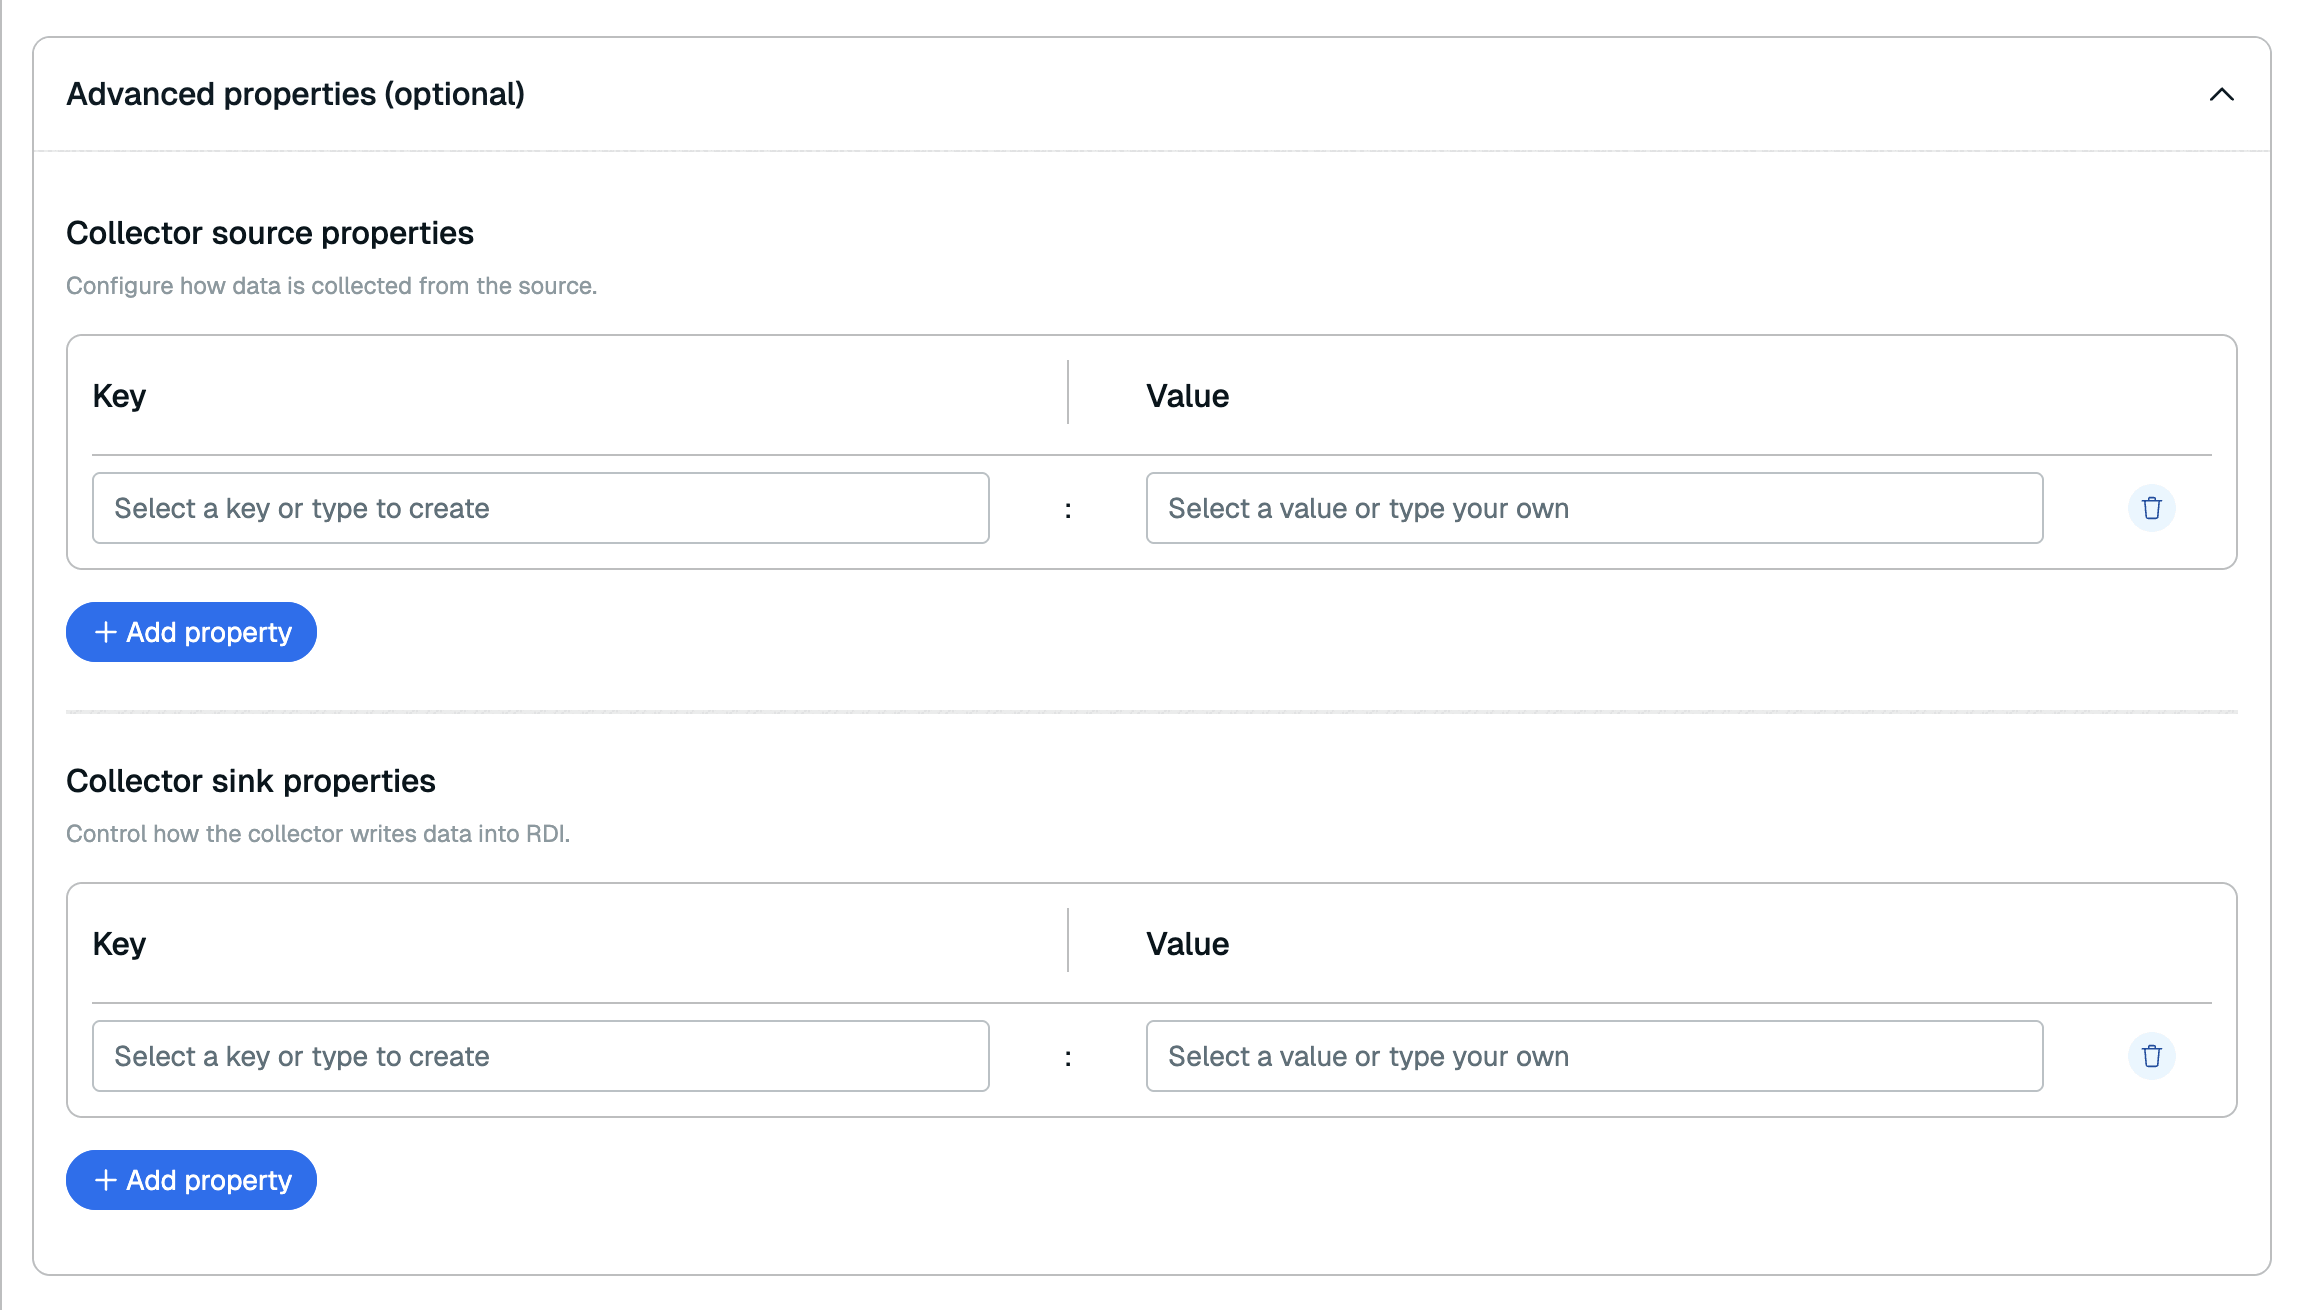
You can add collector source properties in the Collector source properties section and collector sink properties in the Collector sink properties section. See the RDI configuration file reference for all available collector source properties and collector sink properties. Select Save properties to return to Source configuration.
Dataset
In this step, you'll select the data that you want to import and synchronize with your primary database.
-
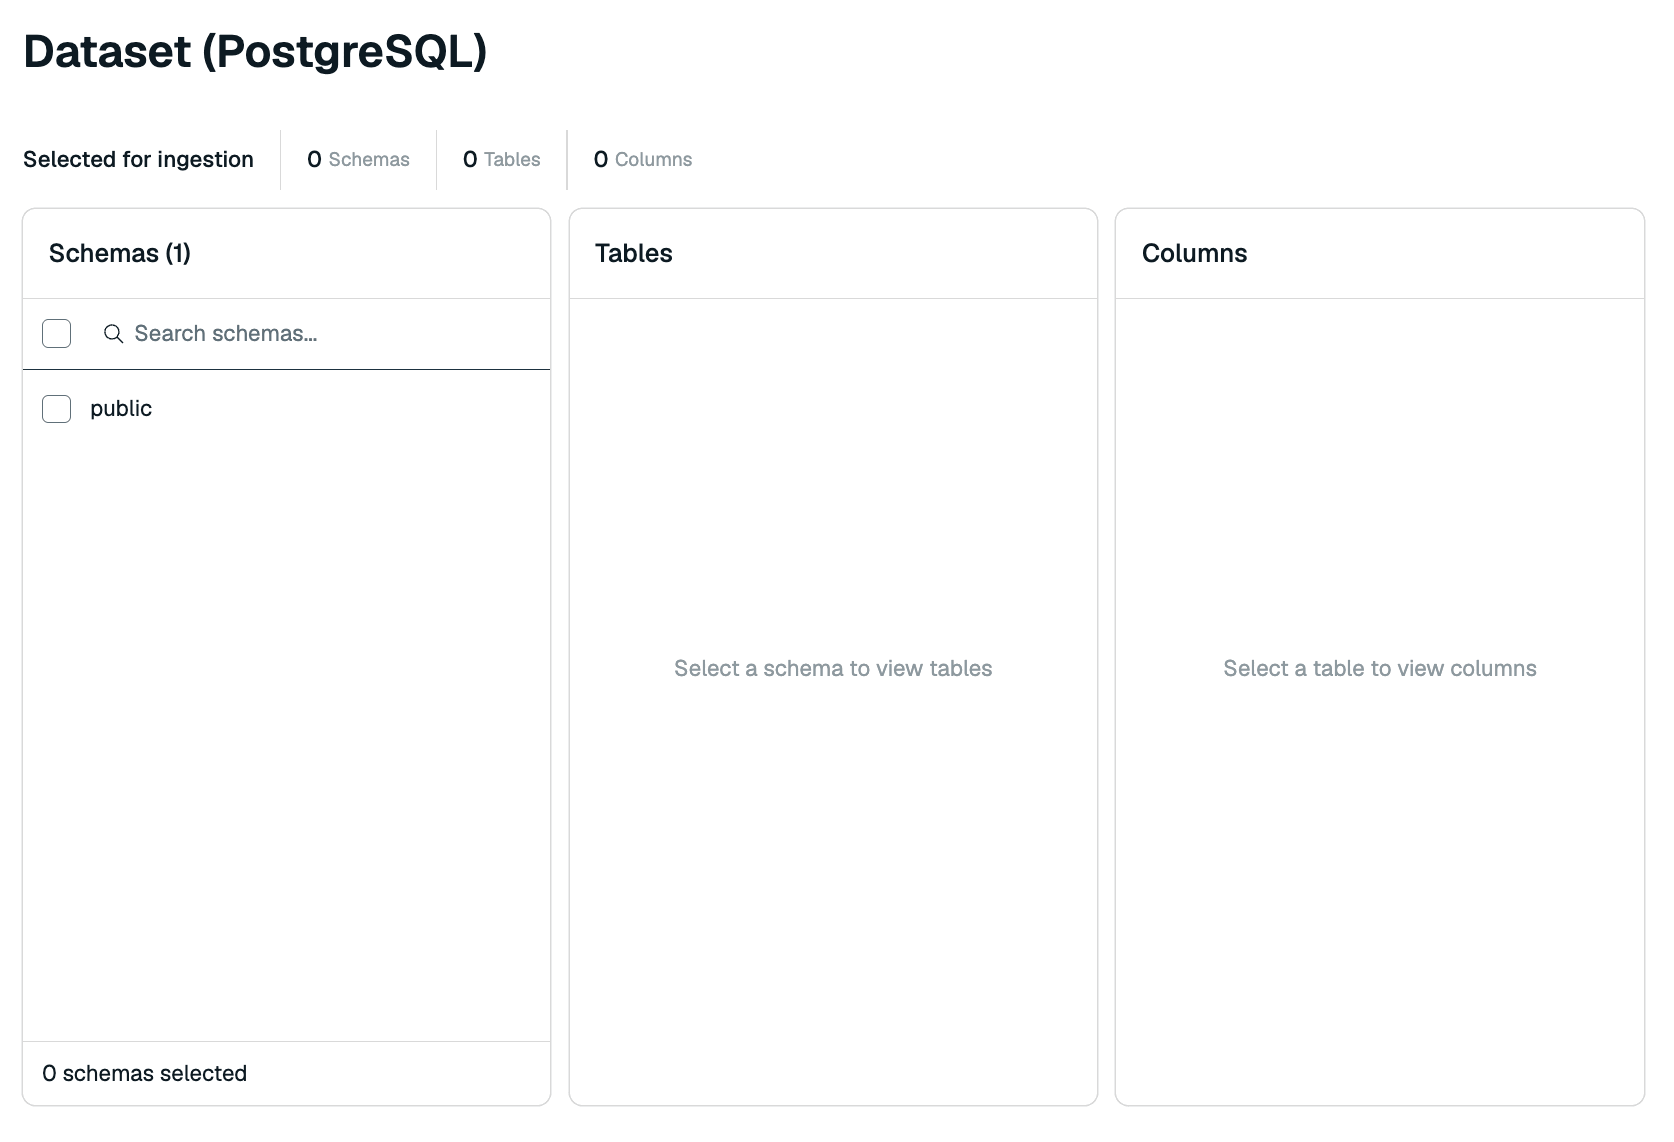
In the Schemas section, select the schema(s) you want to migrate to the target database from the list.
-
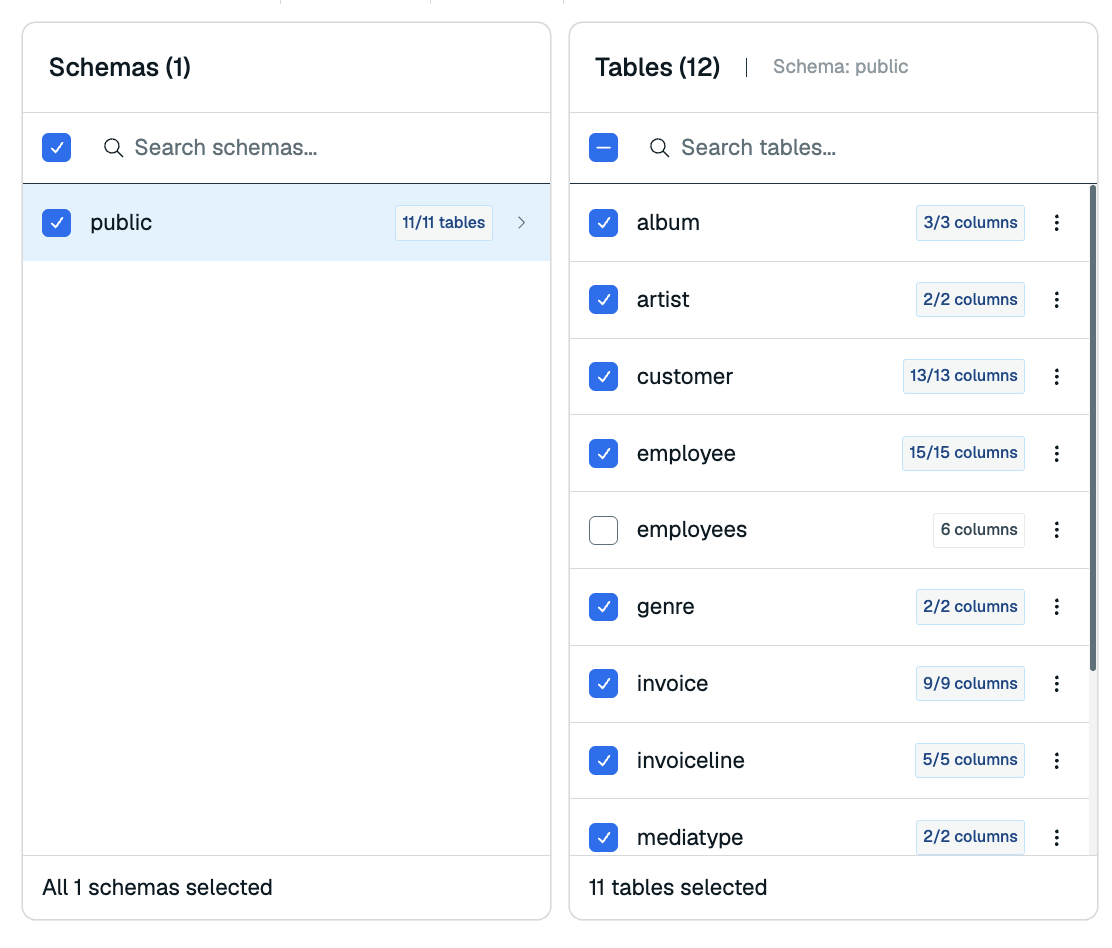
When you select a schema, you will see its tables in the Tables section. Redis Cloud will automatically select all tables for import. You can de-select any columns you do not wish to import to your Redis database.
-
Select a table to view its columns in the Columns section. You can de-select any columns you do not wish to import.
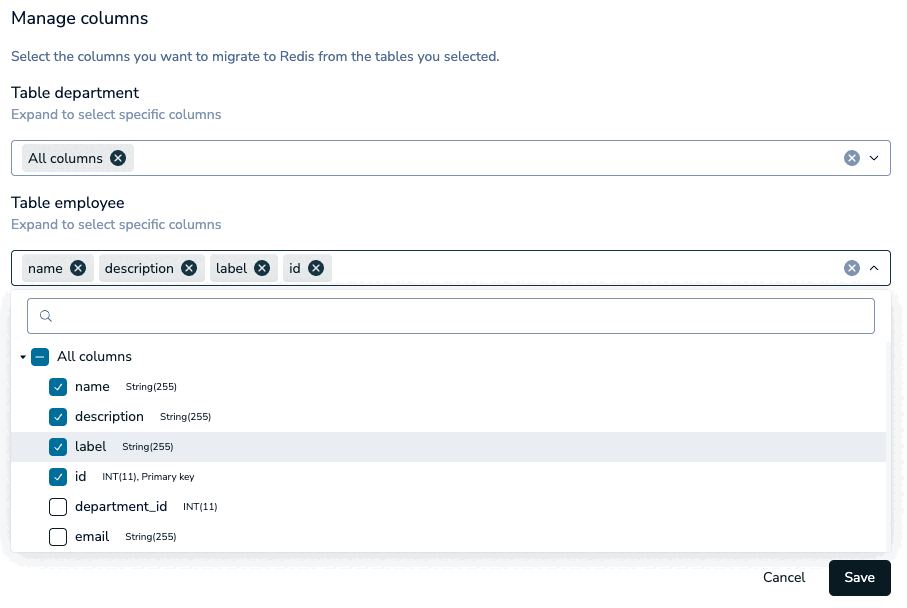
If any tables are missing a unique key, a warning will appear in the Data modeling section. Select Show affected to filter the Tables section to the tables without a unique key.
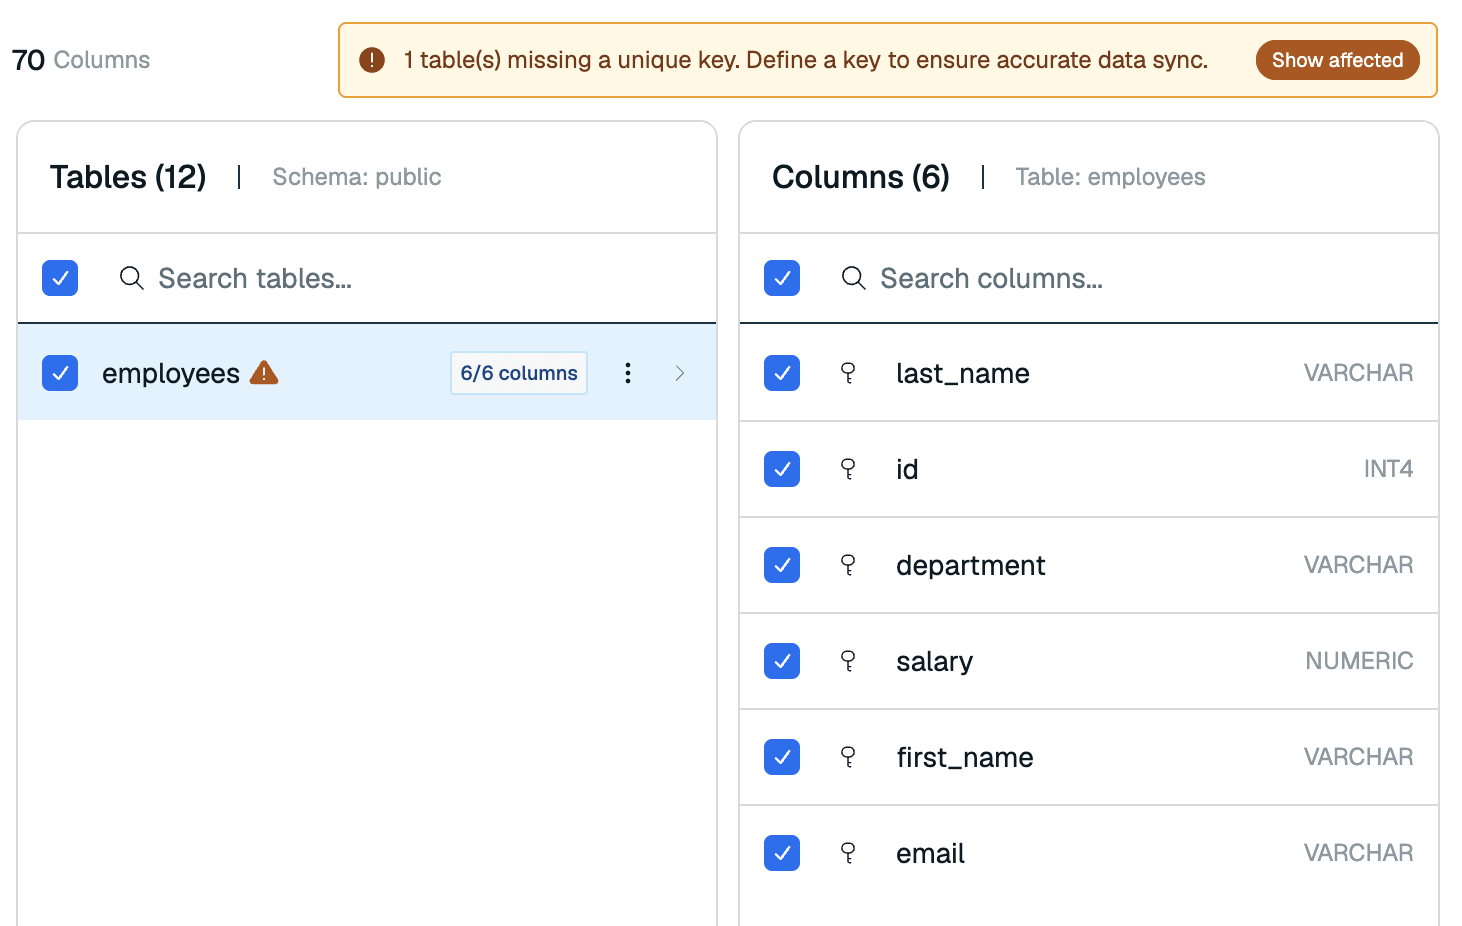
For these tables, select the key icon next to the column that defines a unique key.

Select Continue to transformations to move to the Transformations step.

Transformations
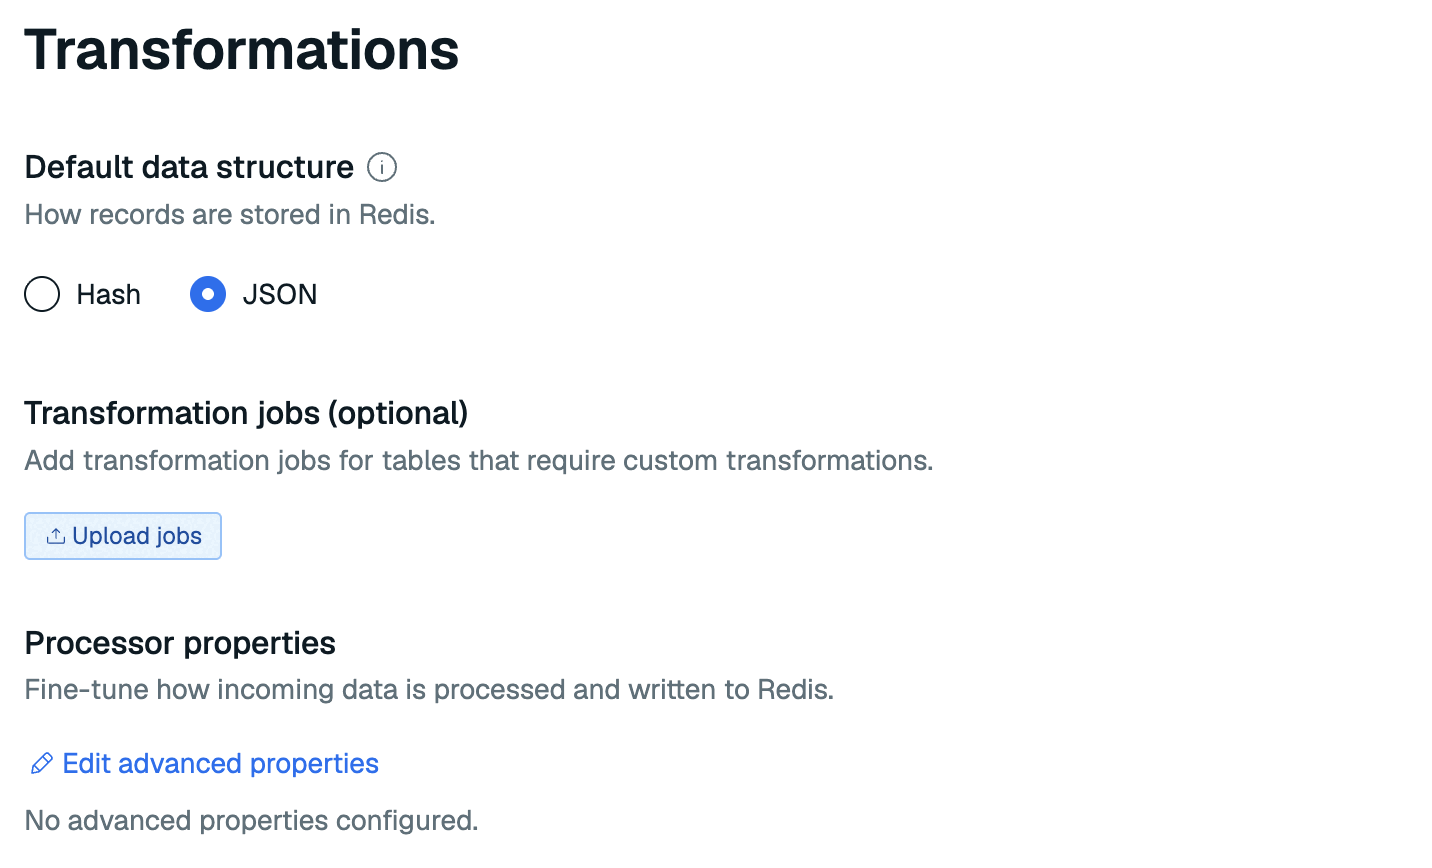
In this step, you'll choose how the pipeline will store your data in Redis.
-
Select how your records will be stored in Redis. You can choose Hash or JSON.
-
Under Transformation jobs, you can supply one or more transformation job files that specify how you want to transform the captured data before writing it to the target. Select Upload jobs to upload your job files. When you upload job files, Redis Cloud will validate the job files to check for errors.
-
Select Edit advanced properties to add any processor properties to control how the data is processed.
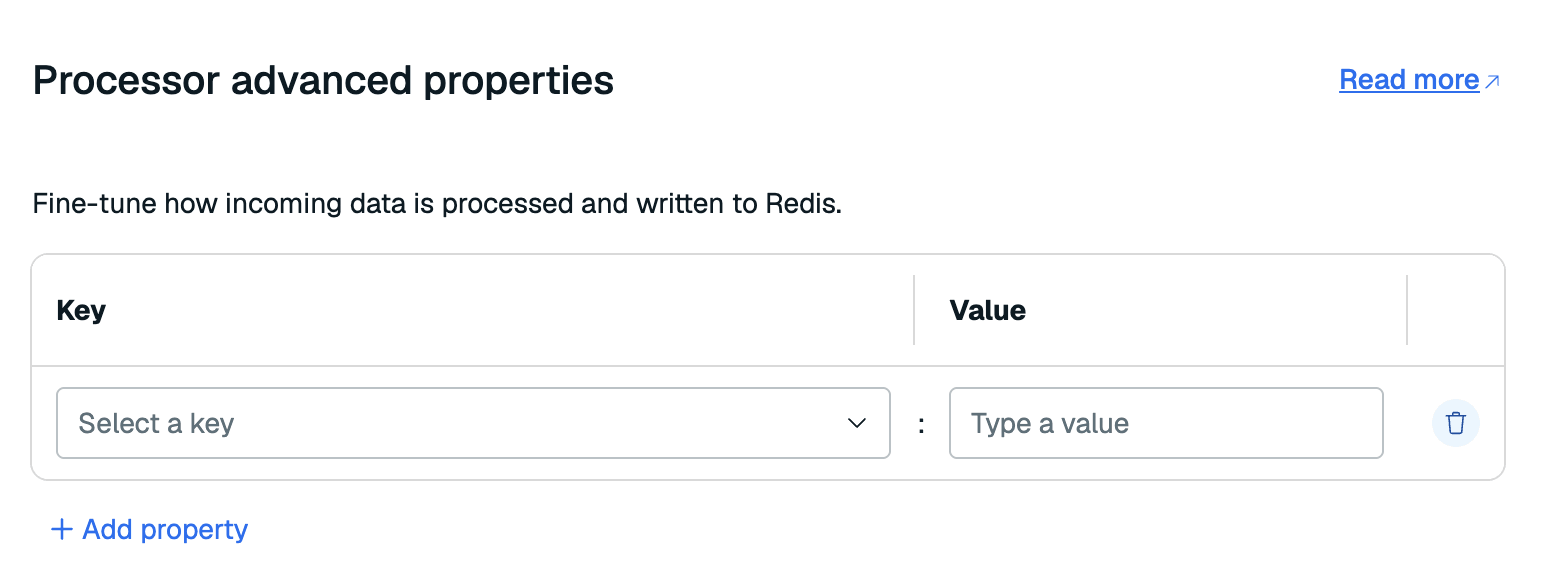
See the RDI configuration file reference for all available processor properties.
Review and deploy
Review the tables you selected in the Review and deploy step. If everything looks correct, select Deploy pipeline to start ingesting data from your source database.
At this point, the data pipeline will ingest data from the source database to your target Redis database. This process will take time, especially if you have a lot of records in your source database.
After this initial sync is complete, the data pipeline enters the change streaming phase, where changes are captured as they happen. Changes in the source database are added to the target within a few seconds of capture.
You can view the status of your data pipeline in the Data pipeline tab of your database. See View and edit data pipeline to learn more.