Tutorial
How to cache REST API responses Using Redis & NodeJS
February 26, 20263 minute read

TL;DR:Use the RedisSETcommand with a TTL to store serialized API responses, and check for a cached value withGETbefore calling the upstream API. This turns slow external calls into sub-millisecond reads and protects your app from rate limits and outages.
#What you'll learn
- How to connect a Node.js application to Redis
- How to cache responses from a third-party REST API in Redis
- How to set a TTL (time-to-live) so cached data expires automatically
- How to serve cached responses instead of making redundant API calls
- How caching reduces latency and lowers server load
#Prerequisites
- Node.js (v14 or later) installed on your machine
- A running Redis instance — see the Redis quick start to get set up
- Basic familiarity with Node.js and Redis
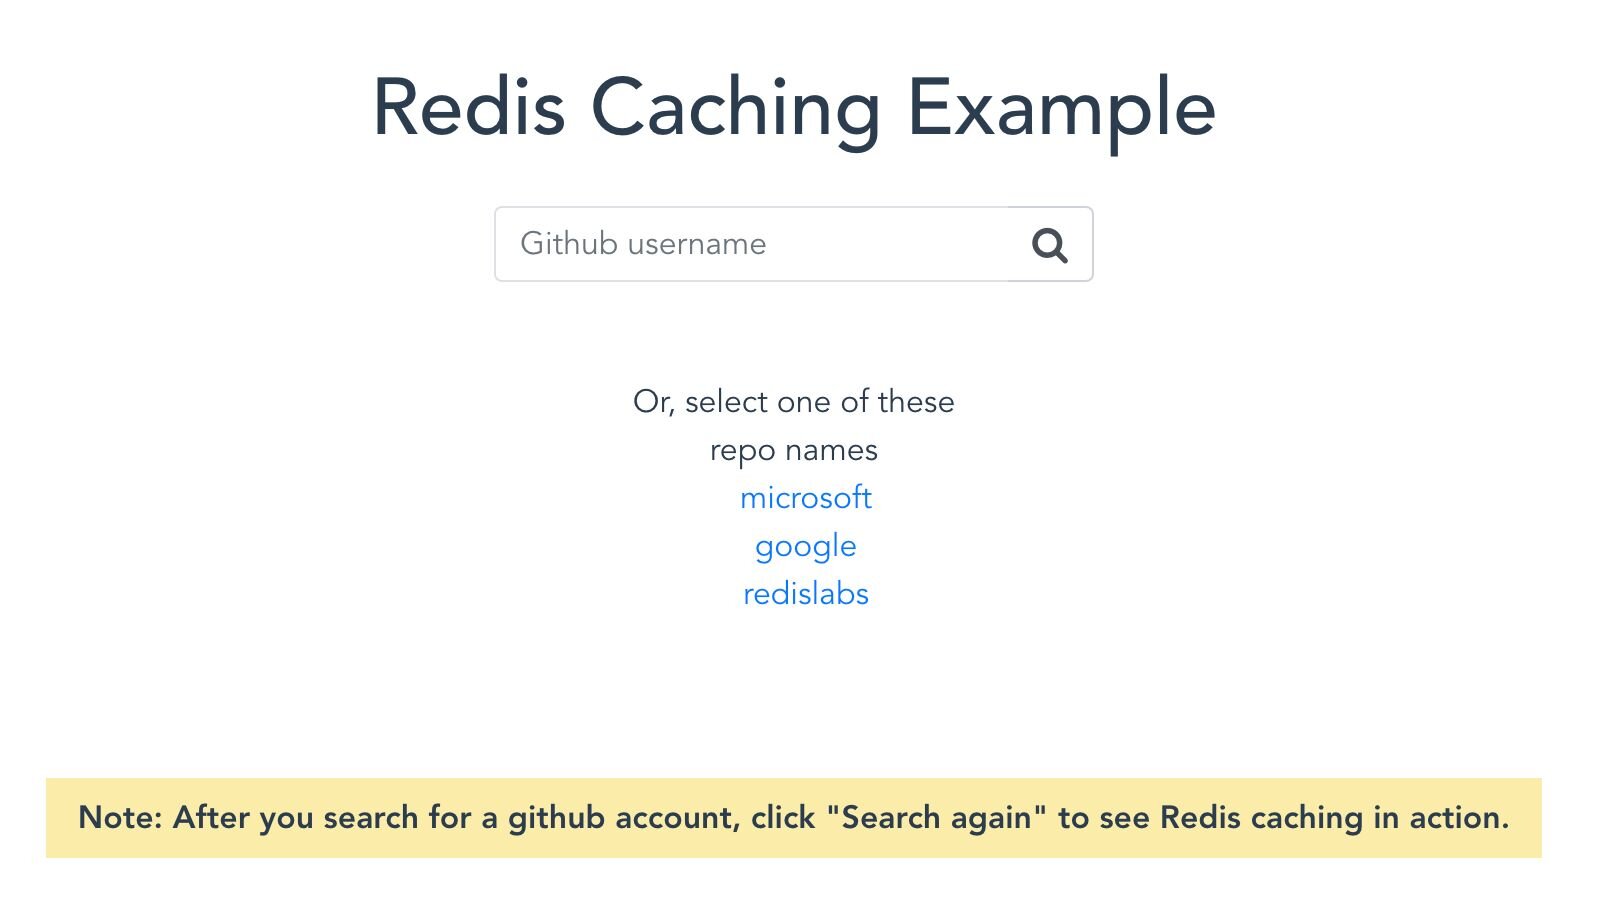
#How does REST API caching with Redis work?
This demo application returns the number of public repositories a GitHub account has. When you search for an account for the first time, the server calls the GitHub API. This external call can take hundreds of milliseconds. The server then stores the response in Redis with a TTL so that future requests for the same account are served directly from cache in under a millisecond.
The caching flow looks like this:
- A request arrives at your Node.js server.
- The server checks Redis for a cached response.
- Cache hit — return the cached data immediately.
- Cache miss — call the external API, store the result in Redis with a TTL, and return the response.
#Setting up the project
#1. Clone the repository
#2. Configure environment variables
Copy the sample environment file and fill in your Redis connection details:
The
.env file expects two values:REDIS_ENDPOINT_URI— your Redis server URIREDIS_PASSWORD— the password for your Redis server
#3. Run the backend
#4. Run the frontend
Open
https://localhost:8081 to see the application running.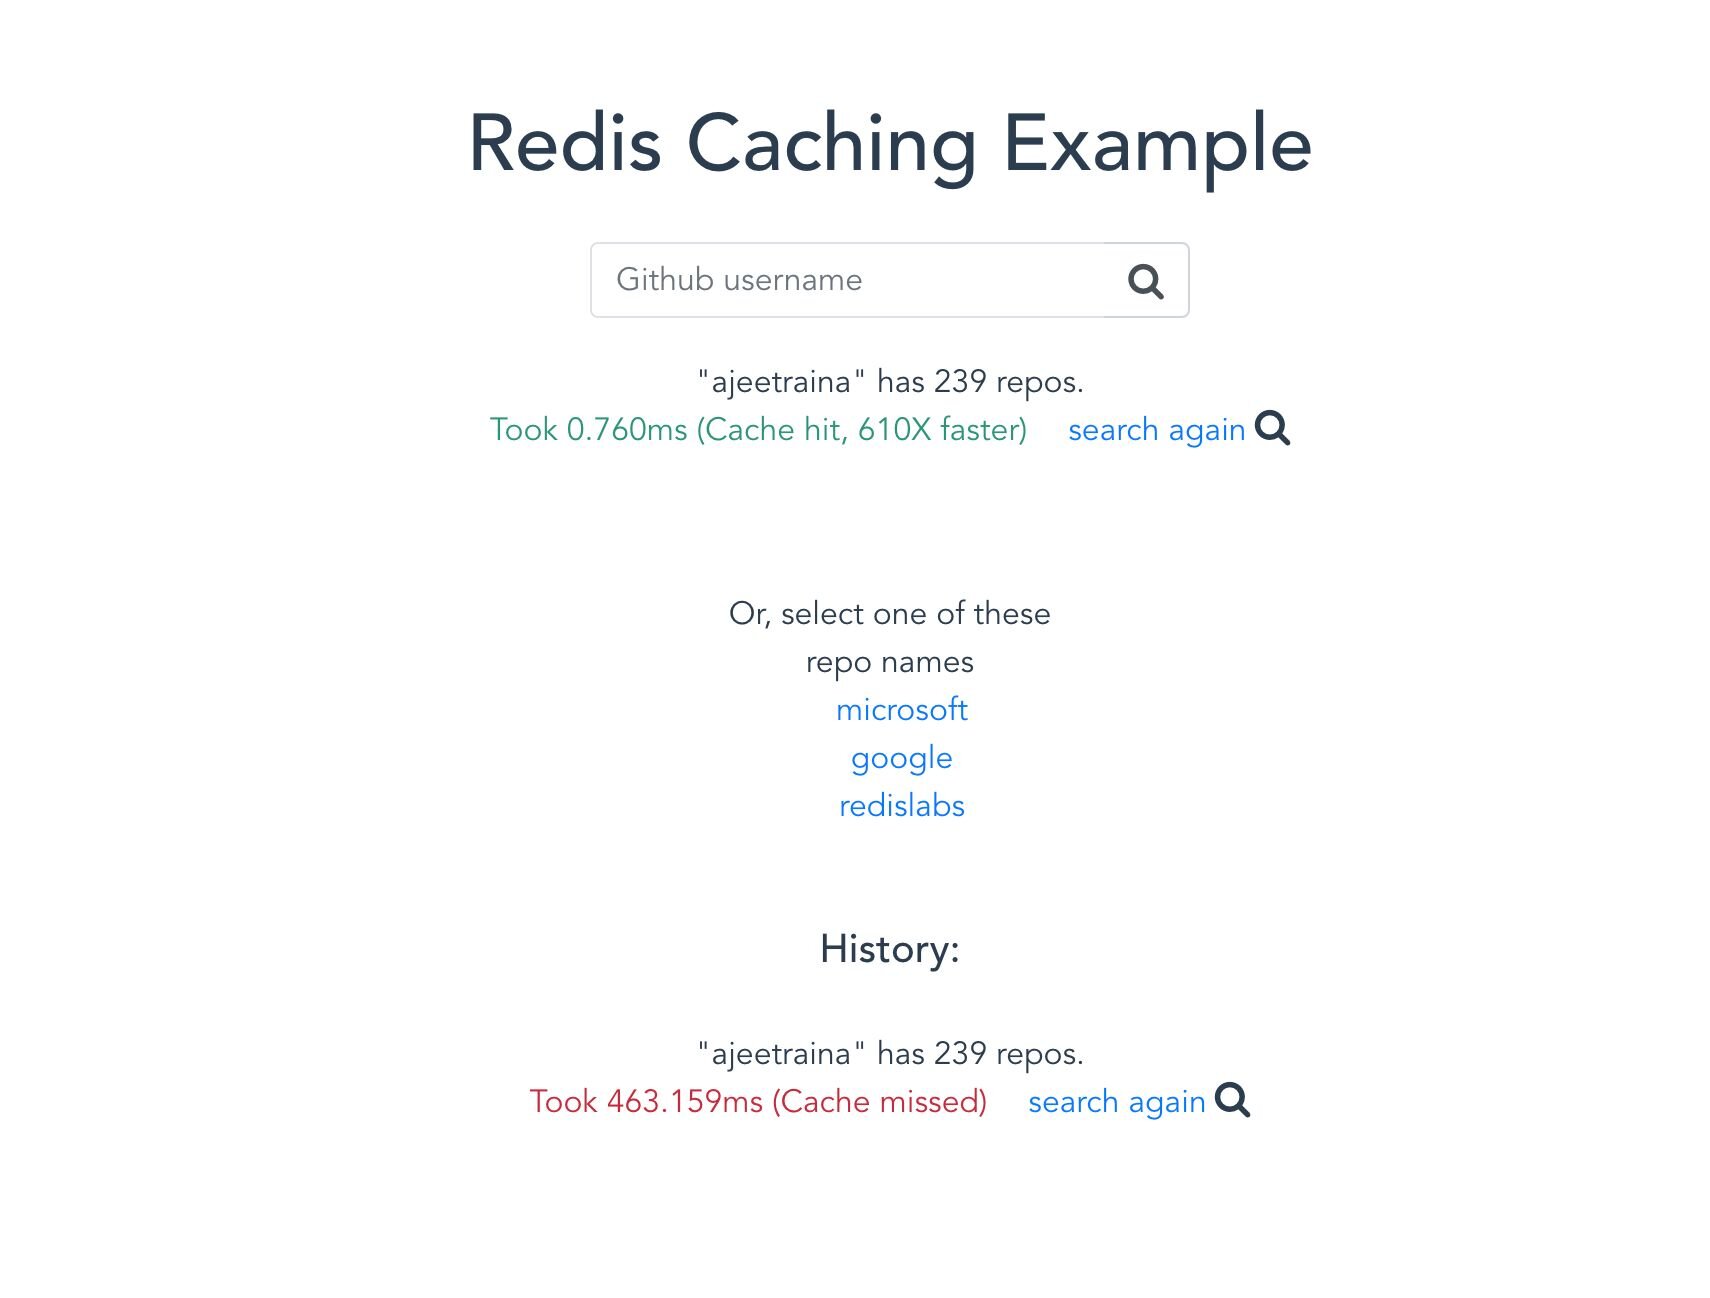
#Why cache API responses in Redis?
Caching REST API responses in Redis offers several advantages:
- Lower latency — cached responses are returned in sub-millisecond time instead of waiting for an external API round trip.
- Reduced server load — fewer outbound HTTP requests mean less CPU and network consumption on your server.
- Cost savings — many third-party APIs charge per request or enforce rate limits. Caching avoids unnecessary calls.
- Resilience — if the upstream API goes down temporarily, your application can still serve cached data.
#What is TTL caching and why does it matter?
TTL (time-to-live) caching sets an expiration on each cached entry. After the TTL elapses, Redis automatically removes the key so your application fetches fresh data on the next request. This keeps cached content from going stale without requiring manual cache invalidation.
Choose a TTL based on how frequently the upstream data changes. Data that updates every few minutes might use a TTL of 60–120 seconds, while data that rarely changes could safely use TTLs of several hours.
#How do I invalidate the cache?
There are several strategies for cache invalidation in Node.js with Redis:
- TTL-based expiration — the simplest approach, used in this demo. Redis deletes the key automatically when the TTL expires.
- Manual deletion — call
DEL keywhen you know the upstream data has changed. - Event-driven invalidation — listen for webhooks or pub/sub events from the data source and clear relevant keys in response.
#Next steps
- Learn more about getting started with Node.js and Redis
- Explore API caching patterns in ASP.NET Core with Redis for a different stack
- Read about microservices API gateway caching for production architectures