Tutorial
How to build a NodeJS based application on Heroku using Redis
February 25, 20263 minute read

TL;DR:Create a Redis Cloud database, install the Heroku CLI, clone a Node.js sample app, set your Redis connection credentials as Heroku config vars, and rungit push herokuto deploy. The app connects to Redis Cloud using theREDIS_ENDPOINT_URIandREDIS_PASSWORDenvironment variables.
#What you'll learn
- How to create a Redis Cloud database and retrieve connection credentials
- How to set up a Heroku account and install the Heroku CLI
- How to configure environment variables in Heroku for Redis Cloud
- How to deploy a Node.js application to Heroku with
git push
#Prerequisites
- A Redis Cloud account (free tier available)
- A Heroku account (requires a verified billing method)
- Node.js installed locally
- Git installed locally
- Basic familiarity with Node.js and Redis
Note: Heroku no longer offers a free tier. You will need a verified Heroku account with a billing method to complete this tutorial.
#How do I create a Redis Cloud database?
Create your Redis Cloud account. Follow this link to create Redis Cloud subscription and database as shown below:
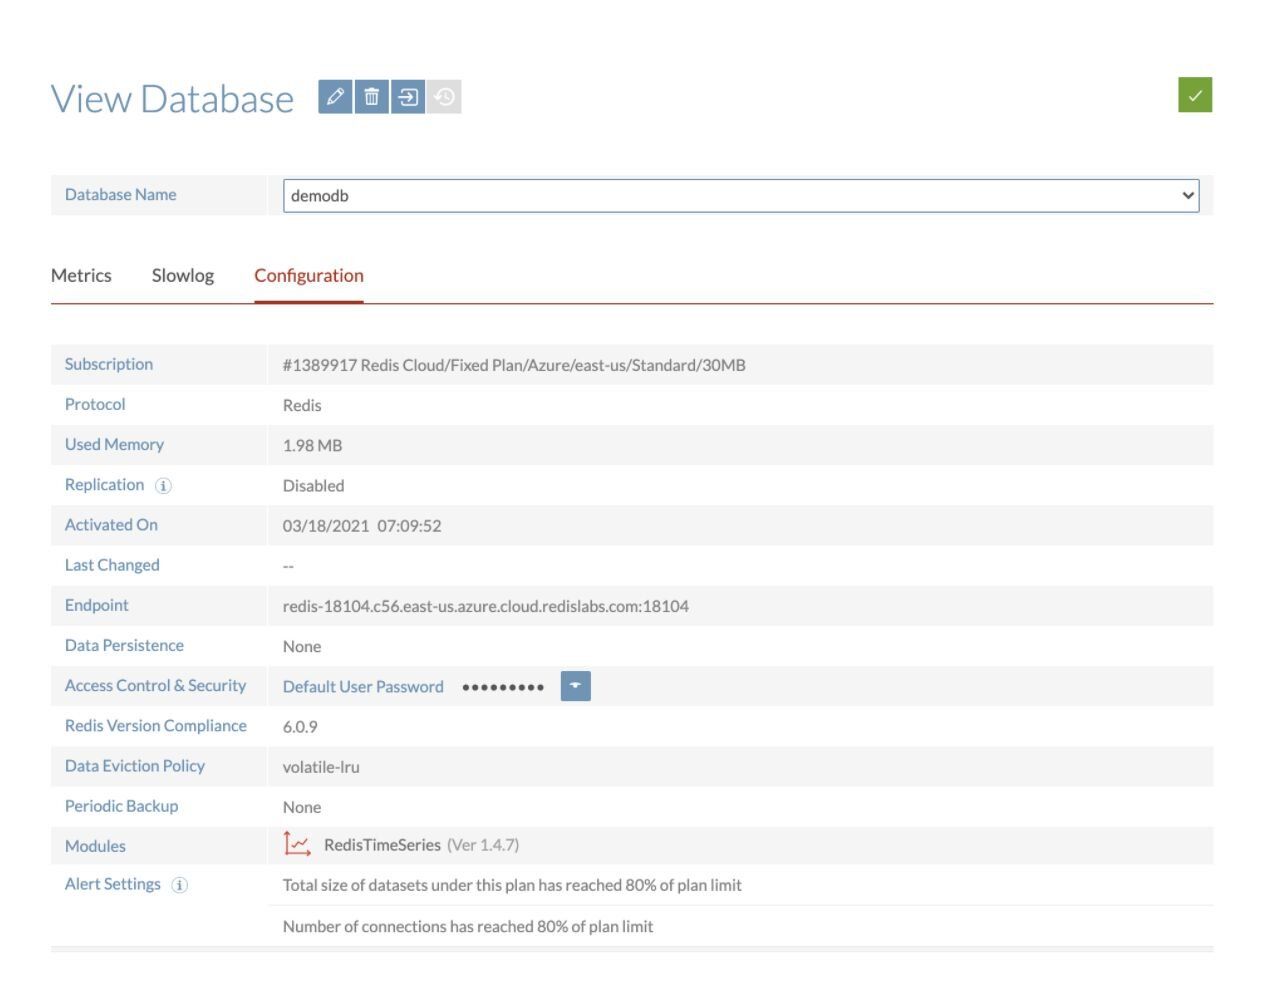
Save the database endpoint URL and password for future reference. You will need these values to connect your Heroku app to Redis.
#How do I set up Heroku for a Node.js app?
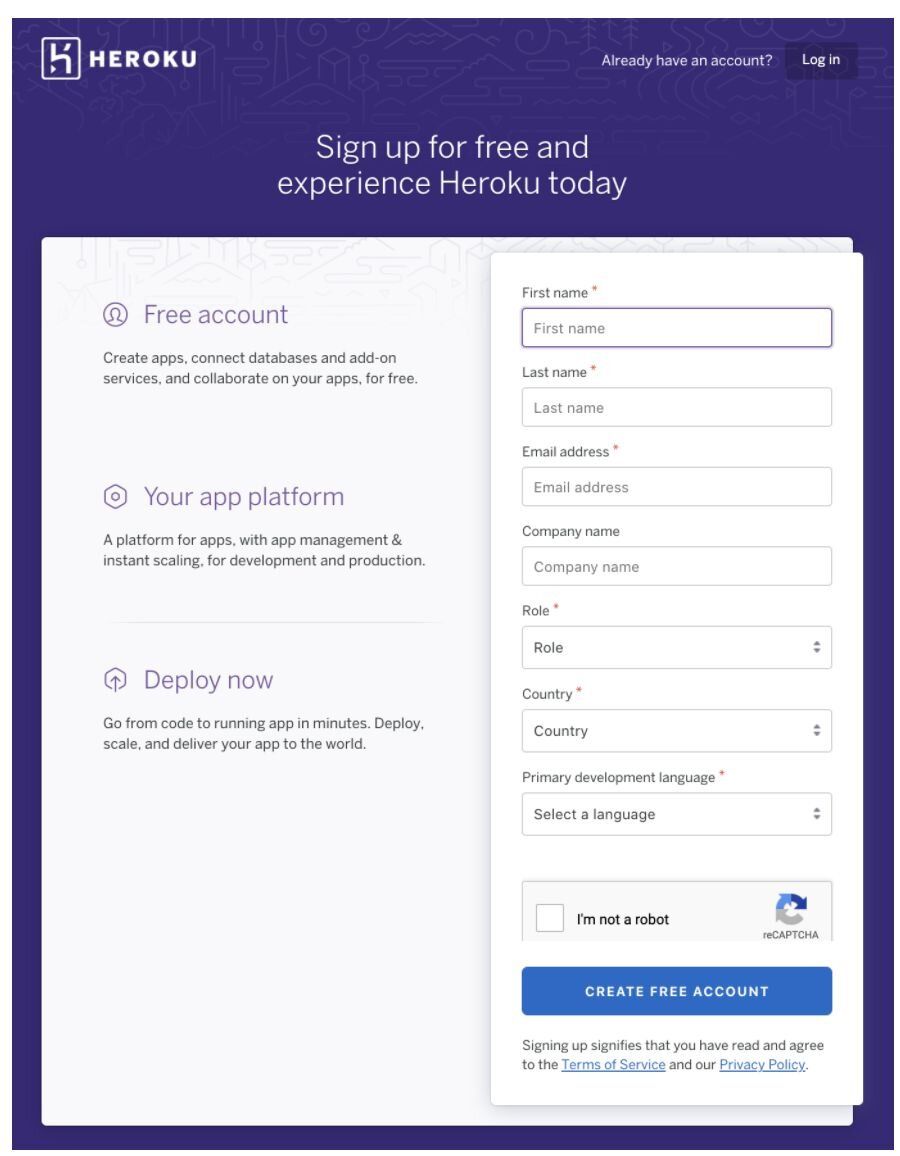
If you are using Heroku for the first time, create your new Heroku account through this link.
#Install the Heroku CLI
Install the Heroku CLI so you can deploy from your terminal:
#Log in to Heroku
#How do I connect a Node.js app to Redis Cloud on Heroku?
For this demonstration, we will be using a Sample Rate Limiting application built with Express and the node-redis client.
#Clone the repository
#Create a Heroku app
Run the below CLI to have a functioning Git repository that contains a simple application as well as a
package.json file:#Set Redis environment variables
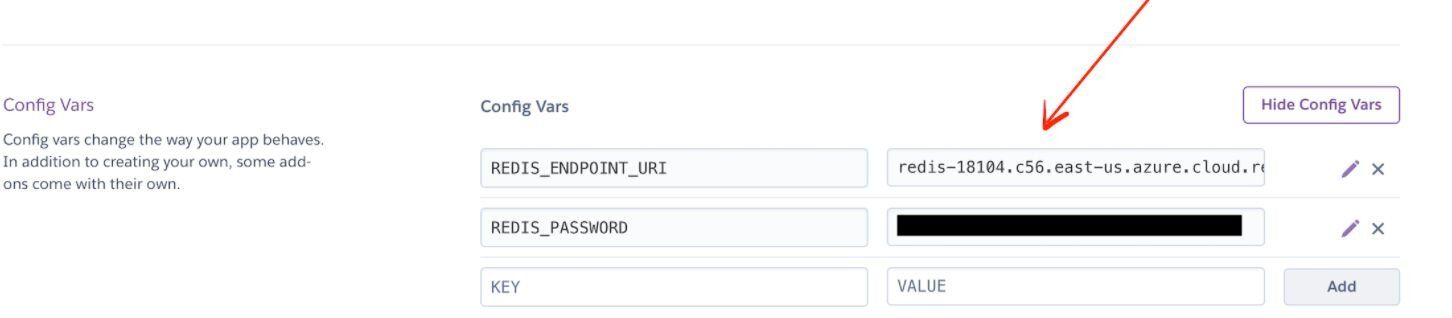
Go to Heroku dashboard, click "Settings" and set
REDIS_ENDPOINT_URI and REDIS_PASSWORD under the Config Vars. Refer to your Redis Cloud database credentials from the first step.You can also set these from the CLI:
#How do I deploy the Node.js app to Heroku?
Push your code to Heroku to trigger a deployment:
Wait for the build to complete. You will see output similar to:
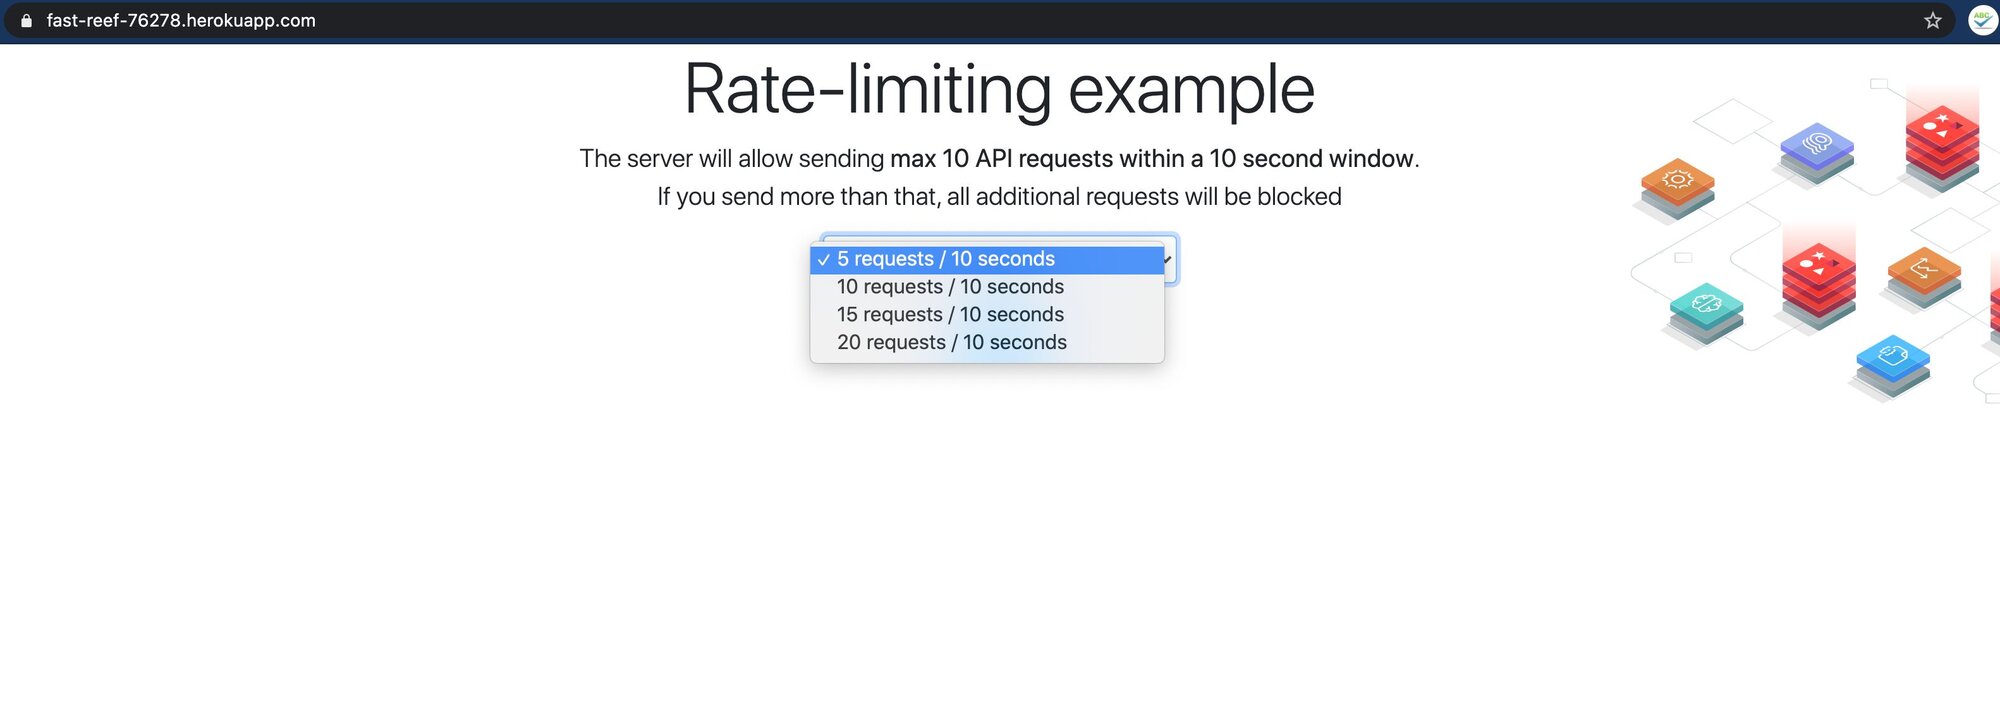
#Access the running application
Open your app URL to see the deployed application:
#Next steps
- Learn the basics of Node.js with Redis including connection management and core commands
- Explore the Python on Heroku with Redis tutorial for a similar workflow in Python
- Browse Redis Cloud documentation for database scaling and configuration options