Tutorial
Getting Started with Azure Functions and Redis
February 26, 20268 minute read
TL;DR:Connect Azure Functions to Azure Cache for Redis to build serverless applications with fast caching and data access. Set up a Redis cache instance on Azure, configure your connection string, and call Redis from a C# Azure Function to store and query data — no server management required.
#What you'll learn
- How to create and configure an Azure Cache for Redis instance
- How to connect an Azure Function to Redis using a connection string
- How to build and run a C# Azure Function that reads and writes Redis data
- How to seed data into Redis and query it with Redis Insight
- How to use Redis probabilistic data structures (Count-Min Sketch) from a serverless function
#Prerequisites
- A Microsoft Azure account with an active subscription
- Visual Studio Code installed
- Azure Functions Core Tools v4 installed
- .NET 6 SDK or later
- redis-cli for verifying connectivity
- Basic familiarity with C# and .NET Redis development
Azure Functions is an event-based, serverless compute platform offered by Microsoft to accelerate and simplify serverless application development. It allows developers to write less code, build and debug locally without additional setup, and deploy and operate at scale in the cloud.
#How do Azure Functions work?
Azure Functions allows you to implement your system's logic into readily available blocks of code. These code blocks are called "functions." An Azure function's execution is triggered when an event is fired. Whenever demand for execution increases, more and more resources are allocated automatically to the service, and when requests fall, all extra resources and application instances drop off automatically. In short, as a developer, you can now focus on the pieces of code that matter most to you, and Azure Functions handles the rest.
Azure Functions provides as many or as few compute resources as needed to meet your application's demand. Providing compute resources on-demand is the essence of serverless computing in Azure Functions.
#What are the benefits of Azure Functions?
- Azure Functions provides automated and flexible scaling.
- It allows you to build, debug, deploy, and monitor with integrated tools and built-in DevOps capabilities.
- It supports a variety of programming languages such as C#, Java, JavaScript, Python, and PowerShell.
- It allows you to use Functions extensions on Visual Studio and Visual Studio Code for faster and more efficient development on your local system.
- With Azure Functions you can set up CI/CD with Azure Pipelines.
- It's a great solution for processing bulk data, integrating systems, working with IoT, and building simple APIs and microservices.
- It's used to break monolithic architectures into loosely coupled functions.
- It allows you to deploy Functions to Kubernetes.
In this tutorial, you will learn how to get started with Azure Functions and Redis.
#Getting started
- Step 1. Log in to Microsoft Azure Portal
- Step 2. Set up Azure Cache for Redis
- Step 3. Configure Keys for Redis Cache
- Step 4. Verify if Redis database is reachable remotely
- Step 5. Install Homebrew on Mac
- Step 6. Install Visual Studio Code
- Step 7. Install the Azure Functions Core Tools
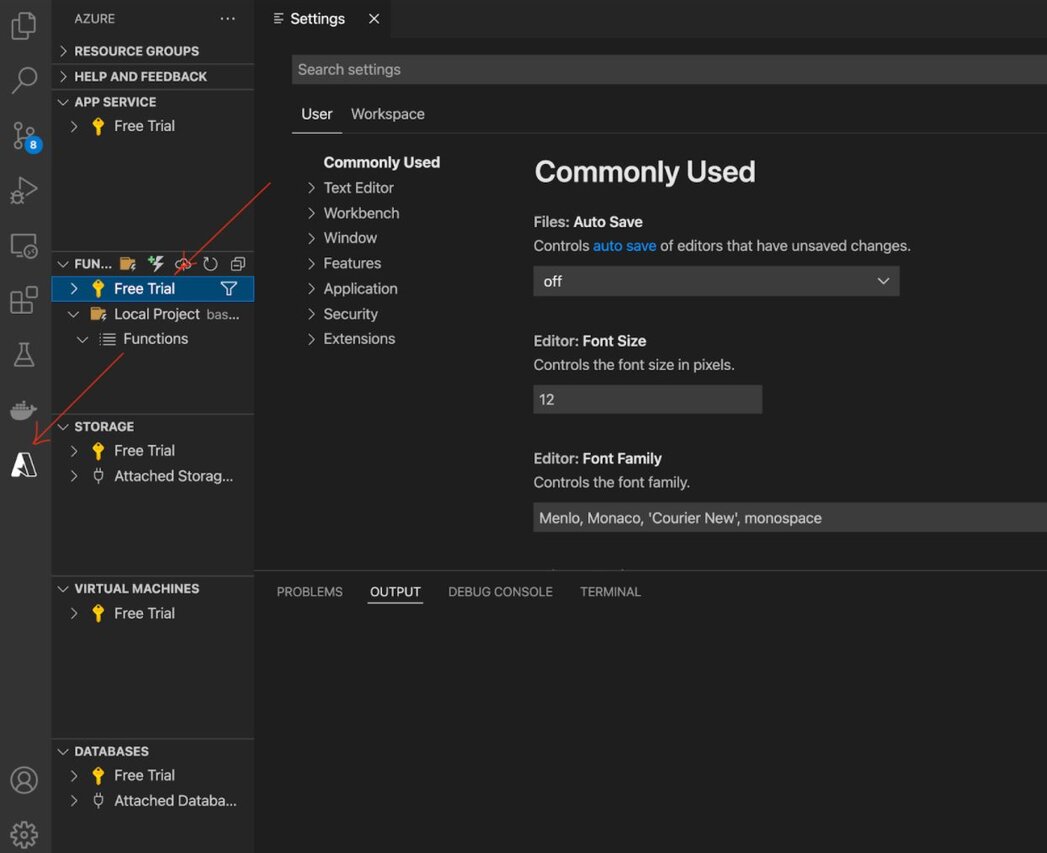
- Step 8. Install the Azure Functions extension for Visual Studio Code
- Step 9. Connect Azure Function to Azure account
- Step 10. Clone the project repository
- Step 11. Trigger the function
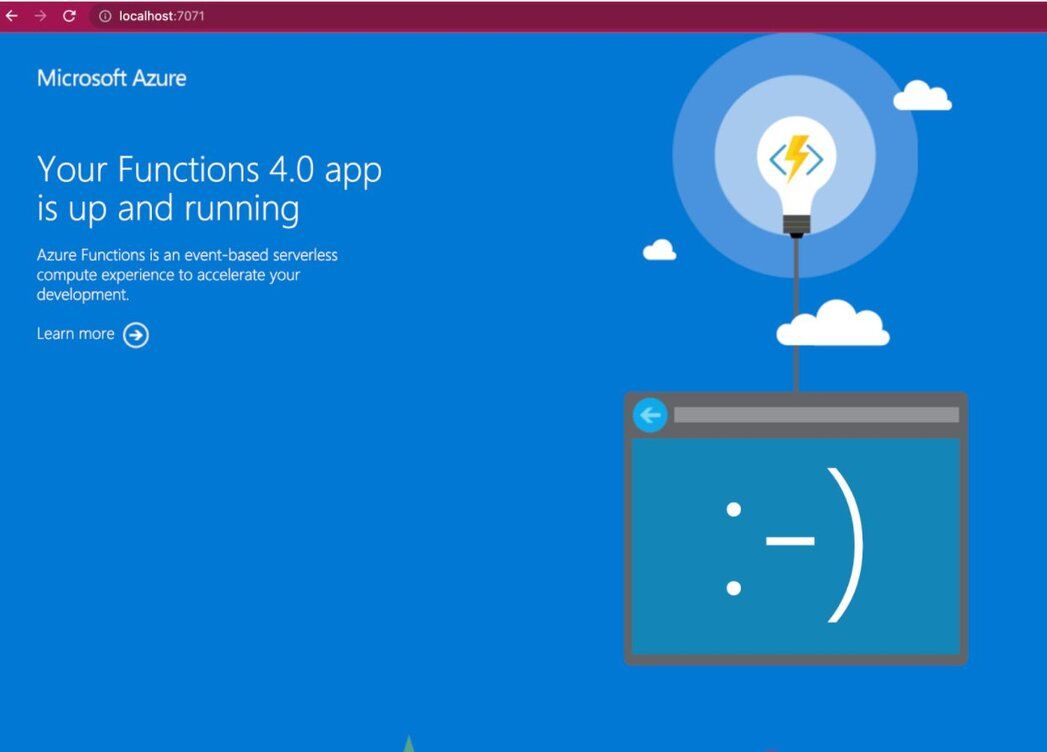
- Step 12. Verify the Azure Functions app is working properly
- Step 13. Seed the Redis database
- Step 14. Run query using Redis Insight
#Step 1. Log in to Microsoft Azure Portal
Create an Azure account with an active subscription by clicking this link: Create an account for free.
#Step 2. How do you set up Azure Cache for Redis?
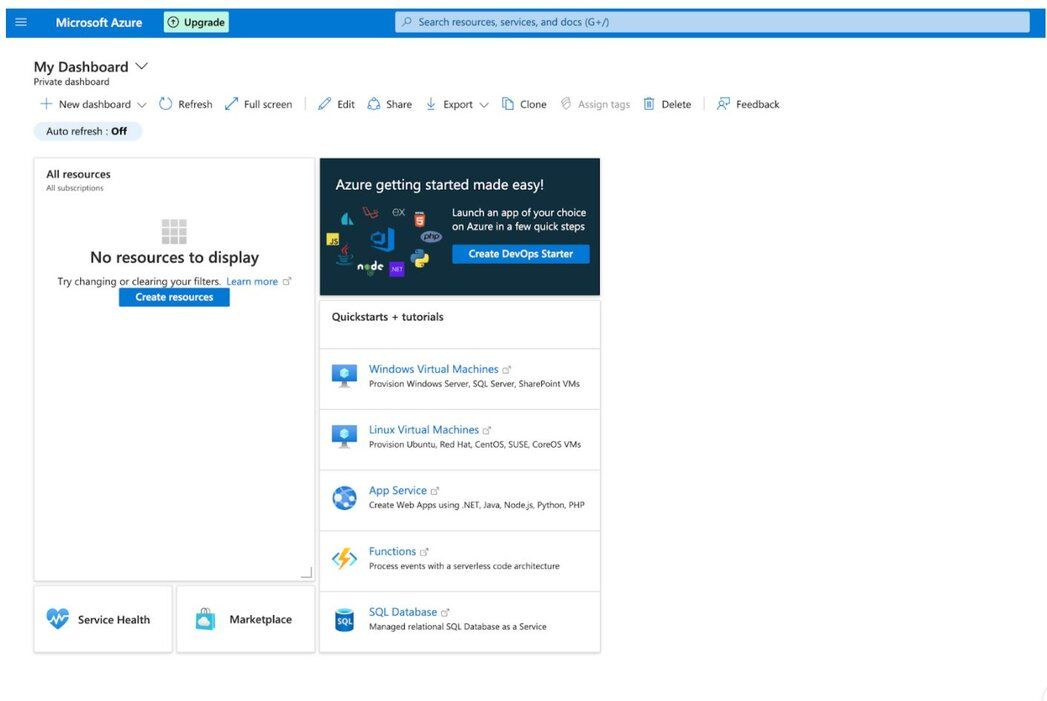
Type "Azure Cache for Redis" in the search section and select the service:

Under "New Redis Cache" window, create a new resource group, select your preferred location and cache type:
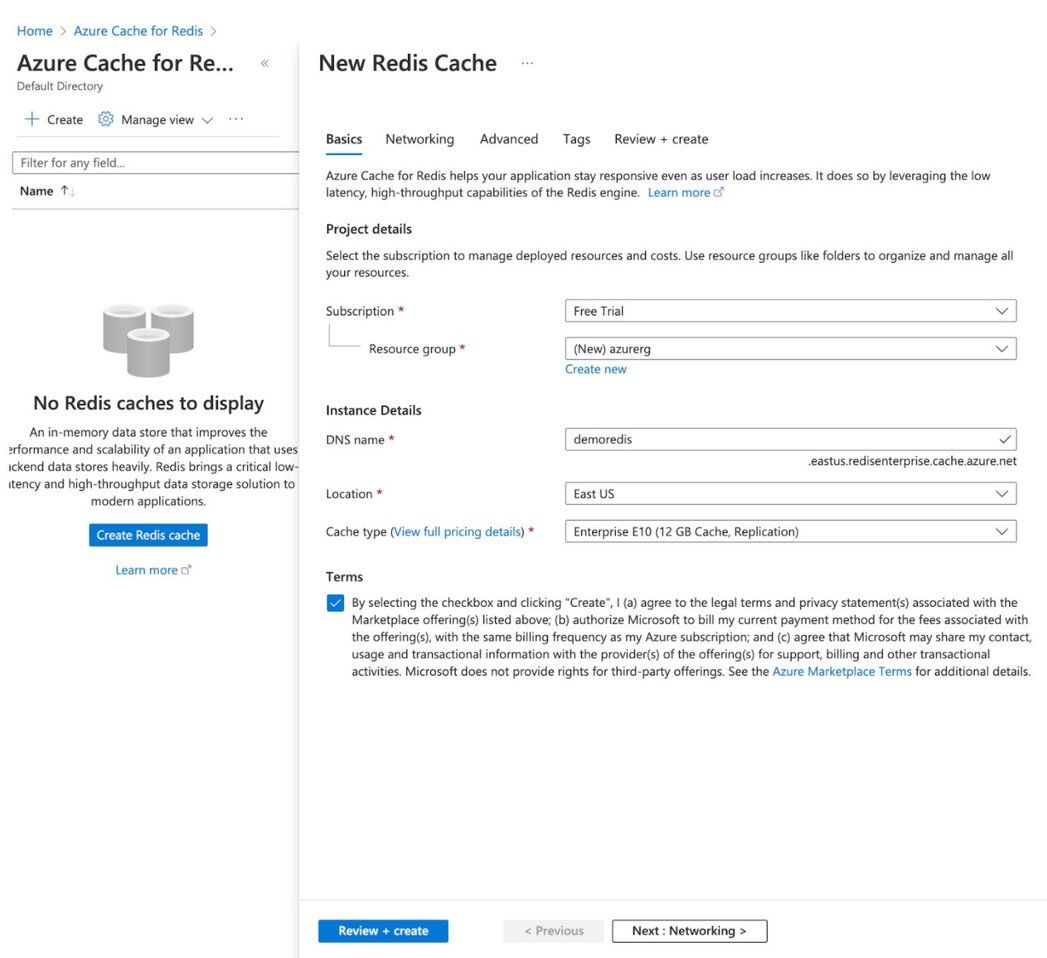
Once you are done with the entries, click "Review + Create" button.
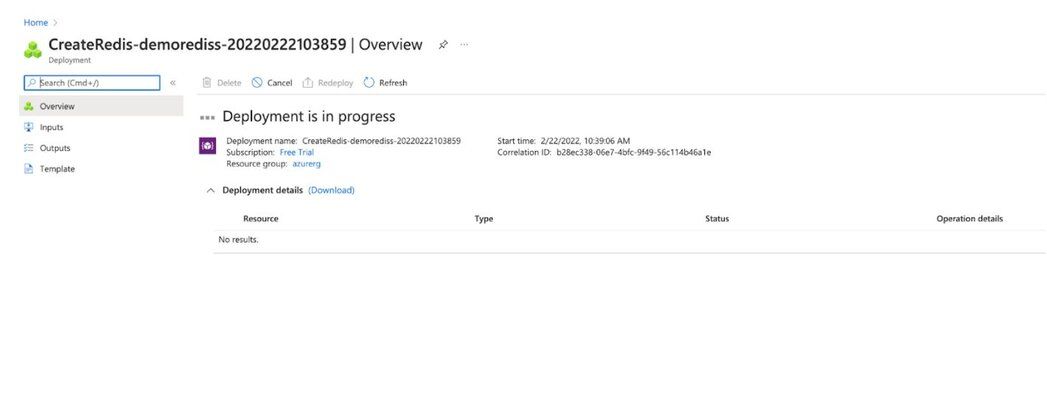
Once the deployment is complete, you will be provided with the deployment name, subscription details and resource group.
For a more detailed walkthrough of creating a Redis instance on Azure, see Create Redis database on Azure Cache or Create a database using Azure Cache for Redis Enterprise.
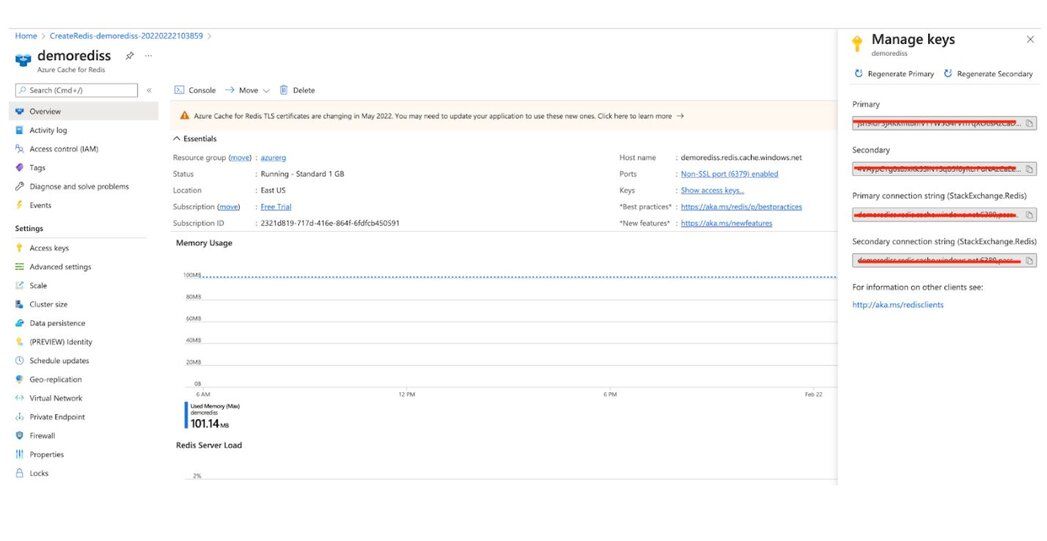
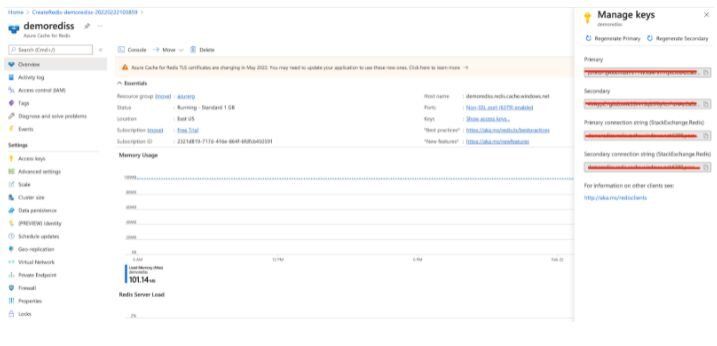
#Step 3. How do you configure access keys for Redis Cache?
You will need keys to log in to the Redis database. Click "Overview" option in the left sidebar to see the Primary key and save it for future reference.
#Step 4. How do you verify that Redis is accessible remotely?
#Step 5. Install Homebrew on Mac
Install the Homebrew package manager by running this script:
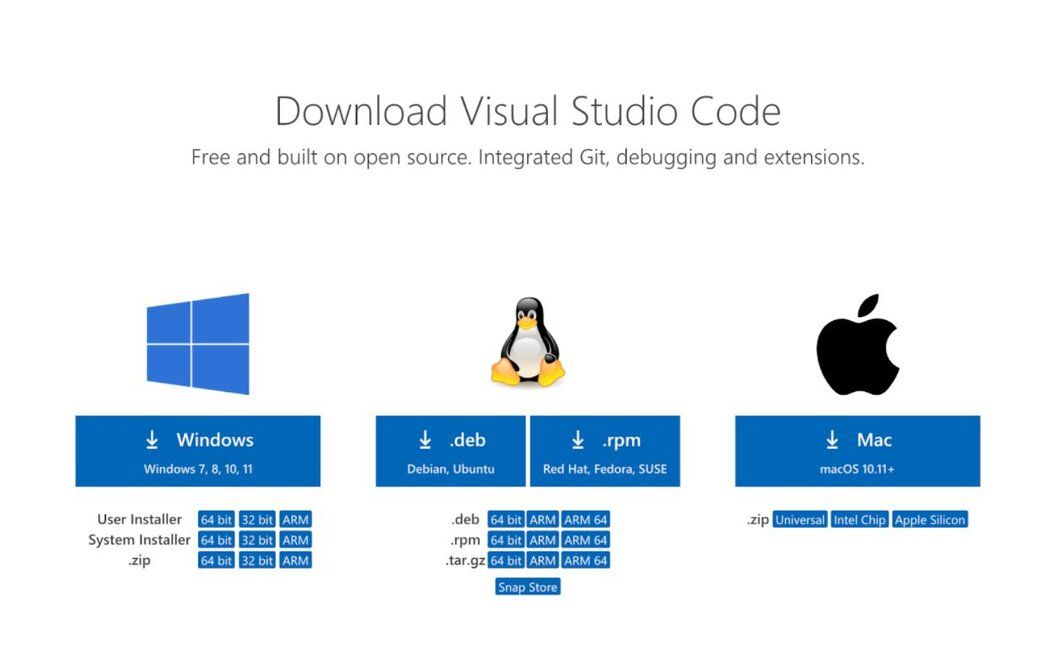
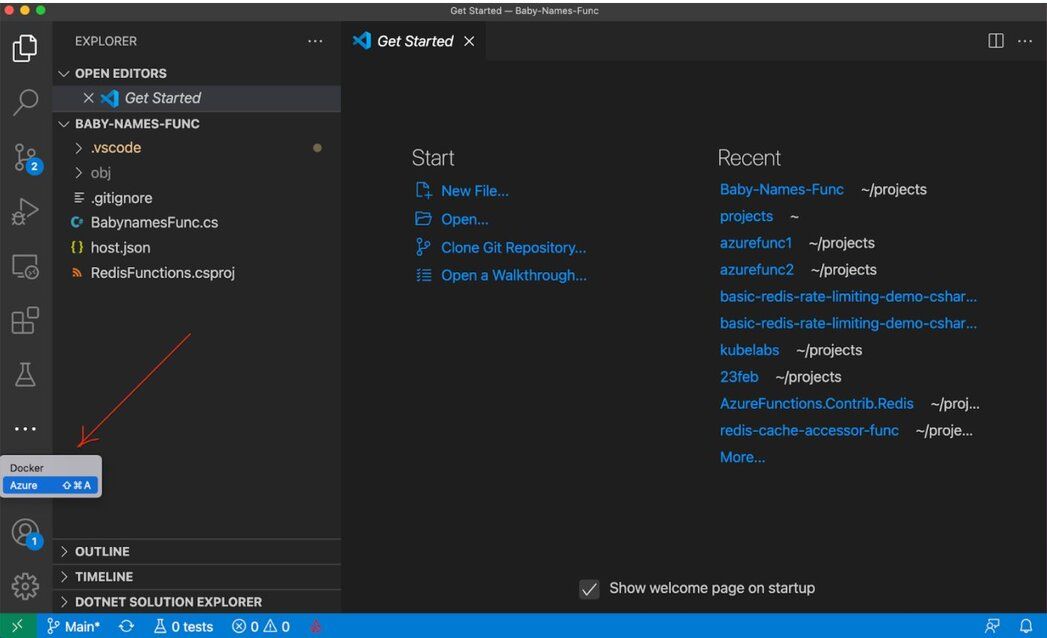
#Step 6. Install Visual Studio Code
Visual Studio Code is a lightweight but powerful source code editor that runs on your desktop and is available for Windows, macOS, and Linux. It comes with built-in support for JavaScript, TypeScript, and Node.js, and has a rich ecosystem of extensions for other languages (such as C++, C#, Java, Python, PHP, Go) and runtimes (such as .NET and Unity). Begin your journey with VS Code with these introductory videos.
#Step 7. Install the Azure Functions Core Tools
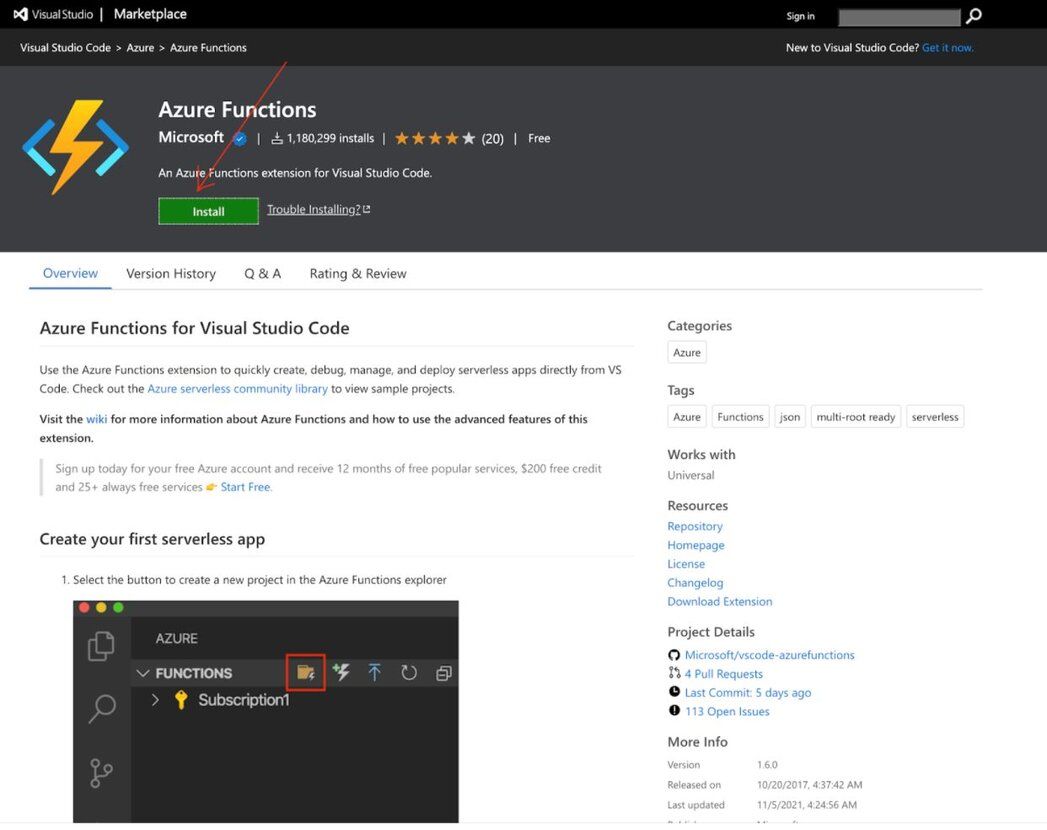
#Step 8. Install the Azure Functions extension for Visual Studio Code
Use the Azure Functions extension to quickly create, debug, manage, and deploy serverless apps directly from VS Code.
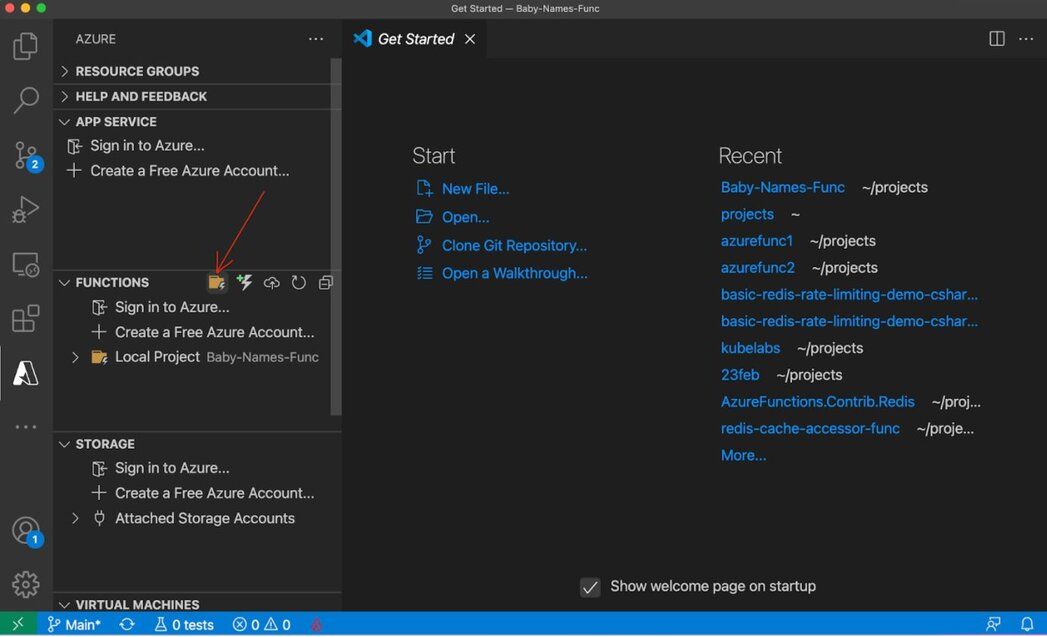
#Step 9. How do you connect an Azure Function to your Azure account?
#Step 10. How do you connect an Azure Function to Redis?
For this tutorial, we will be using a baby names counter app built using C#. To get started, we will first clone the repository:
Add "Azure Cache for Redis" endpoint URL details in the
local-settings.json file as shown below:Open the project with Visual Studio Code by running the following command:
This will open VS Code. The function will automatically load into the plugin.
#Step 11. How do you trigger and run an Azure Function locally?
Press F5 to automatically execute the function.
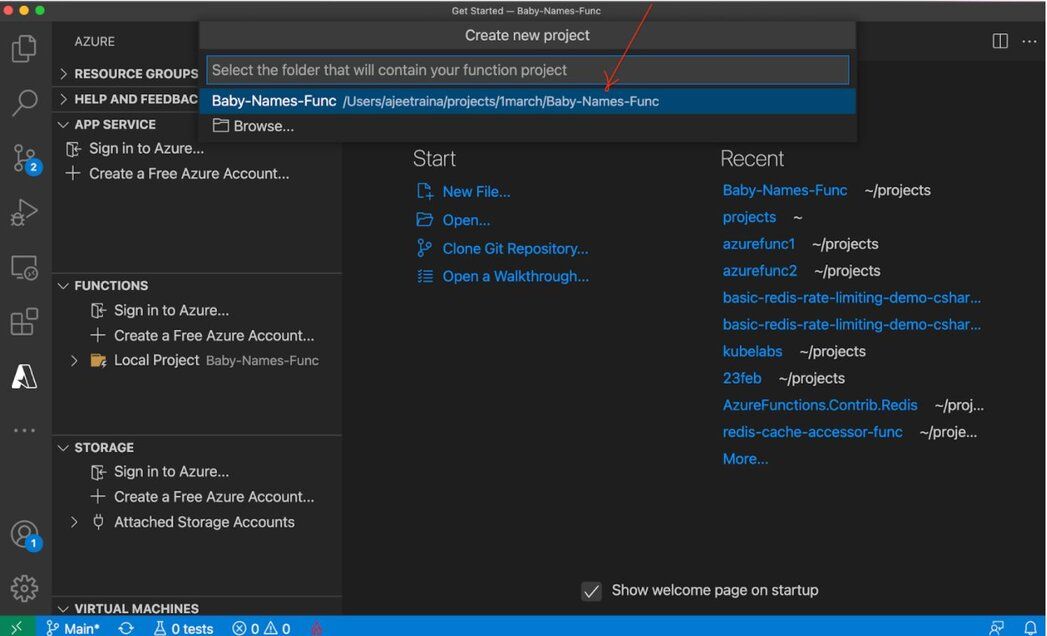
If you want to manually select the repository, choose .NET framework, etc., and then click "Create new project."
You will find the following output under VS Code screen:
#Step 12. Verify the Azure Functions app is working properly
#Step 13. How do you seed data into Redis from an Azure Function?
Now, let us seed BabyNames data into the Redis database.
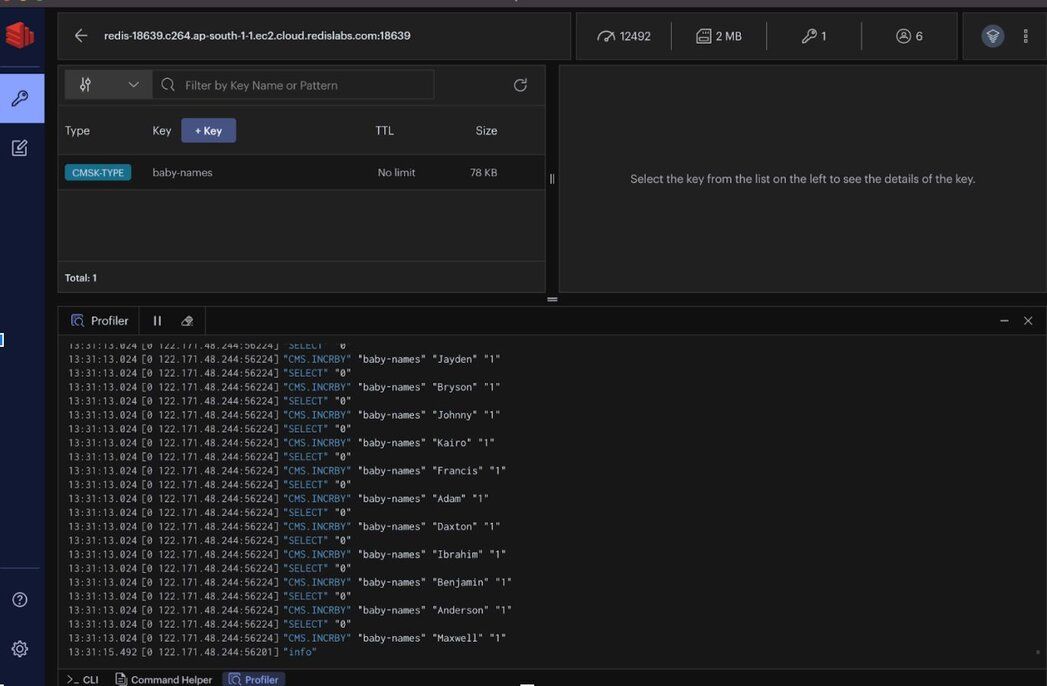
If you connect to the Redis database and run the
MONITOR command, you should see the data being inserted into the database as shown below:#Step 14. How do you query Redis data with Redis Insight?
Set up Redis Insight on your local system and get connected to the Redis database. Once connected, you should be able to run the following queries:
#Next steps
Now that you have Azure Functions connected to Redis, explore these related tutorials:
- Create Redis database on Azure Cache — set up a standalone Azure Cache for Redis instance
- Create a database using Azure Cache for Redis Enterprise — provision an Enterprise-tier Redis database on Azure
- .NET and Redis — learn the StackExchange.Redis client for .NET applications