Tutorial
Getting Started with Netlify and Redis
February 25, 20265 minute read
TL;DR:Connect your Netlify serverless functions to Redis Cloud by setting your Redis endpoint and password as Netlify environment variables, then use a Redis client library (likenode-redisorioredis) inside your serverless functions to cache data, manage sessions, or store real-time state.
#What you'll learn
- How Netlify deploys and serves JAMstack apps through its global CDN
- How to set up a free Redis Cloud database
- How to install and authenticate with the Netlify CLI
- How to configure continuous deployment from a Git repository
- How to connect your Netlify app to Redis Cloud using environment variables
- How to deploy a Next.js caching app powered by Redis to Netlify
#Prerequisites
- A GitHub account
- Node.js (v14 or later) installed
- A free Redis Cloud account
- A free Netlify account
#What is Netlify?
Netlify is a popular static site hosting and serverless platform. It provides a fast way to build, deploy, and scale modern web apps.
Netlify is built primarily for JAMstack sites, which combine JavaScript, APIs, and Markup to deliver apps that are performant, secure, and well suited for both devs and content editors.
#Why use Redis with Netlify?
Netlify serverless functions run on-demand and are stateless by default. Redis gives them a fast, shared data layer for:
- Caching: Store API responses or computed results to reduce latency and external API calls.
- Session storage: Manage user sessions across serverless function invocations.
- Real-time data: Share state between edge functions, background functions, and client-side code.
- Rate limiting: Throttle requests using Redis counters with automatic expiration.
#How does Netlify work?
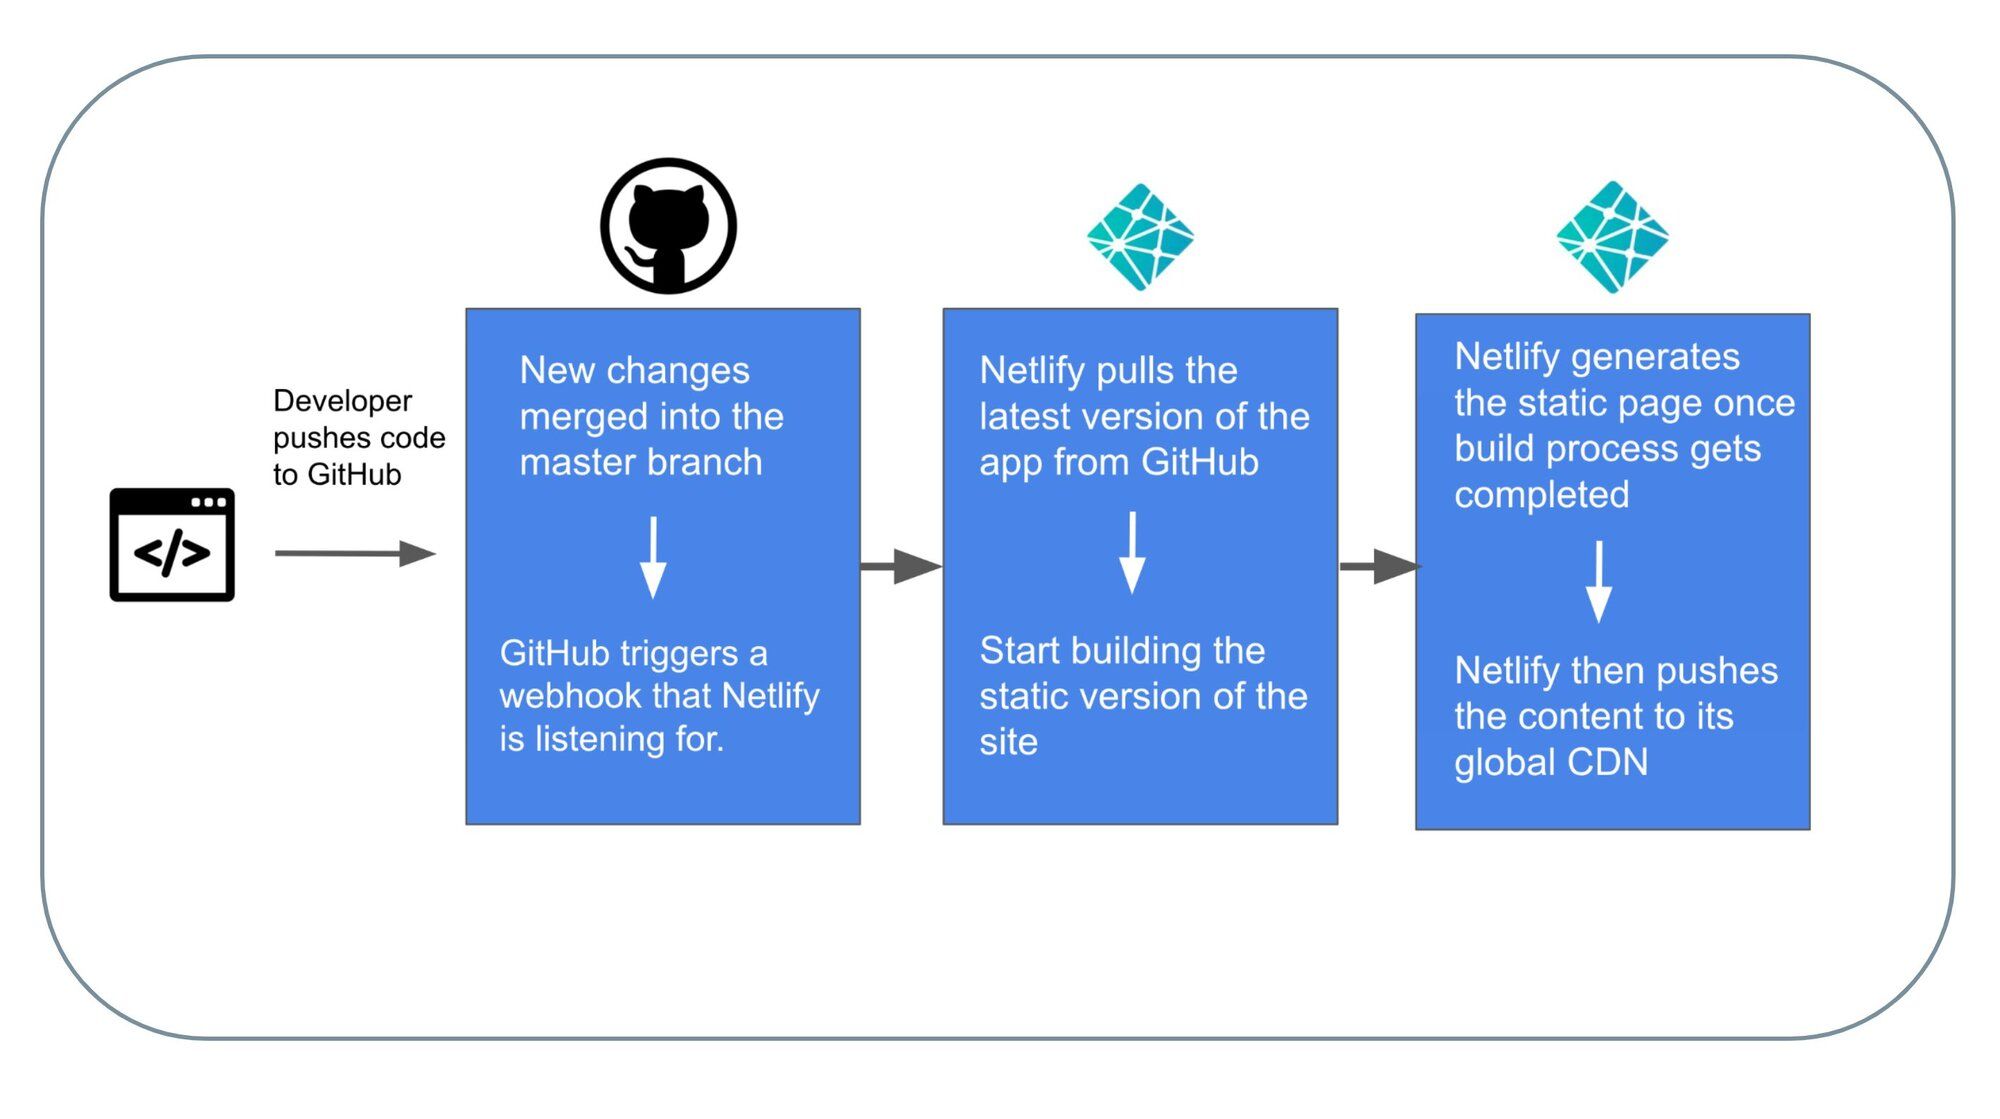
- You write code and push it to a Git repository (e.g. GitHub).
- When a change is merged into the main branch, a webhook notifies Netlify to start a new deploy.
- Netlify pulls the latest code and runs the build command to generate static site files.
- Netlify uses plugins and internal processing to pre-render pages as static HTML and optimize assets.
- The static assets are pushed to Netlify's global CDN for fast delivery.
Netlify also provides:
- Out-of-the-box continuous integration and deployment
- Free SSL, CDN, and DNS management
- Serverless functions and edge functions
- Plugin ecosystem for extending build behavior
#How do I deploy a Redis-powered app to Netlify?
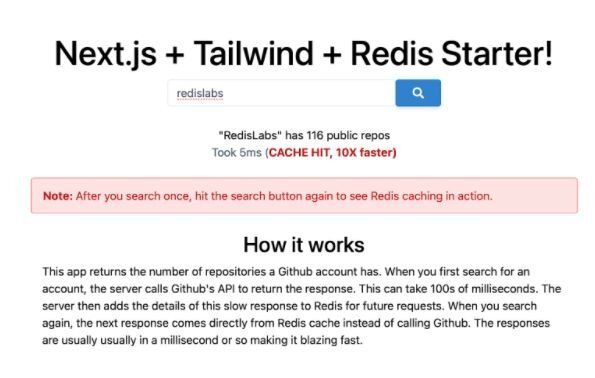
In this tutorial, you deploy a Redis caching app built with Next.js and TailwindCSS to Netlify. The whole process takes about 5 minutes.
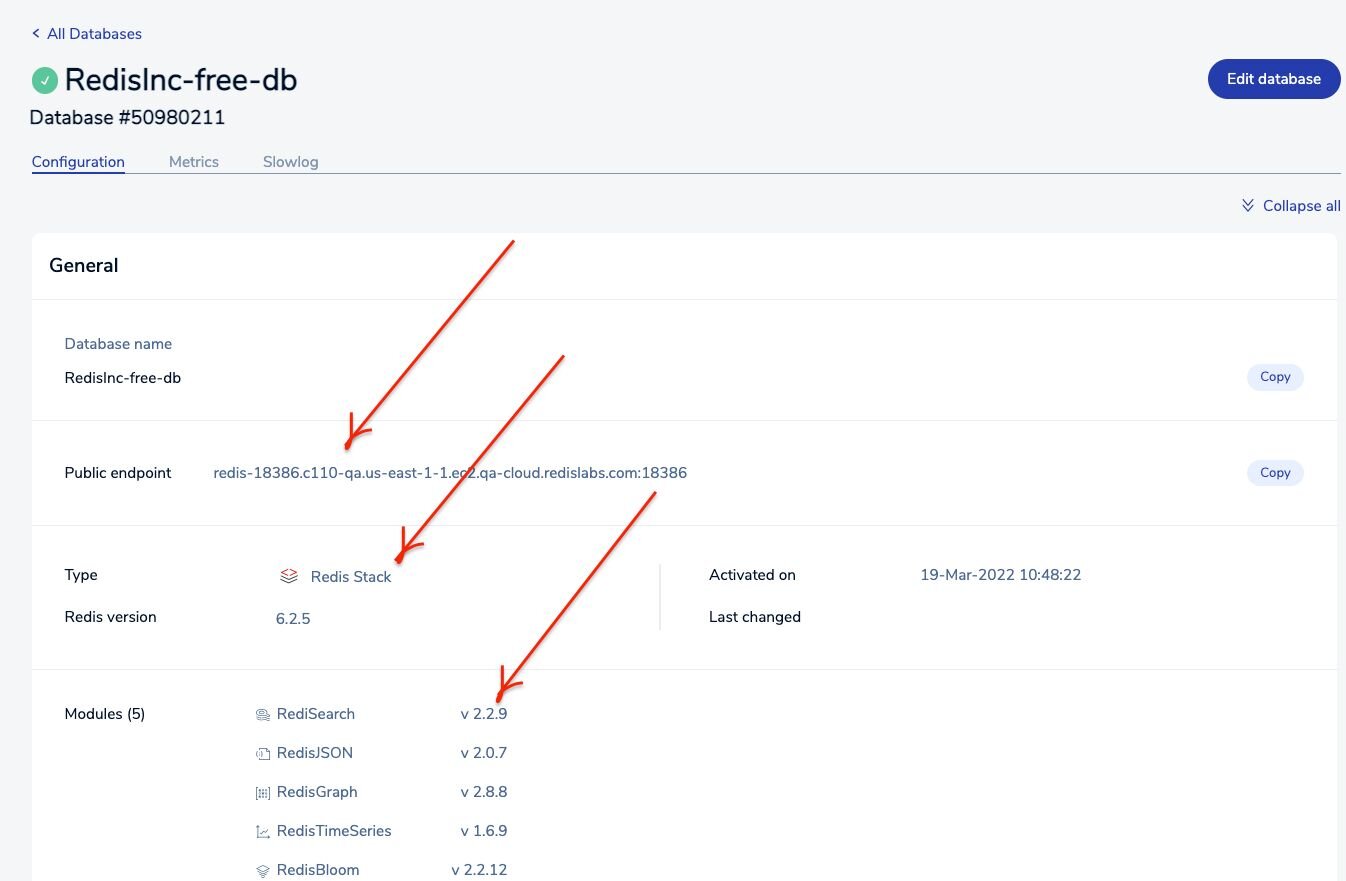
#Step 1. Set up a free Redis Cloud account
Visit redis.io/try-free to create a free Redis Cloud account. Once your database is provisioned, you'll see an endpoint URL and password. Save these for a later step.
#Step 2. Install the Netlify CLI
The Netlify CLI lets you configure continuous deployment directly from the command line.
Verify the installation:
#Step 3. Clone the repository
#Step 4. Log in to Netlify
Authenticate with your Netlify account through the CLI:
This opens a browser window where you grant access to the Netlify CLI. Once authenticated, you'll see:
Result
#Step 5. Configure continuous deployment
Run
netlify init to set up continuous deployment for the project. This also creates a netlify.toml configuration file if one doesn't exist.Result
This creates a
netlify.toml file with the following content:#Step 6. Push changes to GitHub
Push the latest changes to trigger the first Netlify build:
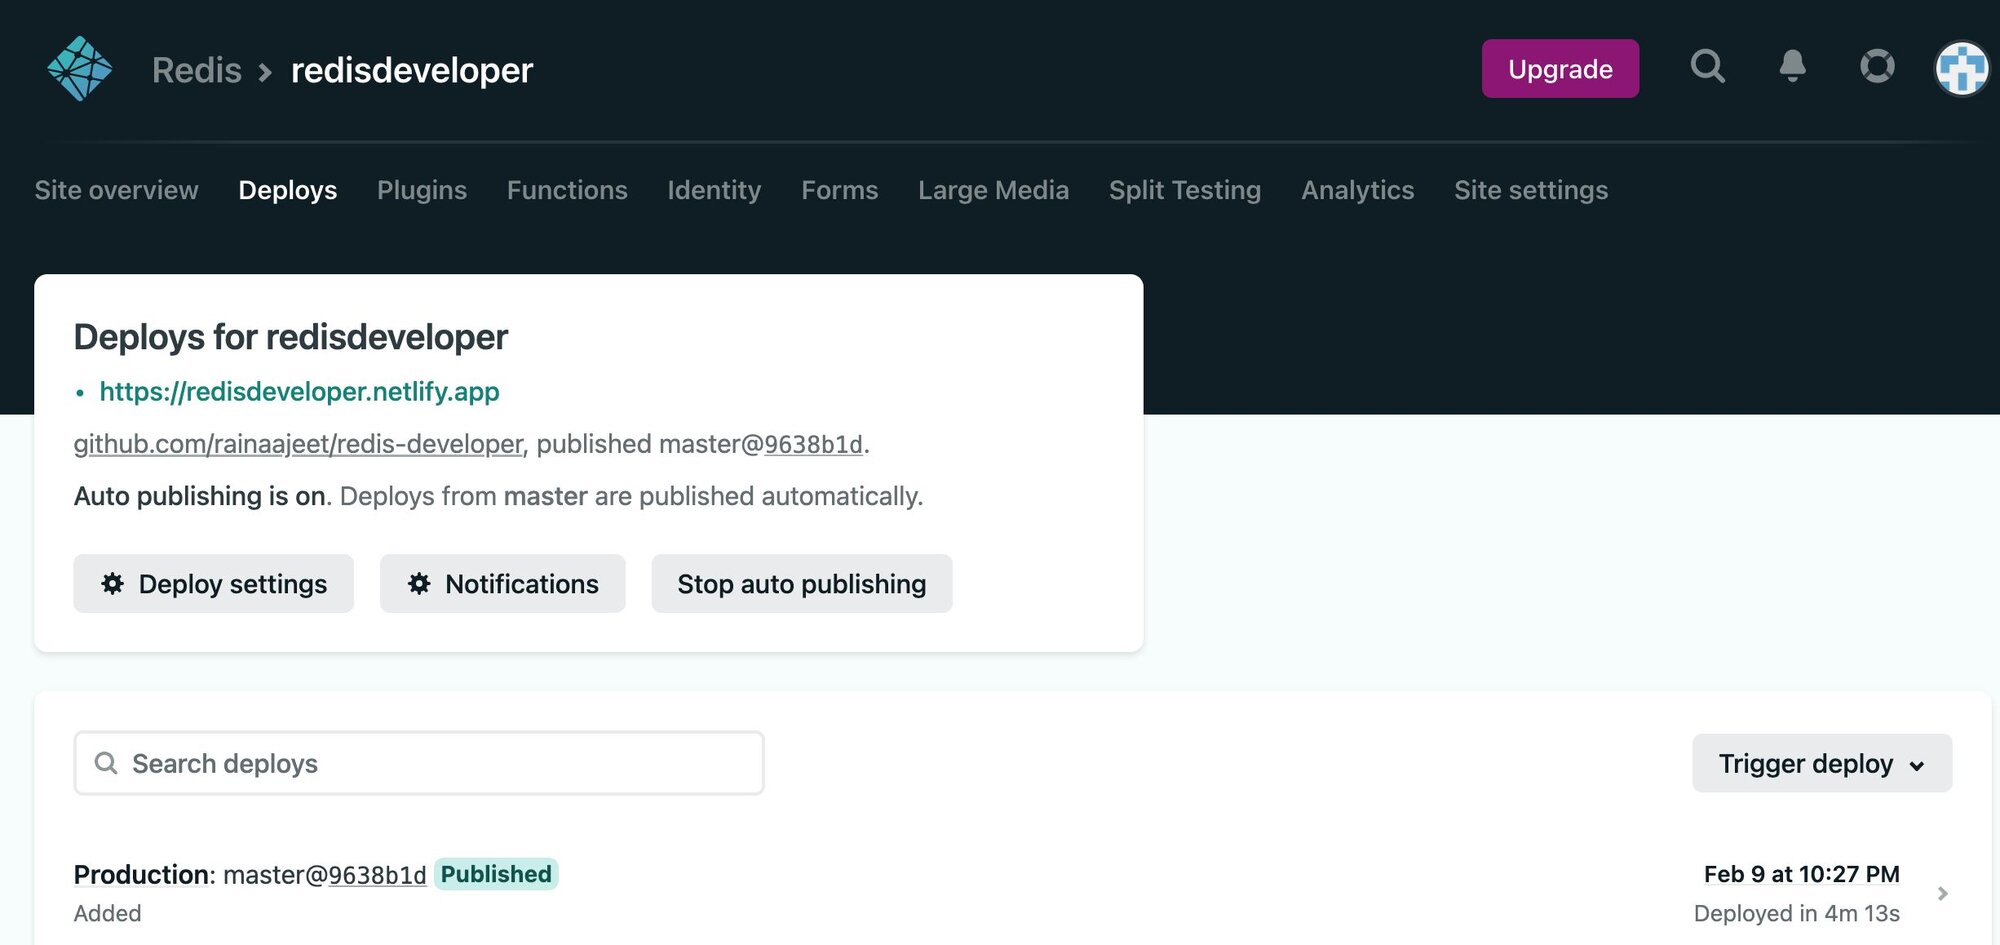
#Step 7. Open the Netlify admin URL
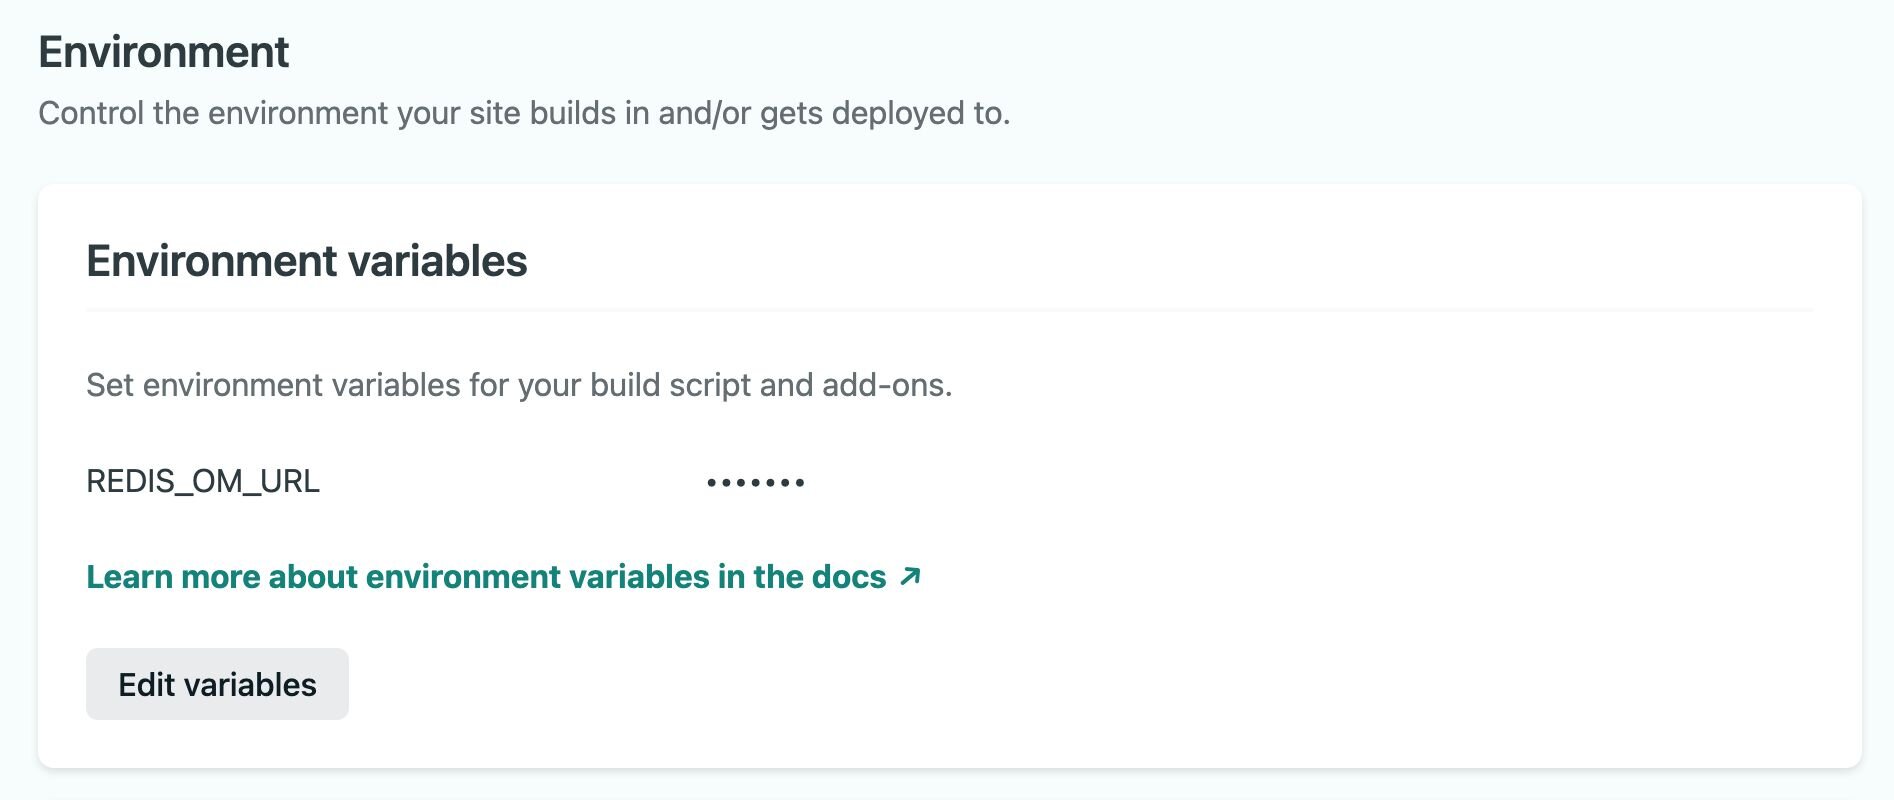
#Step 8. Add Redis Cloud environment variables
In the Netlify dashboard, go to Site settings > Environment variables and add your Redis Cloud endpoint and password.
#Step 9. Trigger the deployment
Click Trigger deploy in the Netlify dashboard to deploy the site with the Redis connection configured.
#Step 10. Access the app
Click the deploy URL to see the running app:
#Frequently asked questions
#Can I use Redis with Netlify edge functions?
Yes. Netlify edge functions run on Deno at the edge and can connect to Redis Cloud using a REST-based Redis client or a TCP-compatible client. This lets you add caching or session lookups at the edge for lower latency.
#What Redis client should I use in Netlify serverless functions?
For Node.js-based Netlify functions, use
node-redis or ioredis. Both support Redis Cloud and handle connection pooling.#Is Redis Cloud free to use with Netlify?
Redis Cloud offers a free tier that includes a 30 MB database, which is a great starting point for Netlify projects. Sign up at redis.io/try-free.
#Next steps
- Explore the Next.js Redis Netlify source code
- Learn about Netlify serverless functions
- Try the Redis quick start guide
- Read about JAMstack architecture
- Get started with Redis Cloud