View and edit databases
| Redis Cloud |
|---|
Use the Databases menu of the Redis Cloud console to manage your databases.
To view the details of a database:
-
Sign in to the Redis Cloud console. (Create an account if you don't already have one.)
-
Select the Databases menu to display a searchable list of all databases.
-
Locate the database in the list.
-
Select the database name to open the Database page.
The Database screen lets you review:
- Configuration details of a database
- Graphs showing performance metrics
- Recent activity via a "slowlog," which lists queries that exceed a certain execution time.
For help changing database settings, see Edit database details.
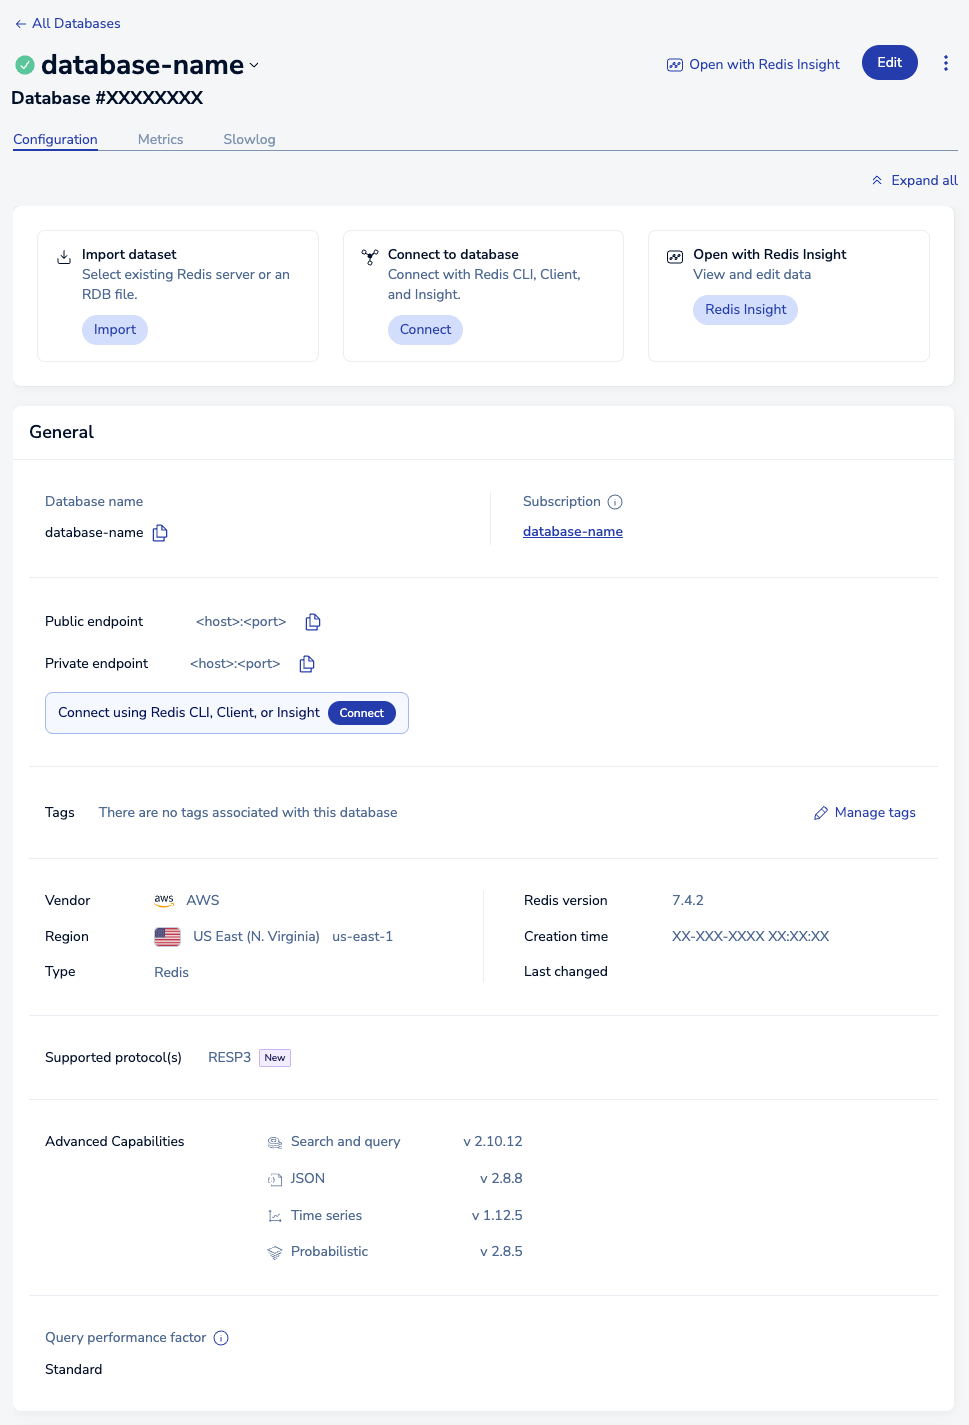
Configuration tab
The Configuration screen is divided into sections, each dedicated to a specific category. Note that not every section or setting is available to every subscription plan.
The Configuration tab is organized differently for Essentials and Pro databases. Select your plan type below.
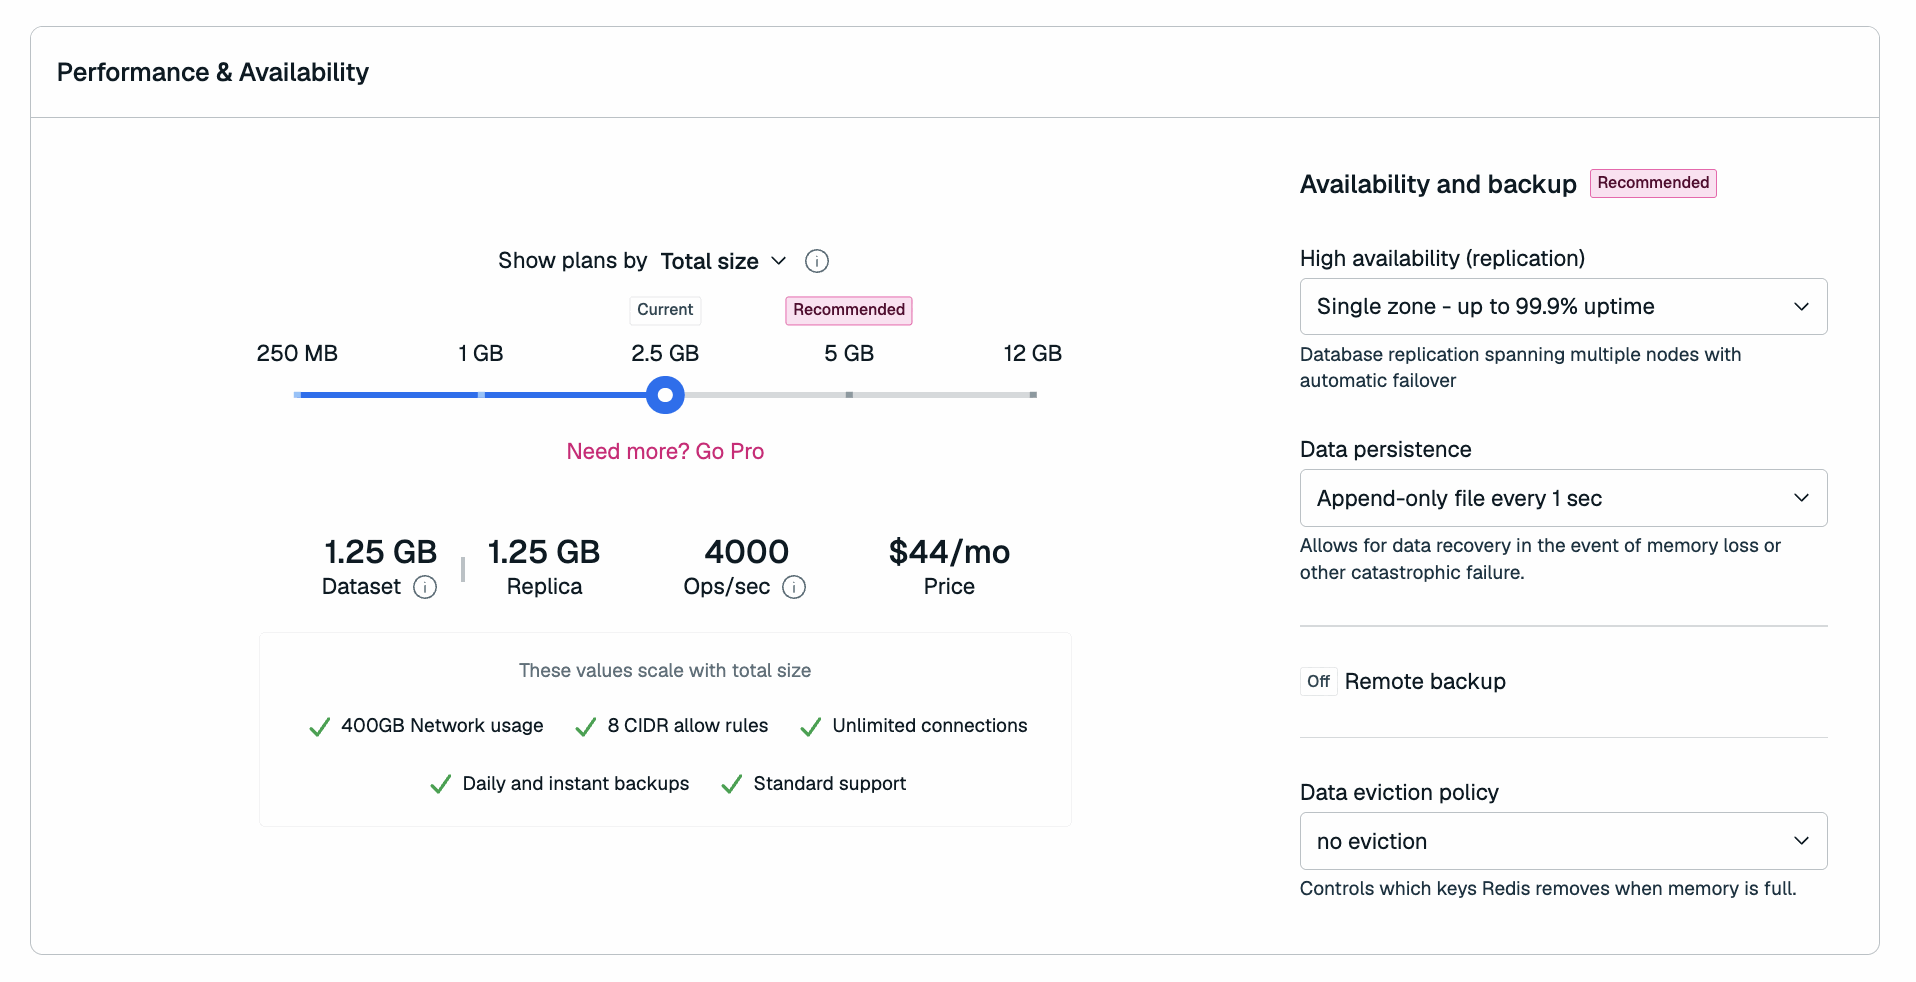
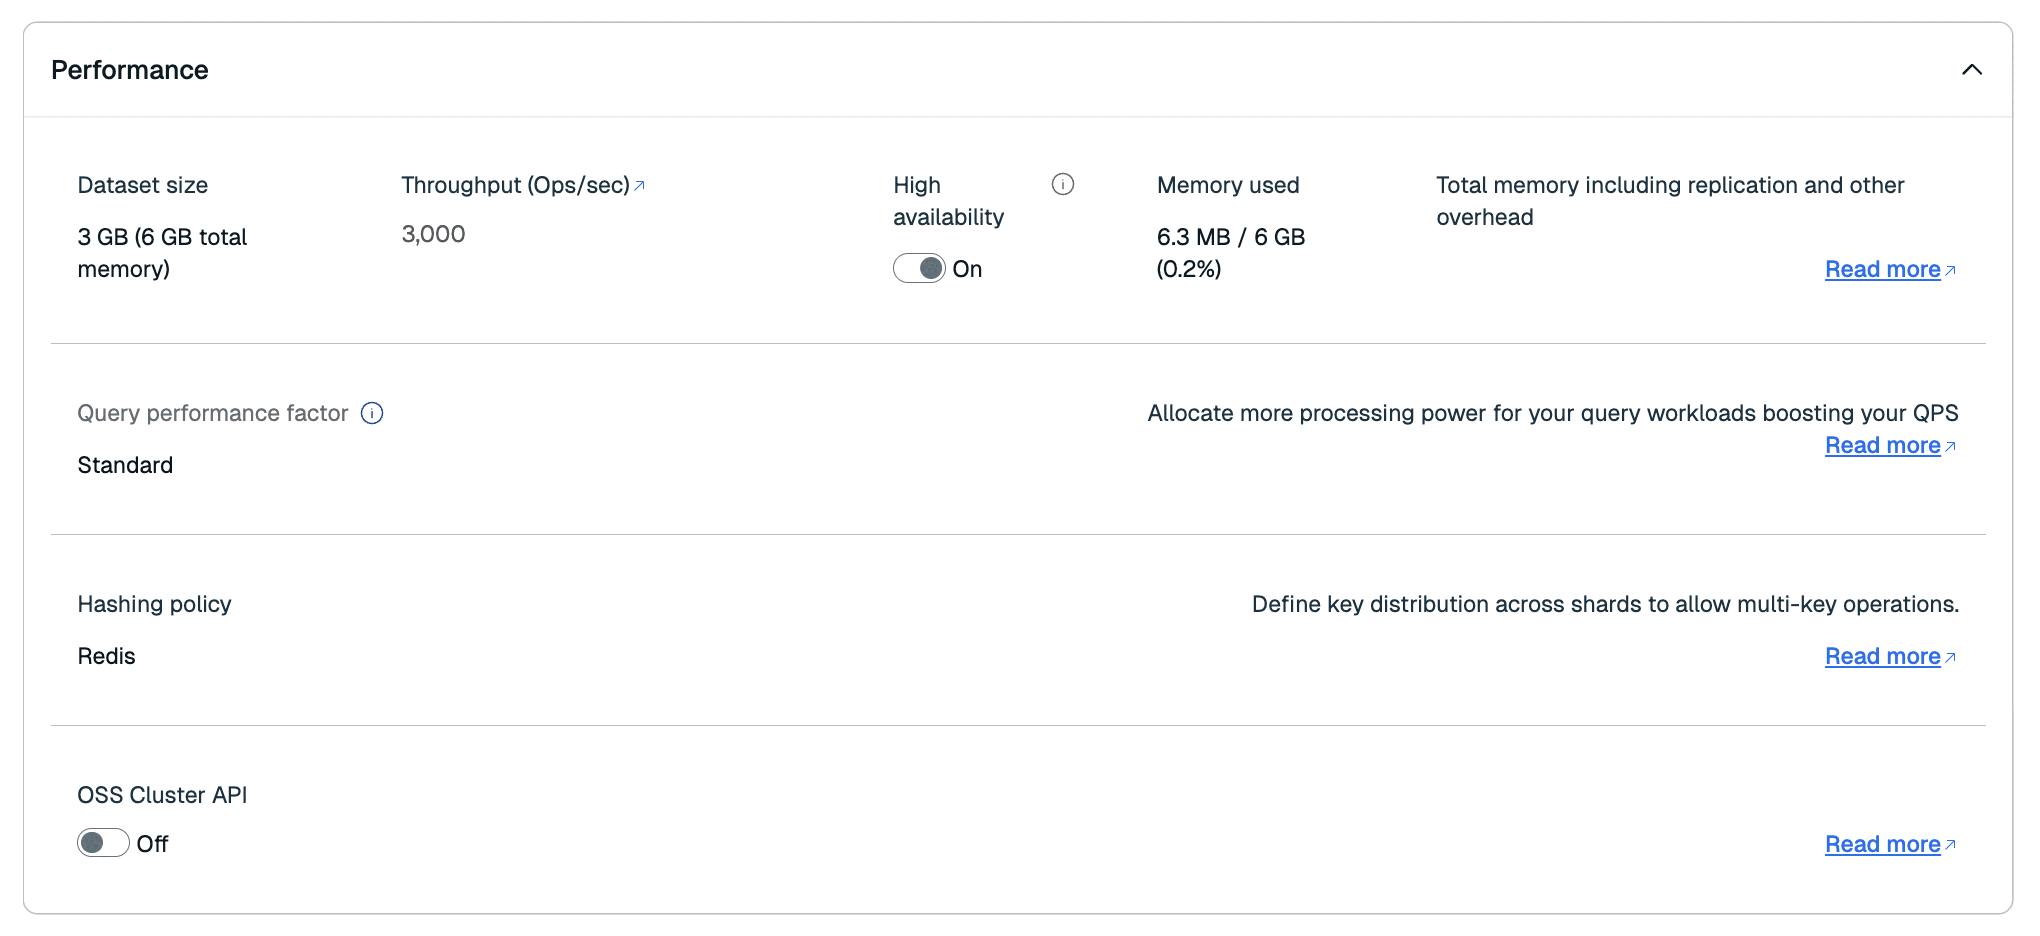
Performance & availability
The Performance & availability section defines the plan and backup settings of your database.
| Setting name | Editable | Description |
|---|---|---|
| Plan | ✅ Yes | The plan for your database. Your Essentials plan determines the size of your database and other limits. For a comparison of available plans, see Redis Cloud Essentials plans. |
| High Availability | ✅ Yes | Whether and how your data replicates across multiple nodes; see available options |
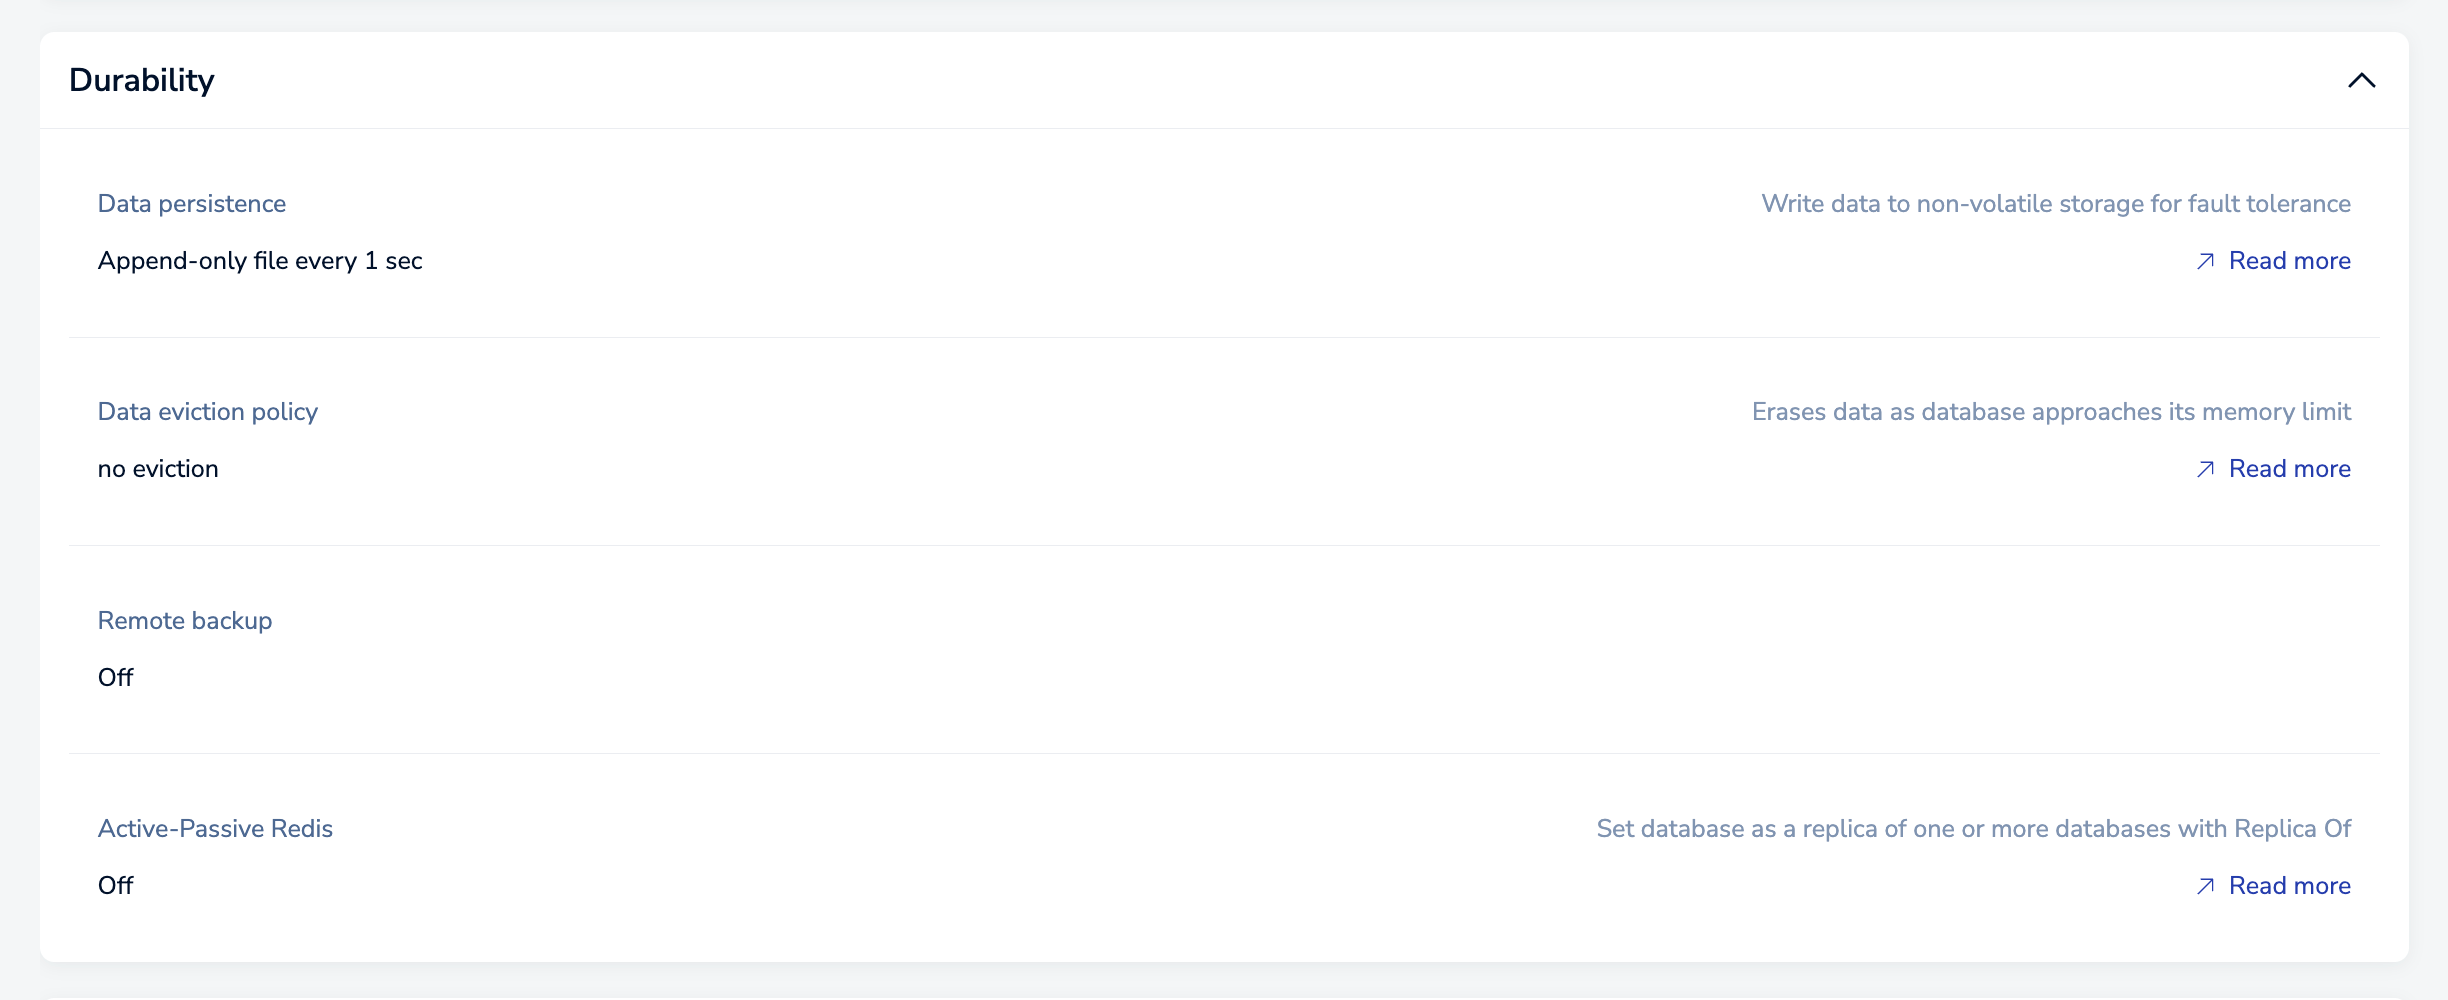
| Data persistence | ✅ Yes | Defines whether (and how) data is saved to disk; see available options |
| Remote backup | ✅ Yes | When enabled, identifies a location and interval for data backups. |
| Data eviction policy | ✅ Yes | Configures which policy is applied when your database reaches its memory limit |
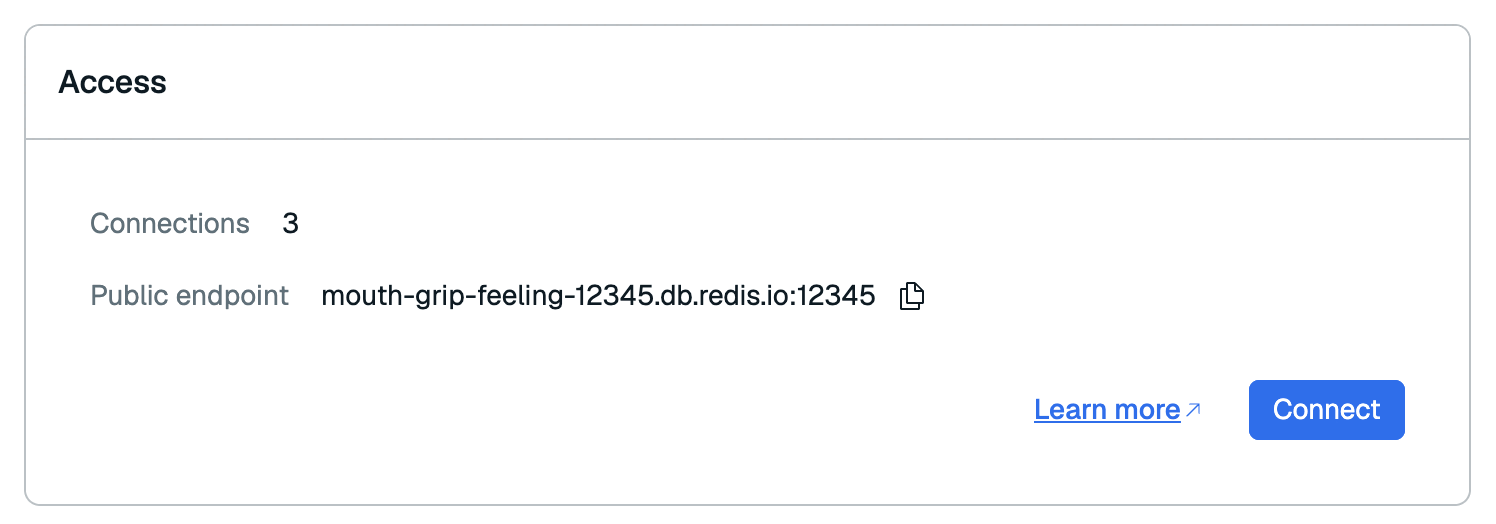
Access
The Access section shows the connection information for your database.
Here, you can:
- View the number of active connections to your database.
- View the Public endpoint of your database.
- Select Connect to connect to your database
Data
In the Data section, you can:
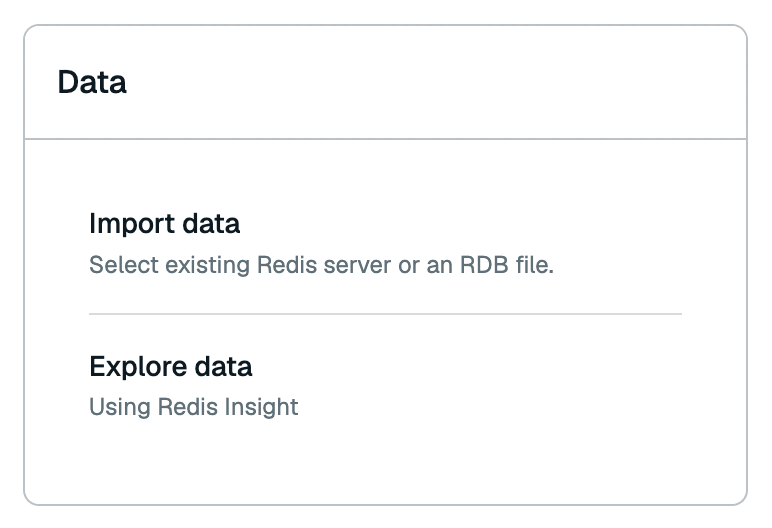
- Import data into your database
- Open Redis Insight to explore your data.
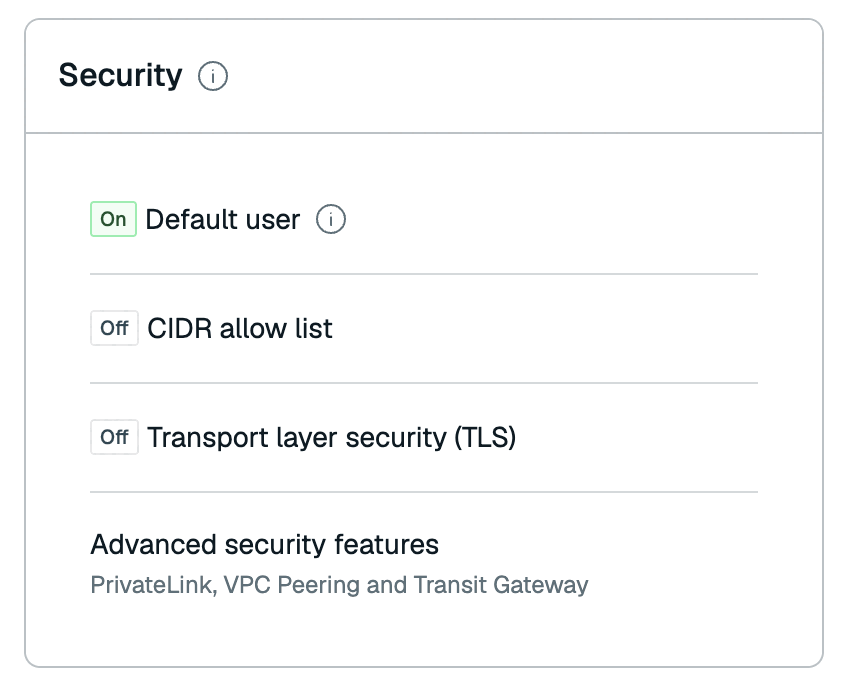
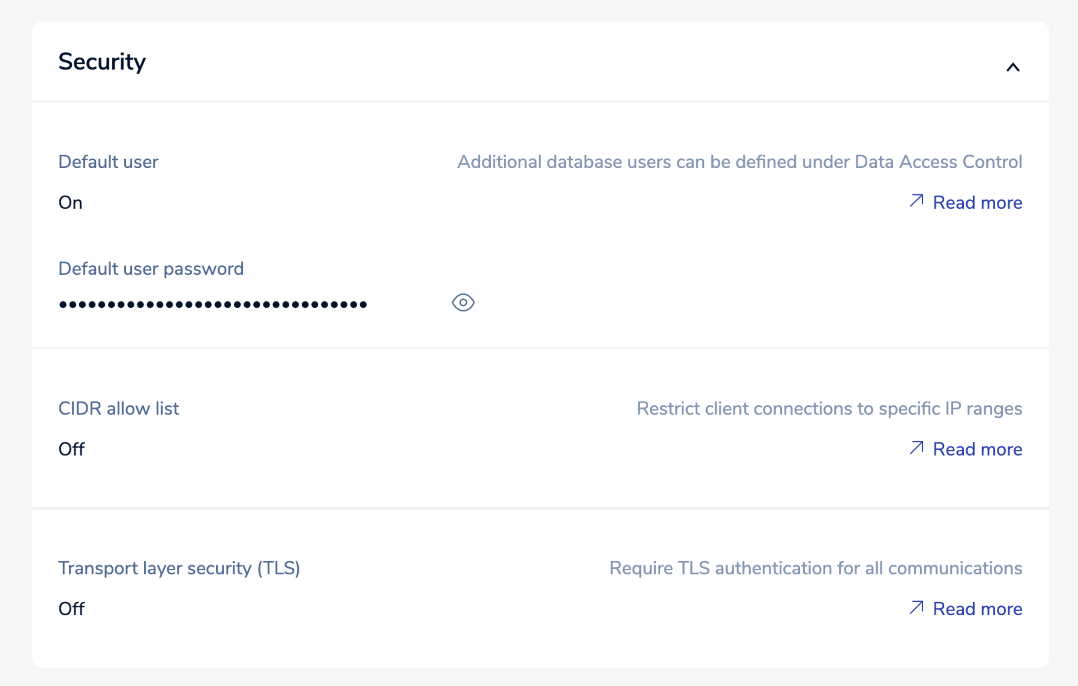
Security
The Security section helps you control access to your database.
| Setting name | Editable | Description |
|---|---|---|
| Default user | ✅ Yes | When On, permits access using the default username with a simple password. Select Configure to turn off the default user or change the password. See Default user for more information. |
| CIDR allow list | ✅ Yes | Allow list of IP addresses/security groups permitted to access the database. Select Configure to edit the CIDR allow list. |
| Transport layer security (TLS) | ✅ Yes | Select Configure to turn on transport layer security (TLS) encryption for database access. |
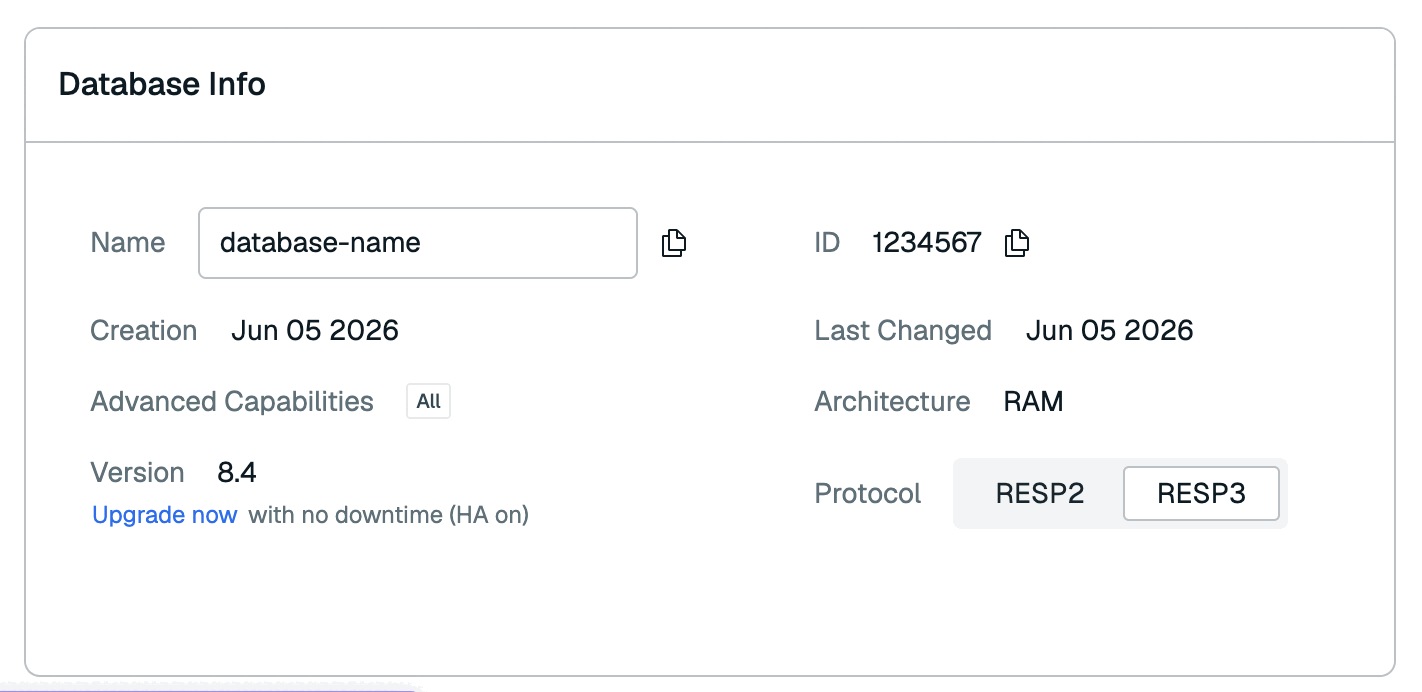
Database info
The Database info section defines basic properties about your database.
| Setting name | Editable | Description |
|---|---|---|
| Name | ✅ Yes | The name given to your database |
| ID | ❌ No | The database's numeric ID |
| Creation | ❌ No | Date the database was created |
| Last changed | ❌ No | Date of last update |
| Advanced Capabilities | ❌ No | This setting appears when an advanced capability is enabled for a database |
| Architecture | ❌ No | Shows whether the database runs in RAM or is a Flex database |
| Version | ✅ Yes | The Redis version your database uses |
| Protocol | ✅ Yes | Shows which version of RESP the database uses. See Redis serialization protocol for details |

Other actions and info
The View Database screen also has tabs that let you view:
-
Metrics: a series of graphs showing database performance over time. See Monitor performance for more information.
-
Slowlog: a log showing recent slow queries run against your database. The log displays when the action started, the duration, the complexity of the operation, and any parameters passed to the operation.
-
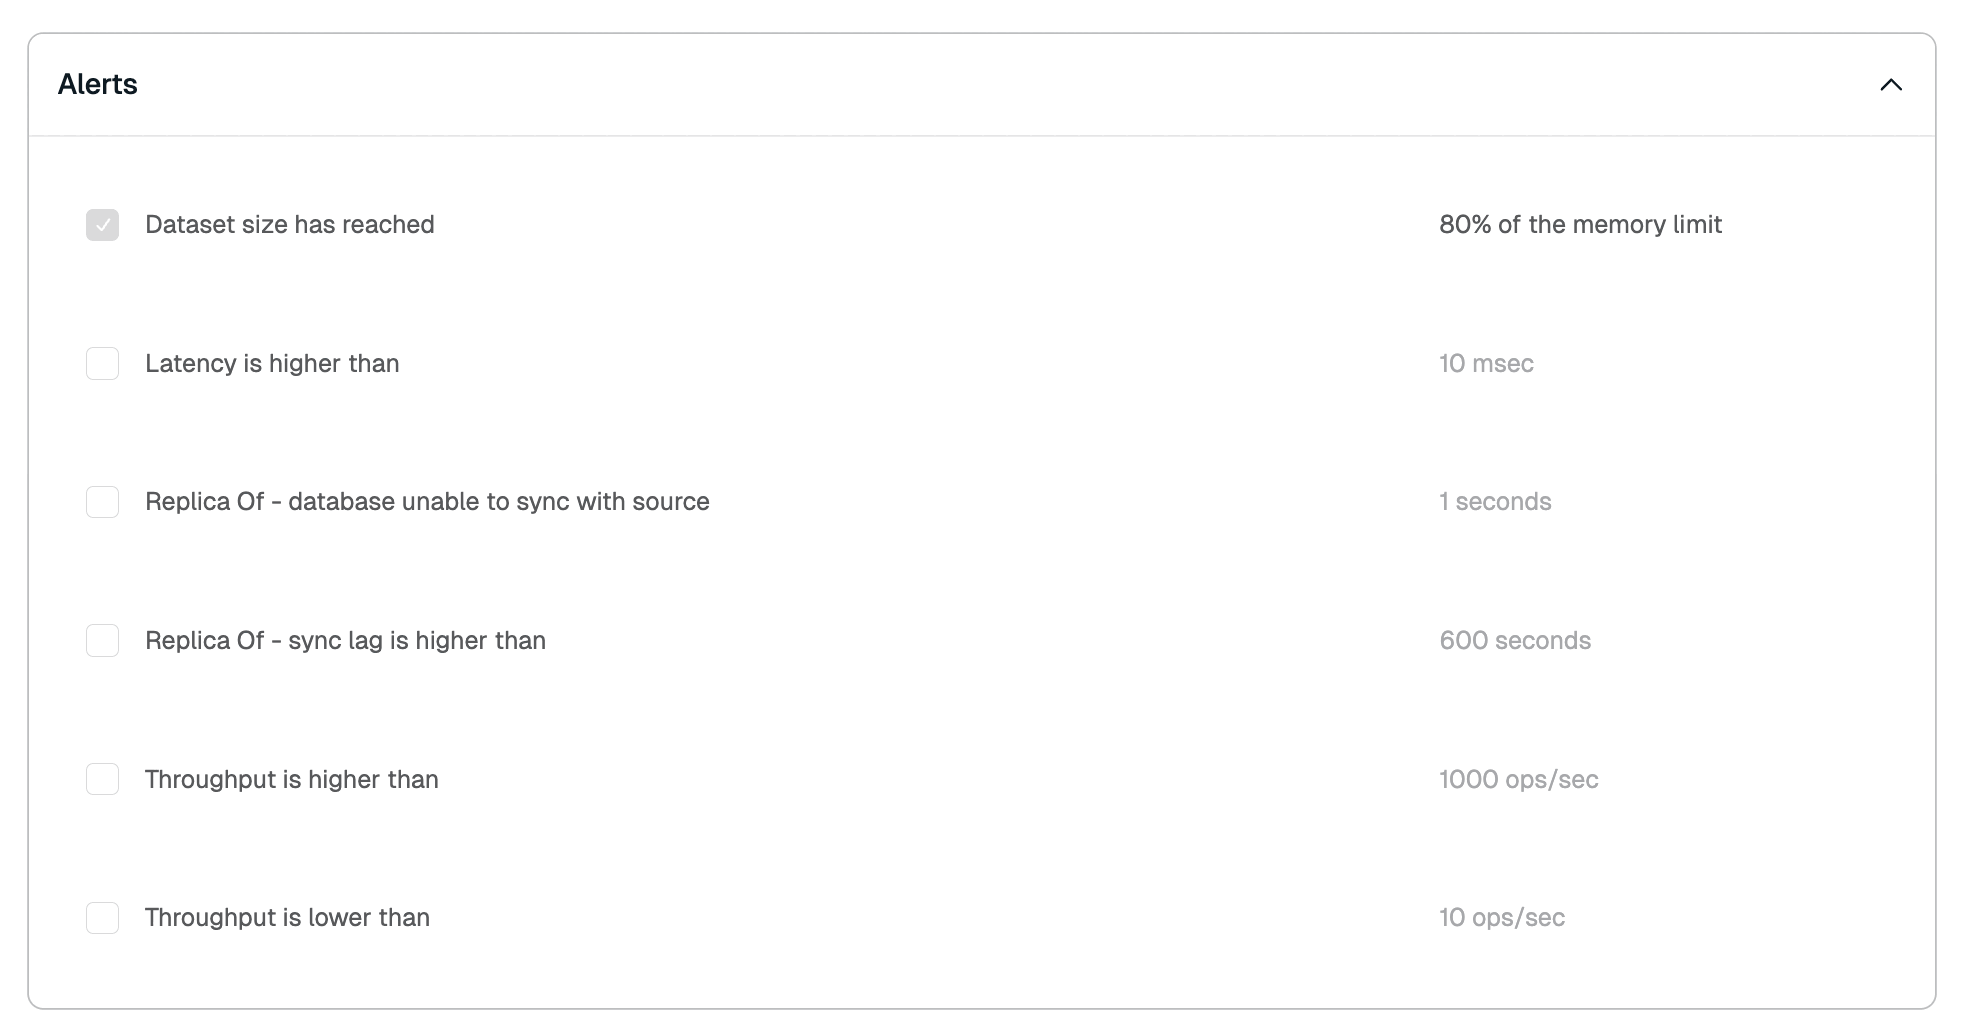
Alerts (Essentials databases only): the notification emails sent to your account and the conditions that trigger them. See Configure alerts for more information.
Edit database details
Editing your database depends on your plan type. Select your plan type to learn more.
You can make direct changes to your database on the database page. Any changes you make won't be saved until you review and confirm them.
After you've made changes to your database, select Review changes to review your changes. If your changes result in any cost changes, you'll see the cost change there.

From there, select Confirm or Confirm & pay to save your changes.

Because databases exist within the context of a deployment, certain fields cannot be updated, especially those that might lead to data loss. Refer to the tables in the previous sections for your plan to learn which settings are editable.
If you need to change other details, create a new database and then migrate existing data.
Manage the database list
The Databases list summarizes the status of all databases associated with your account.
You can:
-
Search by typing into the search box located above the database list.

-
Filter by selecting a filter type and then selecting the checkbox next to the options you want to include from the dropdown. Select the Filter toggle, located on the right of the search bar, if the filter types are hidden.

You can filter the list on Status, Subscription, Subscription Type, Capabilities, Options, Tags, and Version.
A list of selected filters appears below the filter types.
To remove a filter click the x to the right of the name of that filter. To remove all filters, select Clear all.

-
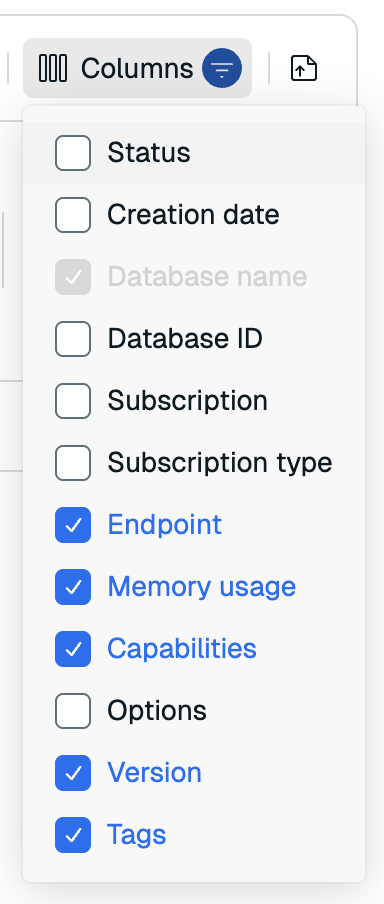
Select Columns to change what information is displayed on the list.
-
Select the Export button to export the current view as a CSV file.

-
Sort the list in descending or ascending order using the arrow displayed to right of the field name in the header. Supported fields include Subscription, Database name, Memory usage, and Version.


Select the arrow icon to change the sort order. One sort order can be active at any given time.
-
Use the controls in the list footer to change the number of items displayed in the list or to navigate.
Sort orders and filter expressions are not saved between console sessions.