Tutorial
How to build a Python based application on Heroku using Redis
February 25, 20263 minute read

TL;DR:To deploy a Python app with Redis on Heroku, create a Redis Cloud database, install the Heroku CLI, clone your Flask app, set your Redis connection details as Heroku config vars, and push to Heroku withgit push heroku. Your app connects to Redis Cloud over a secure endpoint.
#What you'll learn
- How to create a Redis Cloud database and retrieve connection credentials
- How to set up a Heroku account and install the Heroku CLI
- How to configure a Python Flask app to connect to Redis Cloud
- How to deploy a Python web app to Heroku using Git
#What do you need before starting?
- A Redis Cloud account (free tier available)
- A Heroku account with a verified payment method
- Python 3 installed locally
- Git installed locally
- Heroku CLI installed locally
Heroku no longer offers a free tier. You'll need a paid Heroku plan (Eco dynos or higher) to complete this tutorial. See Heroku's pricing page for current options.
#How do I create a Redis Cloud database?
Create your Redis Cloud account. Follow this link to create a Redis Cloud subscription and database as shown below:
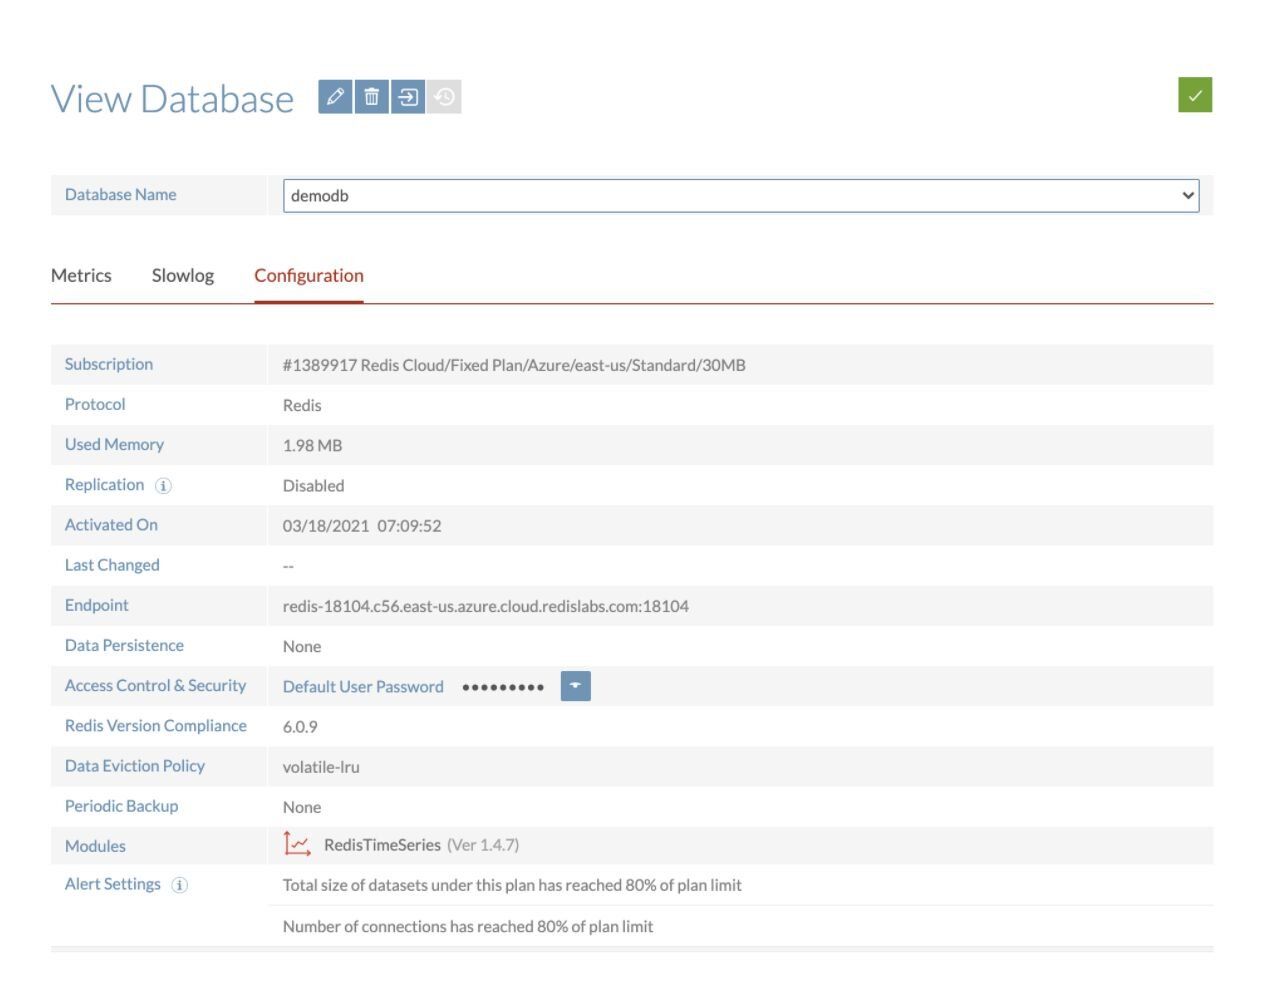
Save the database endpoint URL and password for future reference. You'll need these values to connect your Python app to Redis.
#How do I create a Heroku account?
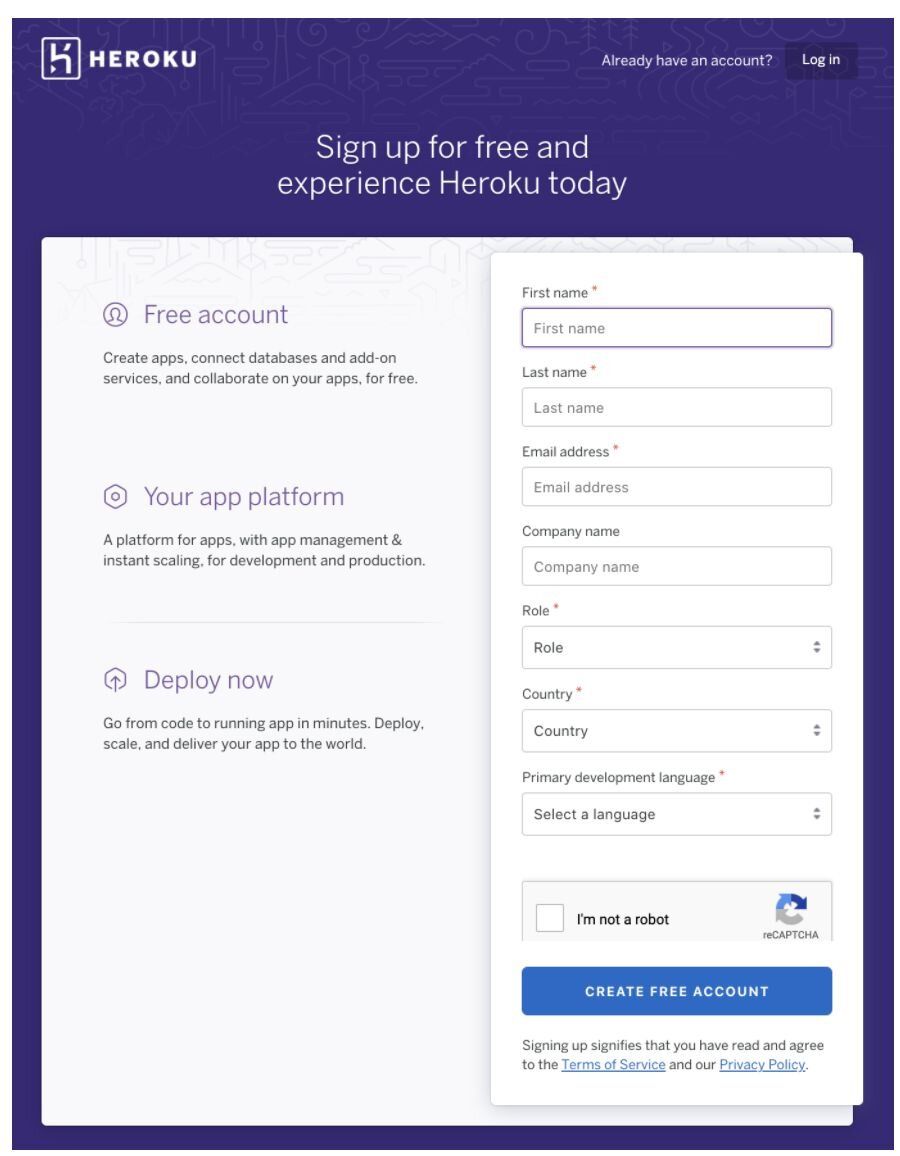
If you are using Heroku for the first time, create your new Heroku account through this link.
#How do I install the Heroku CLI?
Install the Heroku CLI so you can manage your apps from the terminal:
For other operating systems, see the Heroku CLI installation docs.
#How do I log in to Heroku from the command line?
#How do I connect a Python Flask app to Redis Cloud on Heroku?
For this demonstration, we will use a sample rate-limiting application built with Python and Flask.
#Clone the repository
Then create a new Heroku app:
#How do I set Redis environment variables on Heroku?
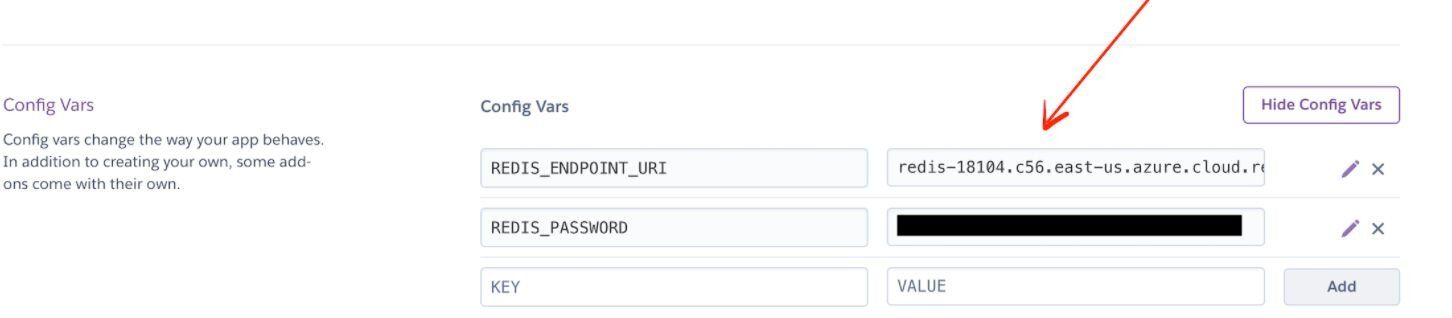
Go to the Heroku dashboard, click Settings, and set
REDIS_ENDPOINT_URI and REDIS_PASSWORD under Config Vars. Use the endpoint URL and password you saved when creating your Redis Cloud database.You can also set them from the CLI:
#How do I deploy the Python app to Heroku?
Heroku generates a random name (in this case
fast-reef-76278) for your app, or you can pass a parameter to specify your own app name. Deploy your code by pushing to the Heroku remote:#How do I access the deployed application?
Open the app URL (for example,
https://fast-reef-76278.herokuapp.com/) to see your application running with Redis Cloud: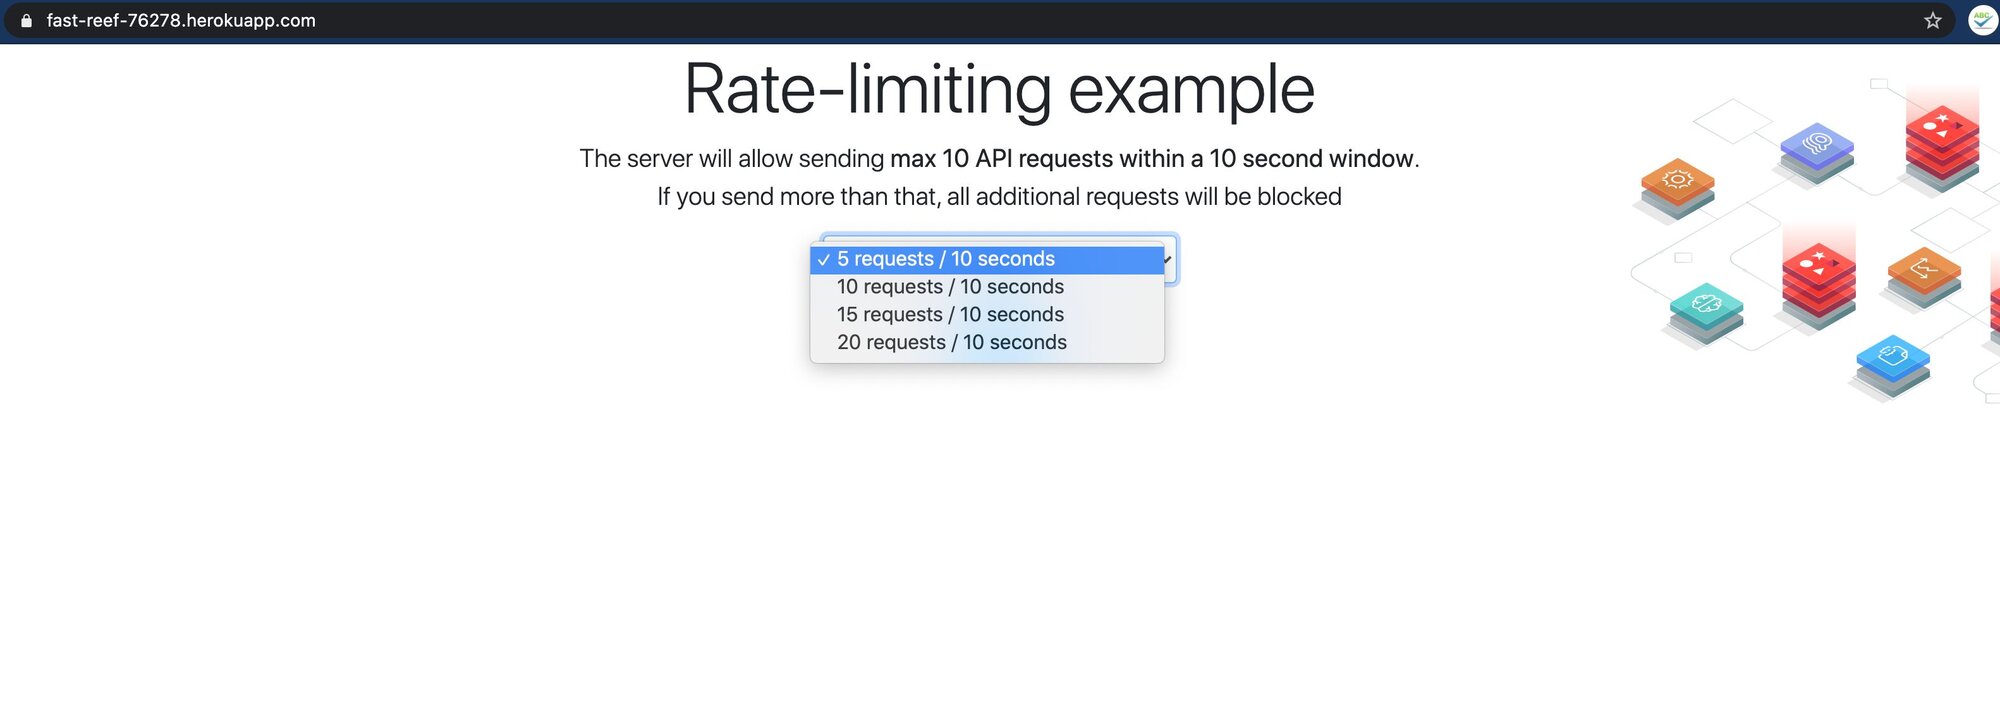
#Next steps
- Learn more about Redis Cloud features and pricing
- Explore rate limiting patterns with Redis
- Try other Redis tutorials for Python and Flask
- Read the Heroku Python deployment guide for production best practices