Create an Essentials database
Shows how to create an Essentials database.
| Redis Cloud |
|---|
Redis Cloud Essentials is cost-efficient and designed for low-throughput scenarios. You can quickly scale up your Essentials database as your application grows.
Before creating a Redis Cloud database, you need to create an account.
To create a database in your Redis Cloud account:
-
Sign in to the Redis Cloud console.
-
Select the New database button.

This displays the Create database screen.
-
Select the type of subscription you need. For this guide, select Essentials.
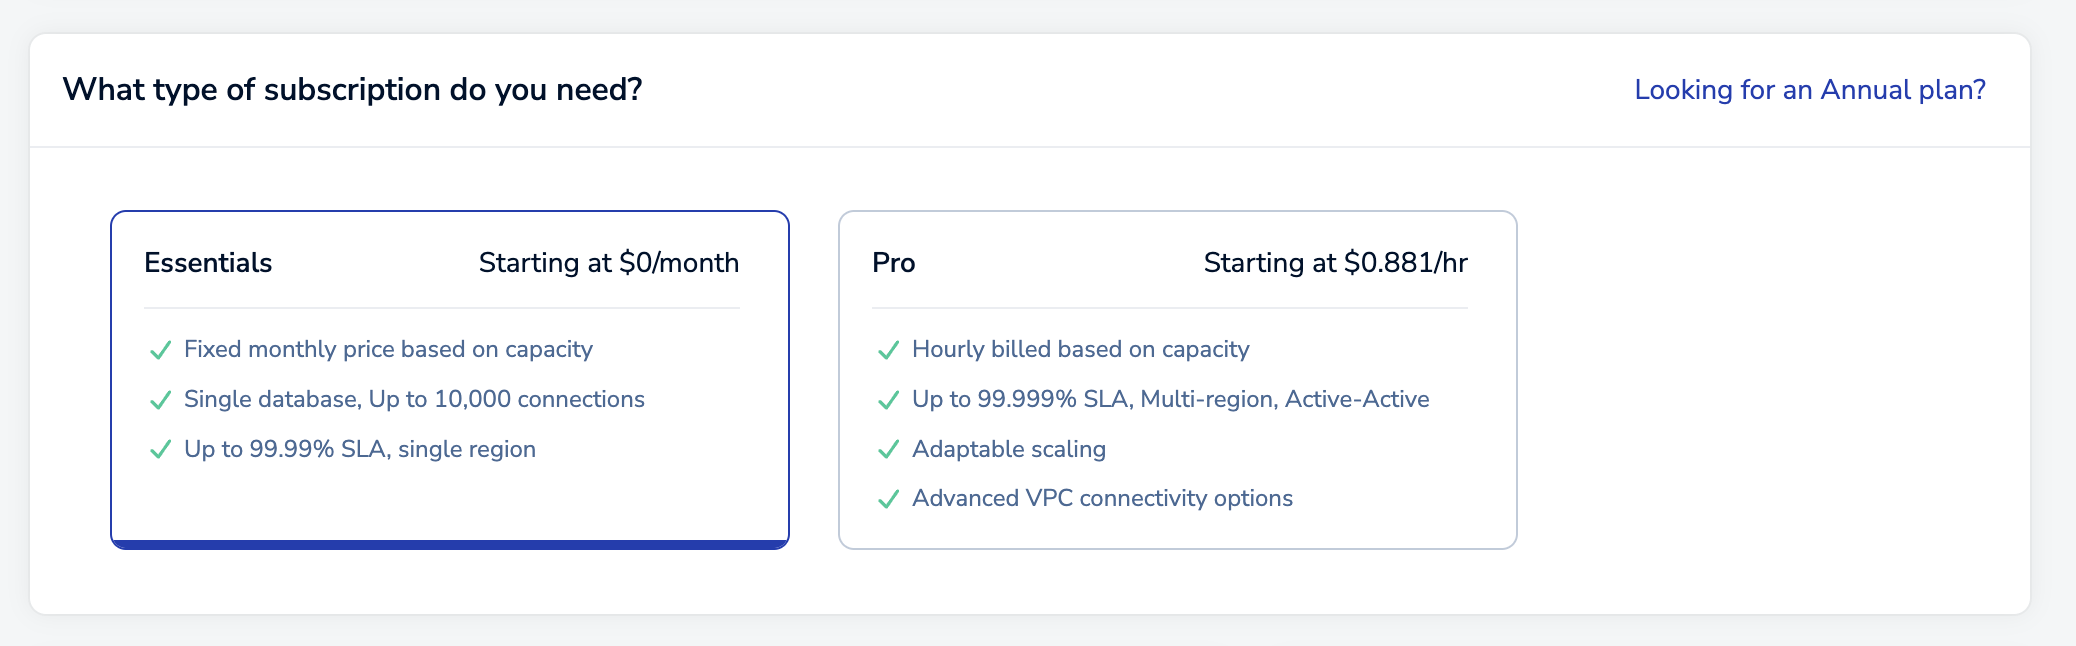 Note:
Note:This guide shows how to create a paid Essentials database.
- If you want to create a free Essentials database, see Create a free database. You can only have one free database per account.
- If you'd rather create a Pro database, see Create a Pro database with a new subscription.
- If you already have a Pro subscription and want to add a database to it, see Create a Pro database in an existing subscription.
After you select Essentials, the rest of the database details will appear.

-
Redis will generate a database name for you. If you want to change it, you can do so in the Name field.
-
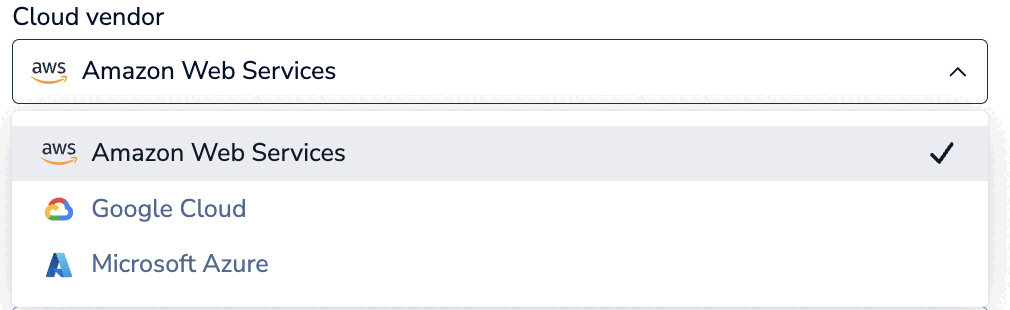
Choose a Cloud vendor for your database from the list. You can choose between Amazon Web Services (AWS), Google Cloud, and Microsoft Azure for the Cloud Vendor.
-
Choose a Region from the list. See Supported regions for a list of supported regions by cloud vendor.
-
Select the Database version you want to use.
-
The Type of database controls the protocol and advanced capabilities. Leave this as Redis unless you have a legacy application that uses Memcached.
-
Select your desired plan.
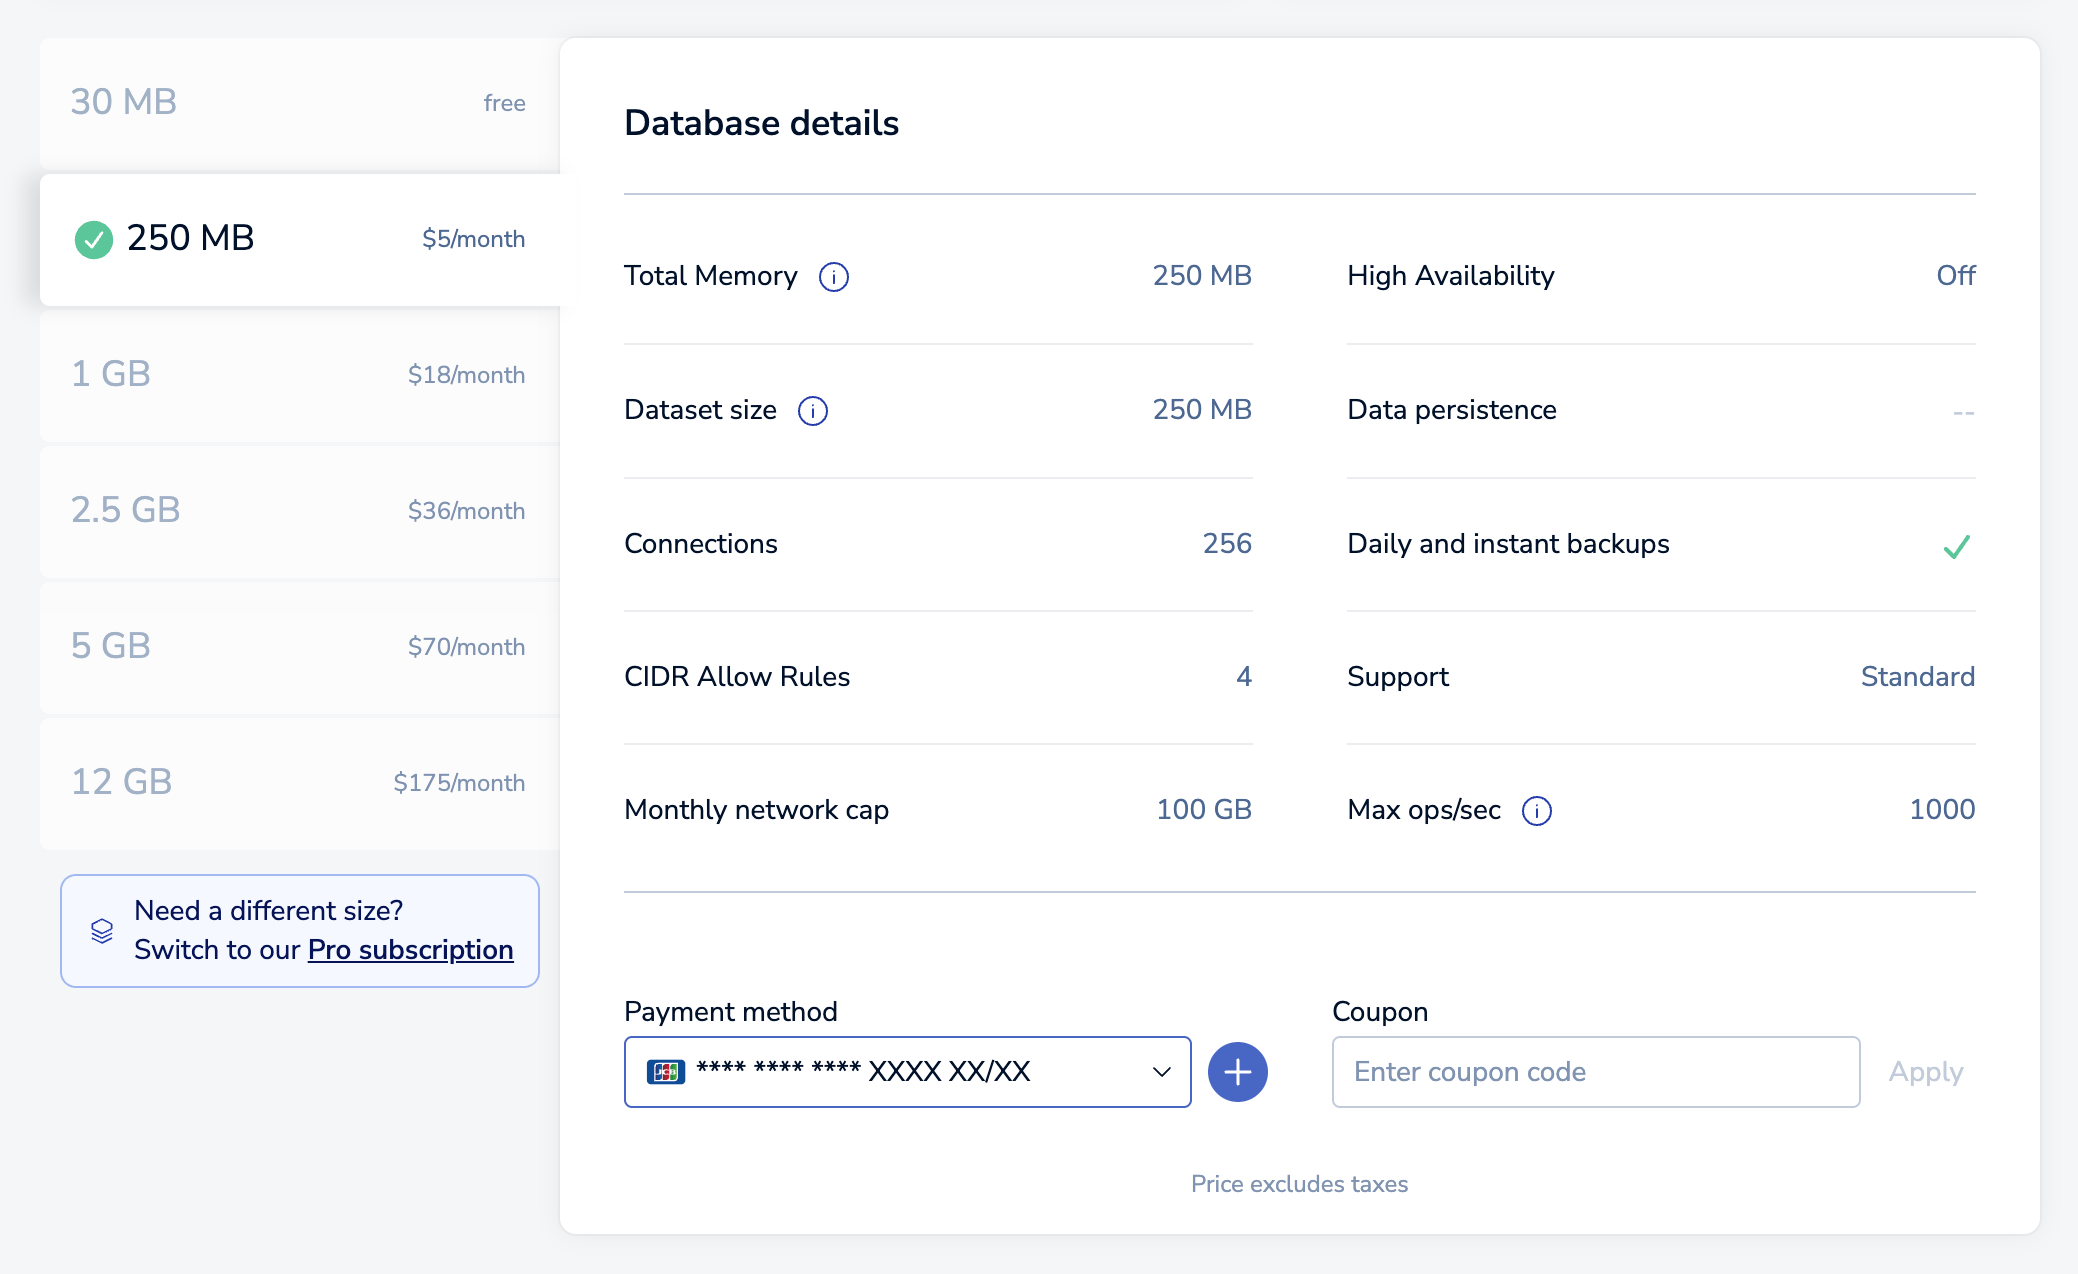
The plan determines the size of your database and other limits. For a comparison of available plans, see Redis Cloud Essentials plans.
-
Select RAM or RAM + SSD (Flex) to choose between a database that uses only RAM or one that uses both RAM and Flash memory.
Choose Flex for larger datasets and cost-efficient scale when you can tolerate single-digit millisecond latency for warm data. Choose RAM when you need the absolute lowest latency for all data. To learn more about Flex, see Create a Flex database.
-
Choose your High availability (replication) settings.
Redis Cloud supports the following high availability settings:
- None: You will have a single copy of your database without replication.
- Single-Zone: Your database will have a primary and a replica located in the same cloud zone. If anything happens to the primary, the replica takes over and becomes the new primary.
- Multi-Zone: The primary and its replicas are stored in different zones. This means that your database can remain online even if an entire zone becomes unavailable.
See High availability for more information about these settings.
-
Choose your Data persistence settings from the list.
Redis Cloud supports the following data persistence options:
-
An Append-Only File maintains a record (sometimes called a redo log or journal) of write operations. This allows the data to be restored by using the record to reconstruct the database up to the point of failure. For Essentials databases, Redis updates the Append-Only file every second.
-
A Snapshot is a copy of the in-memory database, taken at periodic intervals (one, six, or twelve hours). You can restore data to the snapshot's point in time.
See Data persistence for more information about these settings.
-
-
Enter your payment details.
If you haven't previously entered a payment method, use the Add Credit Card button to add one.

If you have not already added a business address to your account, you must enter one. Redis uses your business address for communication, invoicing, and tax purposes.
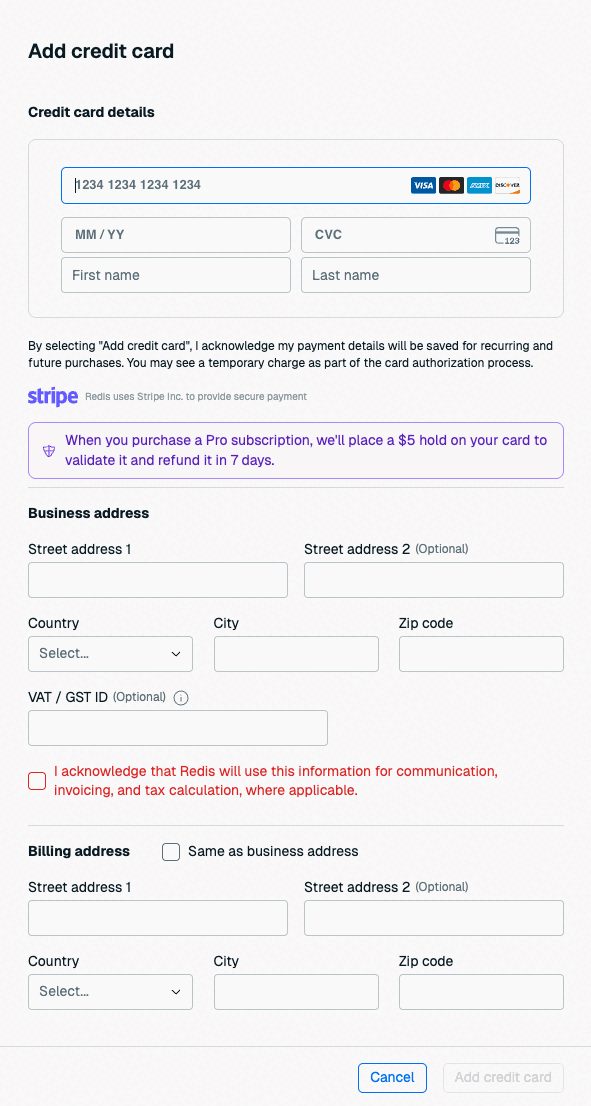
If you already have a business address, you don't need to enter one here. See Account settings to learn how to update your business address.

If the card's billing address is the same as your account's business address, select Same as business address to fill the billing address with your business address details.
-
Select Confirm & pay to create your database.

When you create your database, there's a brief pause while your request is processed and then the Database details page appears.
You can now connect to your database and start working with Redis.