Get started with Redis Software Active-Active databases
Quick start guide to create an Active-Active database for test and development.
| Redis Software |
|---|
To get started, this article will help you set up an Active-Active database, formerly known as CRDB (conflict-free replicated database), spanning across two Redis Software clusters for test and development environments. Here are the steps:
-
Run two Redis Software Docker containers.
-
Set up each container as a cluster.
-
Create a new Redis Software Active-Active database.
-
Test connectivity to the Active-Active database.
To run an Active-Active database on installations from the Redis Software download package, set up two Redis Software installations and continue from Step 2.
Run two containers
To spin up two Redis Software containers, run these commands:
docker run -d --cap-add sys_resource -h rs1_node1 --name rs1_node1 -p 8443:8443 -p 9443:9443 -p 12000:12000 redislabs/redis
docker run -d --cap-add sys_resource -h rs2_node1 --name rs2_node1 -p 8445:8443 -p 9445:9443 -p 12002:12000 redislabs/redis
The -h option sets the hostname of the container, which is important for cluster setup and identification.
The --name option assigns a name to the container, making it easier to manage and reference with Docker commands.
The -p options map the Cluster Manager UI port (8443), REST API port (9443), and database access port differently for each container to make sure that all containers can be accessed from the host OS that is running the containers.
Set up two clusters
-
For cluster 1, go to
https://localhost:8443in a browser on the host machine to access the Redis Software Cluster Manager UI.Note:Depending on your browser, you may see a certificate error. Continue to the website. -
Click Create new cluster:

-
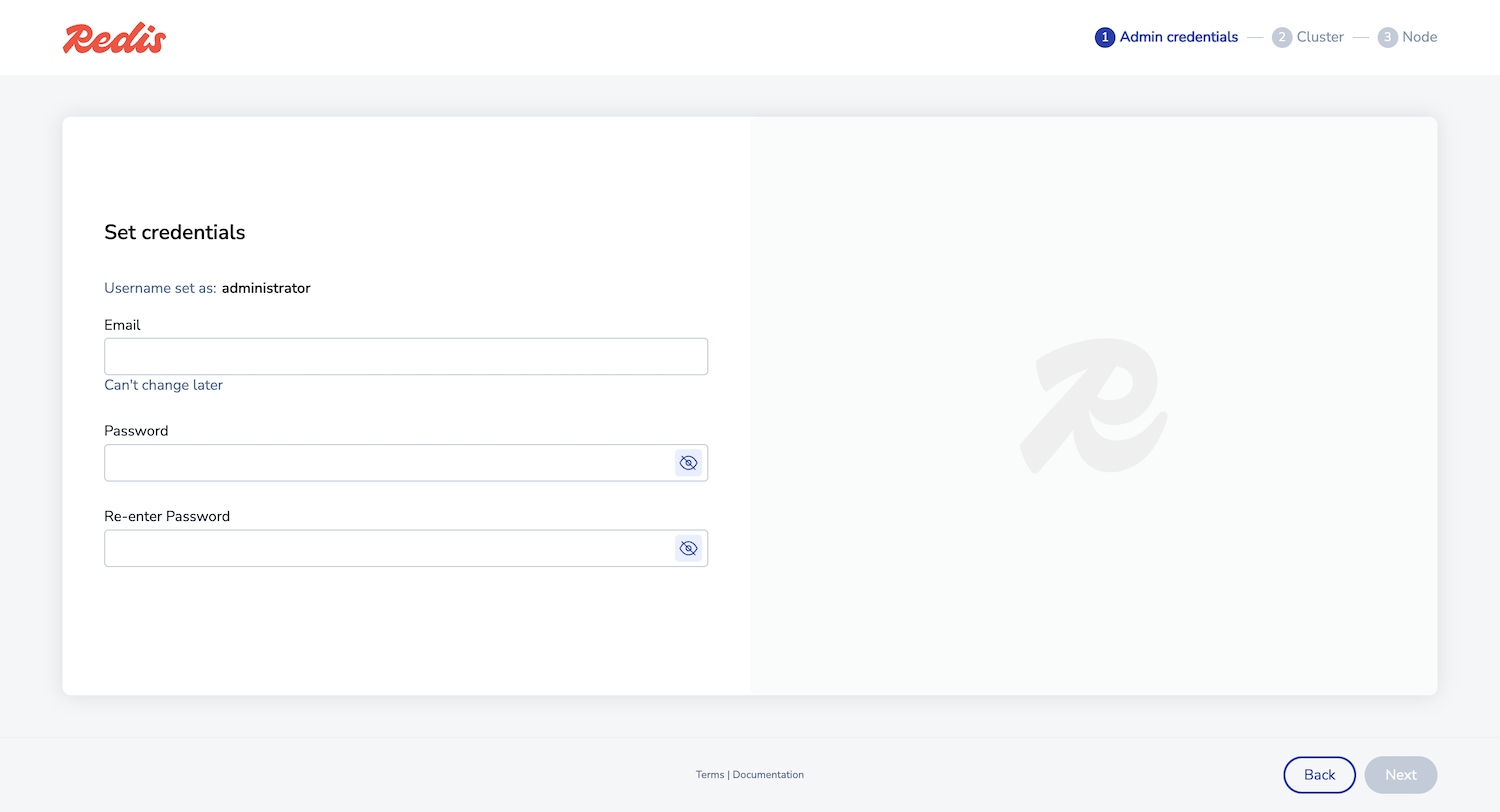
Enter an email and password for the administrator account, then click Next to proceed to cluster setup:
-
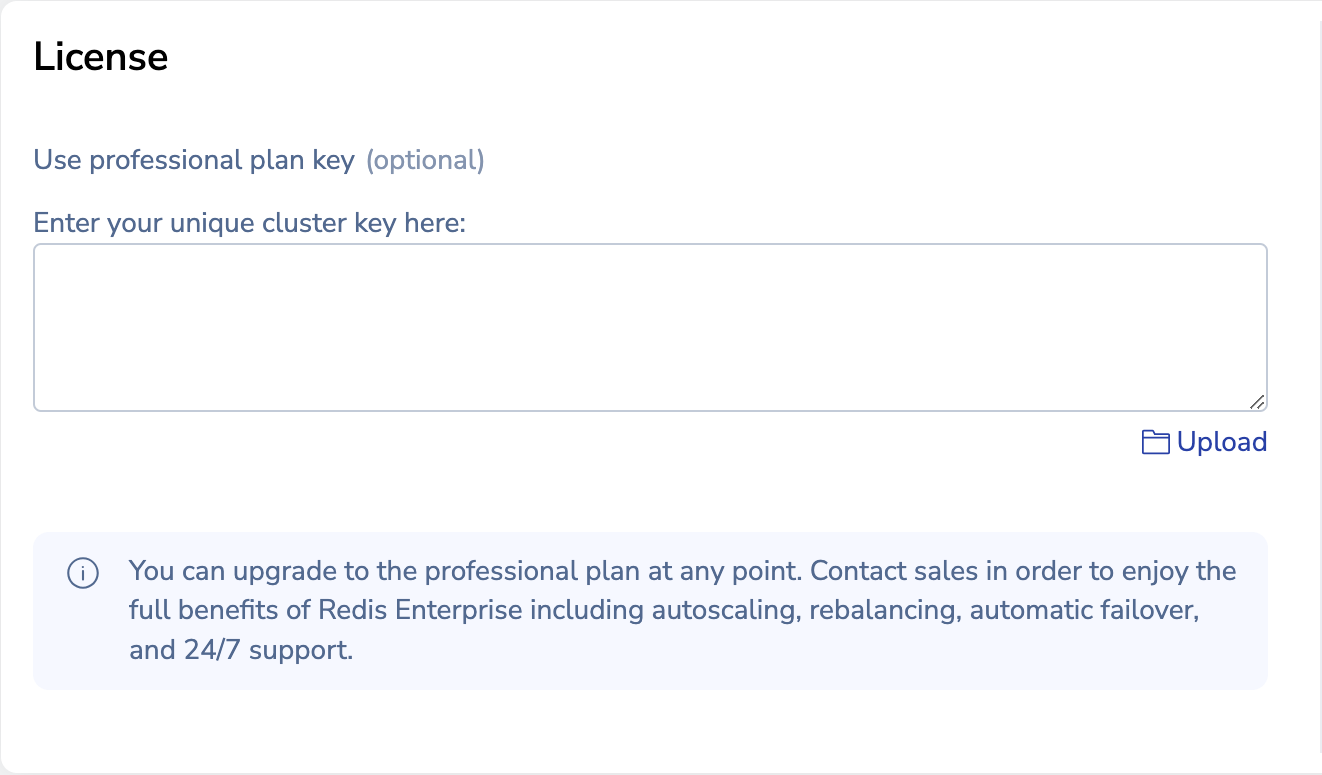
Enter your cluster license key if you have one. Otherwise, a trial version is installed.
-
In the Configuration section of the Cluster settings page, enter a cluster FQDN, for example
cluster1.local: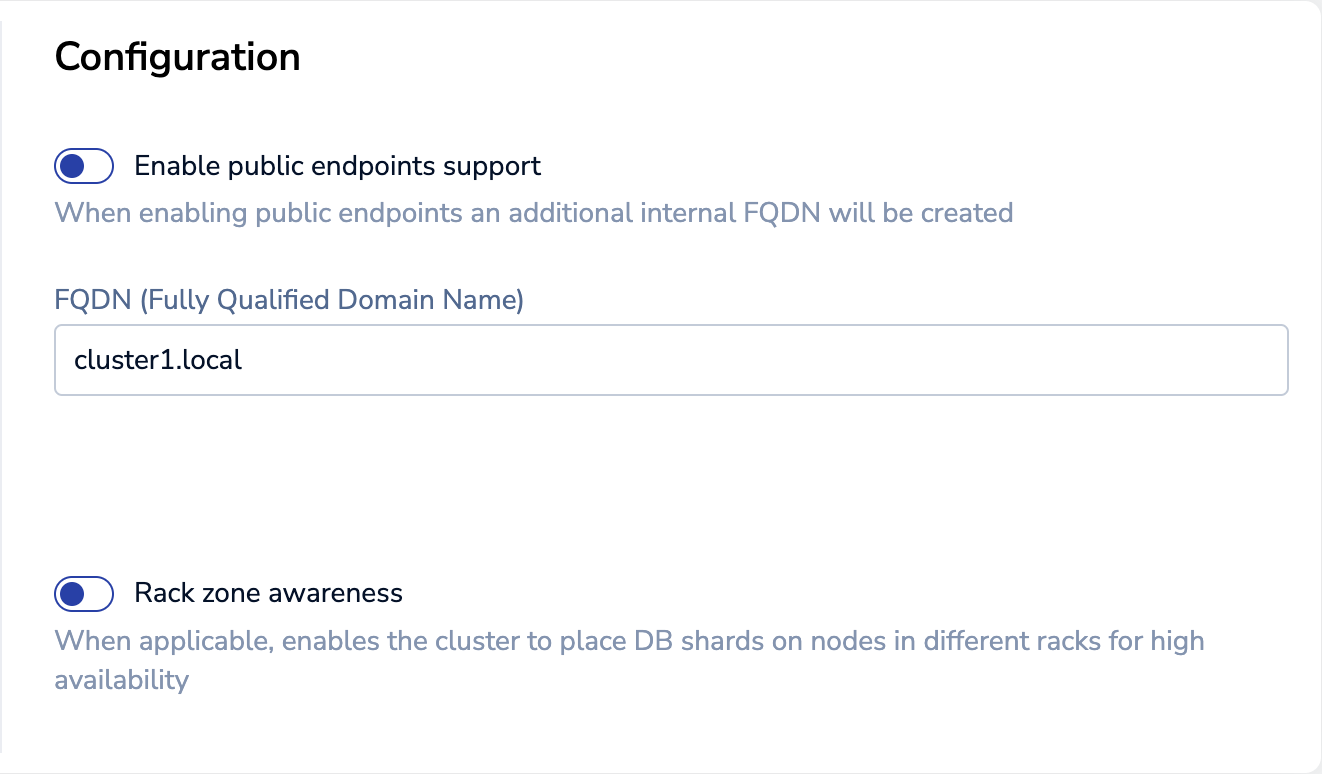
-
On the node setup screen, keep the default settings and click Create cluster:
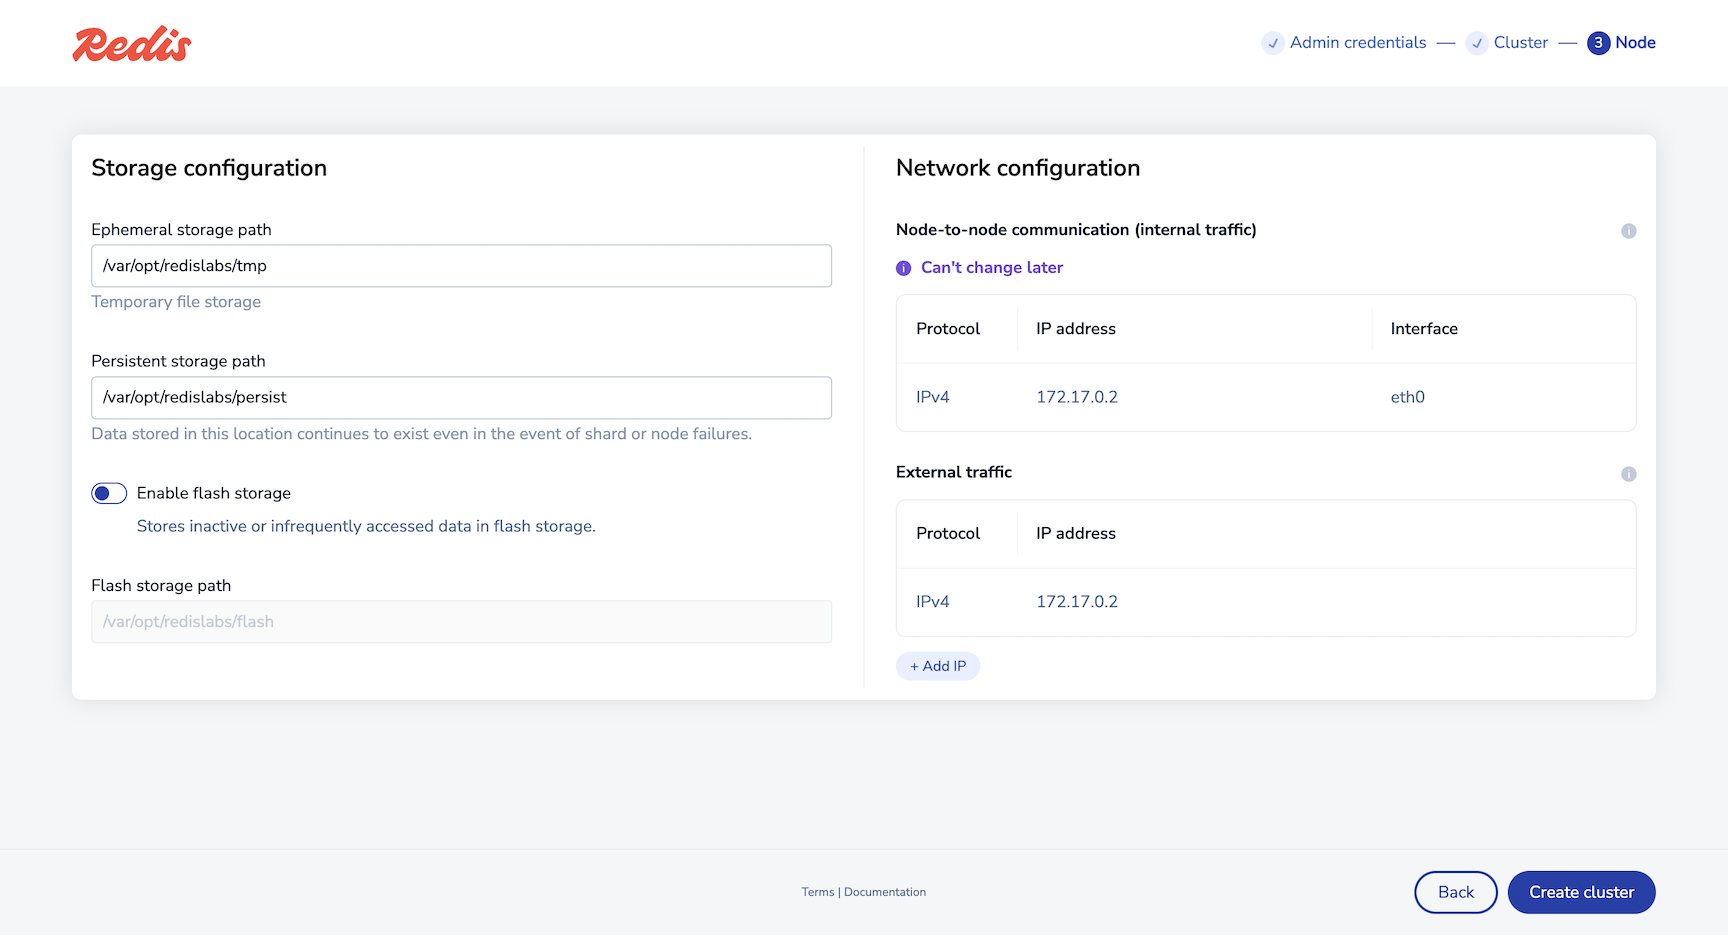
-
Click OK to confirm that you are aware of the replacement of the HTTPS SSL/TLS certificate on the node, and proceed through the browser warning.
-
Repeat the previous steps for cluster 2 with these differences:
-
In your web browser, go to
https://localhost:8445to set up the cluster 2. -
For the Cluster name (FQDN), enter a different name, such as
cluster2.local.
-
Now you have two Redis Software clusters with FQDNs
cluster1.local and cluster2.local.
Create an Active-Active database
-
Sign in to cluster1.local's Cluster Manager UI at
https://localhost:8443 -
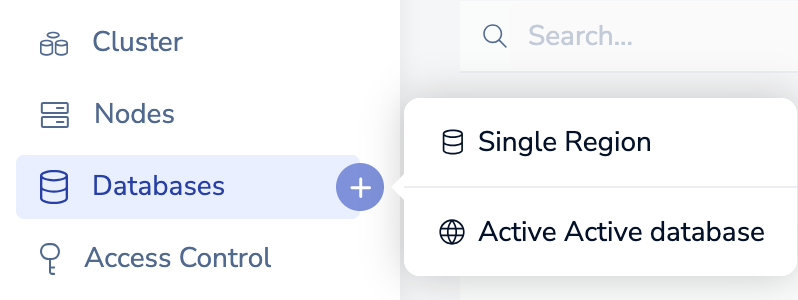
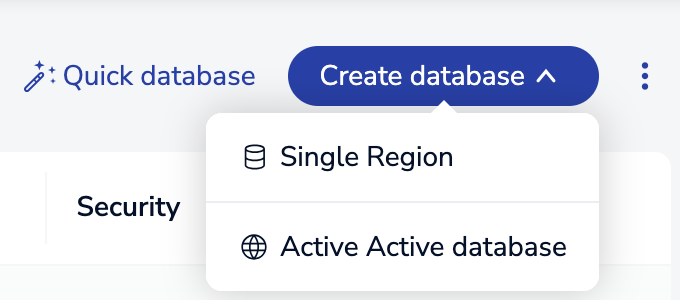
Open the Create database menu with one of the following methods:
-
Select Active-Active database.
-
Enter the cluster's local admin credentials, then click Save:
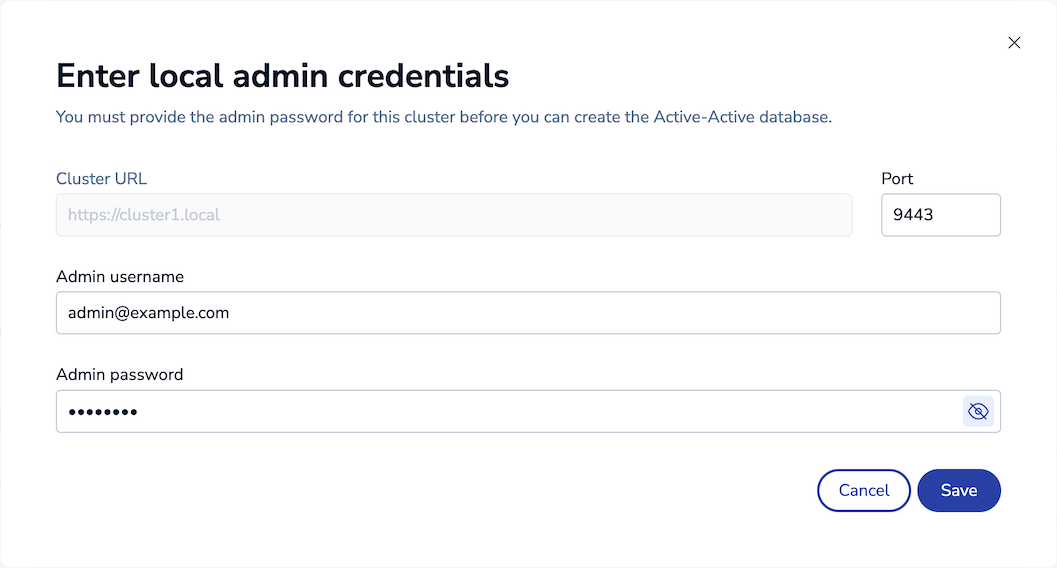
-
Add participating clusters that will host instances of the Active-Active database:
-
In the Participating clusters section, go to Other participating clusters and click + Add cluster.
-
In the Add cluster configuration panel, enter the new cluster's URL, port number, and the admin username and password for the new participating cluster:
In the Other participating clusters list, add the address and admin credentials for the other cluster:
https://cluster2.local:9443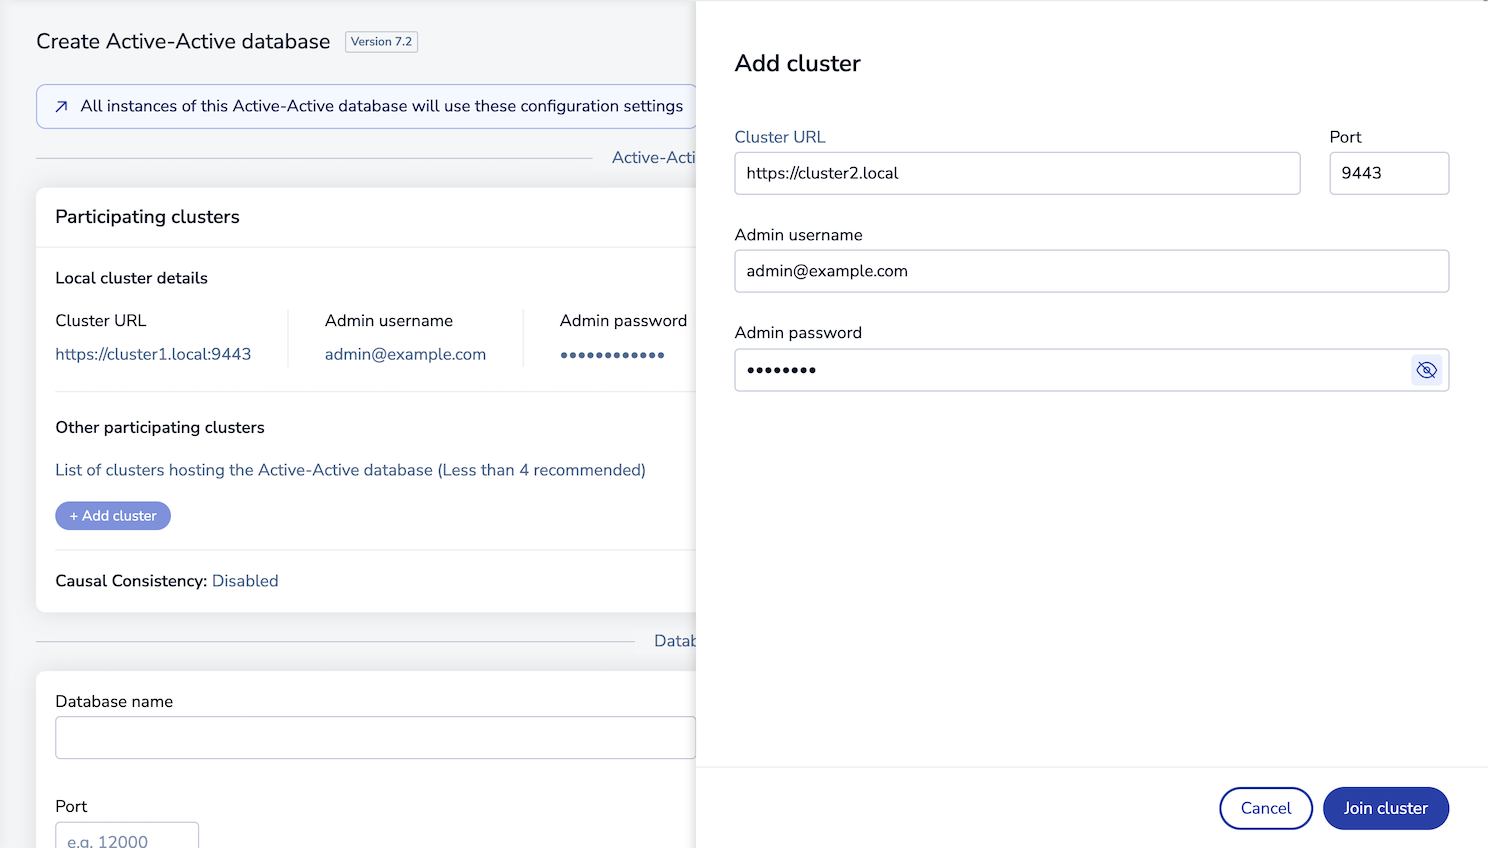
-
Click Join cluster to add the cluster to the list of participating clusters.
-
-
Enter
database1for Database name and12000for Port: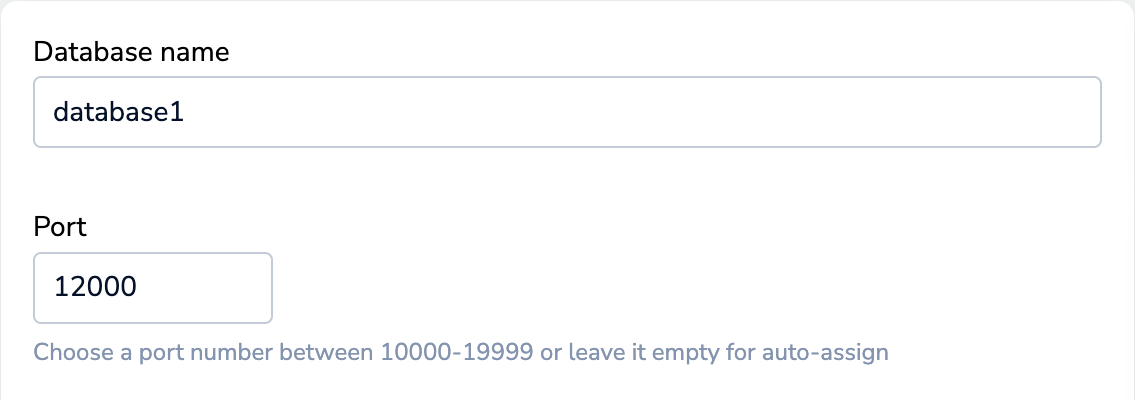
-
Configure additional settings:
-
In the High availability section, turn off Replication since each cluster has only one node in this setup:

-
In the Clustering section, either:
-
Make sure that Sharding is enabled and select the number of shards you want to have in the database. When database clustering is enabled, databases are subject to limitations on Multi-key commands. You can increase the number of shards in the database at any time.
-
Turn off Sharding to use only one shard and avoid Multi-key command limitations.
Note:You cannot enable or turn off database clustering after the Active-Active database is created. -
-
-
Click Create.
Note:If you cannot activate the database because of a memory limitation, make sure that Docker has at least 4 GB of memory allocated in the Advanced section of Docker Settings. -
After the Active-Active database is created, sign in to the Cluster Manager UIs for cluster 1 at
https://localhost:8443and cluster 2 athttps://localhost:8445. -
Make sure each cluster has an Active-Active database member database with the name
database1.In a real-world deployment, cluster 1 and cluster 2 would most likely be in separate data centers in different regions. However, for local testing we created the scale-minimized deployment using two local clusters running on the same host.
Test connection
With the Redis database created, you are ready to connect to your database. See Connect to Active-Active databases for tutorials and examples of multiple connection methods.
