Auth0 SAML integration guide
This integration guide shows how to configure Auth0 as a SAML single sign on provider for your Redis Cloud account.
| Redis Cloud |
|---|
This guide shows how to configure Auth0 as a SAML single sign-on identity provider (IdP) for your Redis Cloud account.
To learn more about Redis Cloud support for SAML, see SAML single sign-on.
Before completing this guide, you must verify ownership of any domains you want to associate with your SAML setup.
Step 1: Set up your identity provider (IdP)
Specify the SAML owner
-
Sign in to your Auth0 account and navigate to User Management > Users.
- Select the SAML owner.
- Verify the details.
SAML assertion requires first and last name, which are not available in the default user profile.
Note:Depending how they are created, users can have different profiles.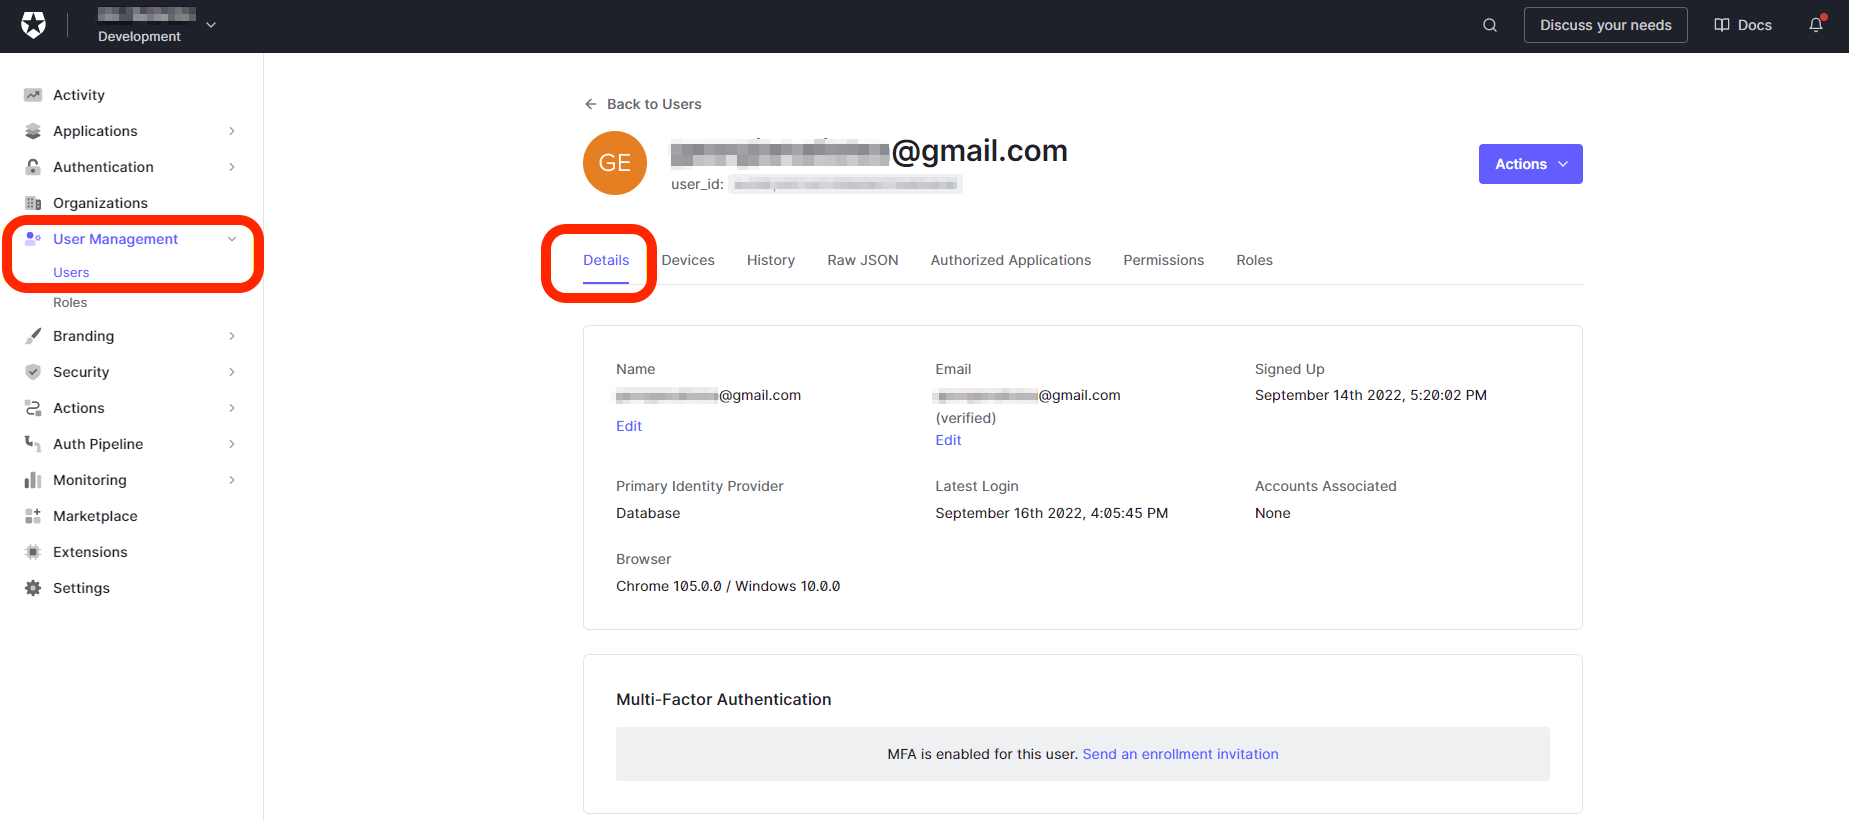
-
Add
user_metadatato fulfill the SAML assertion, then select Save.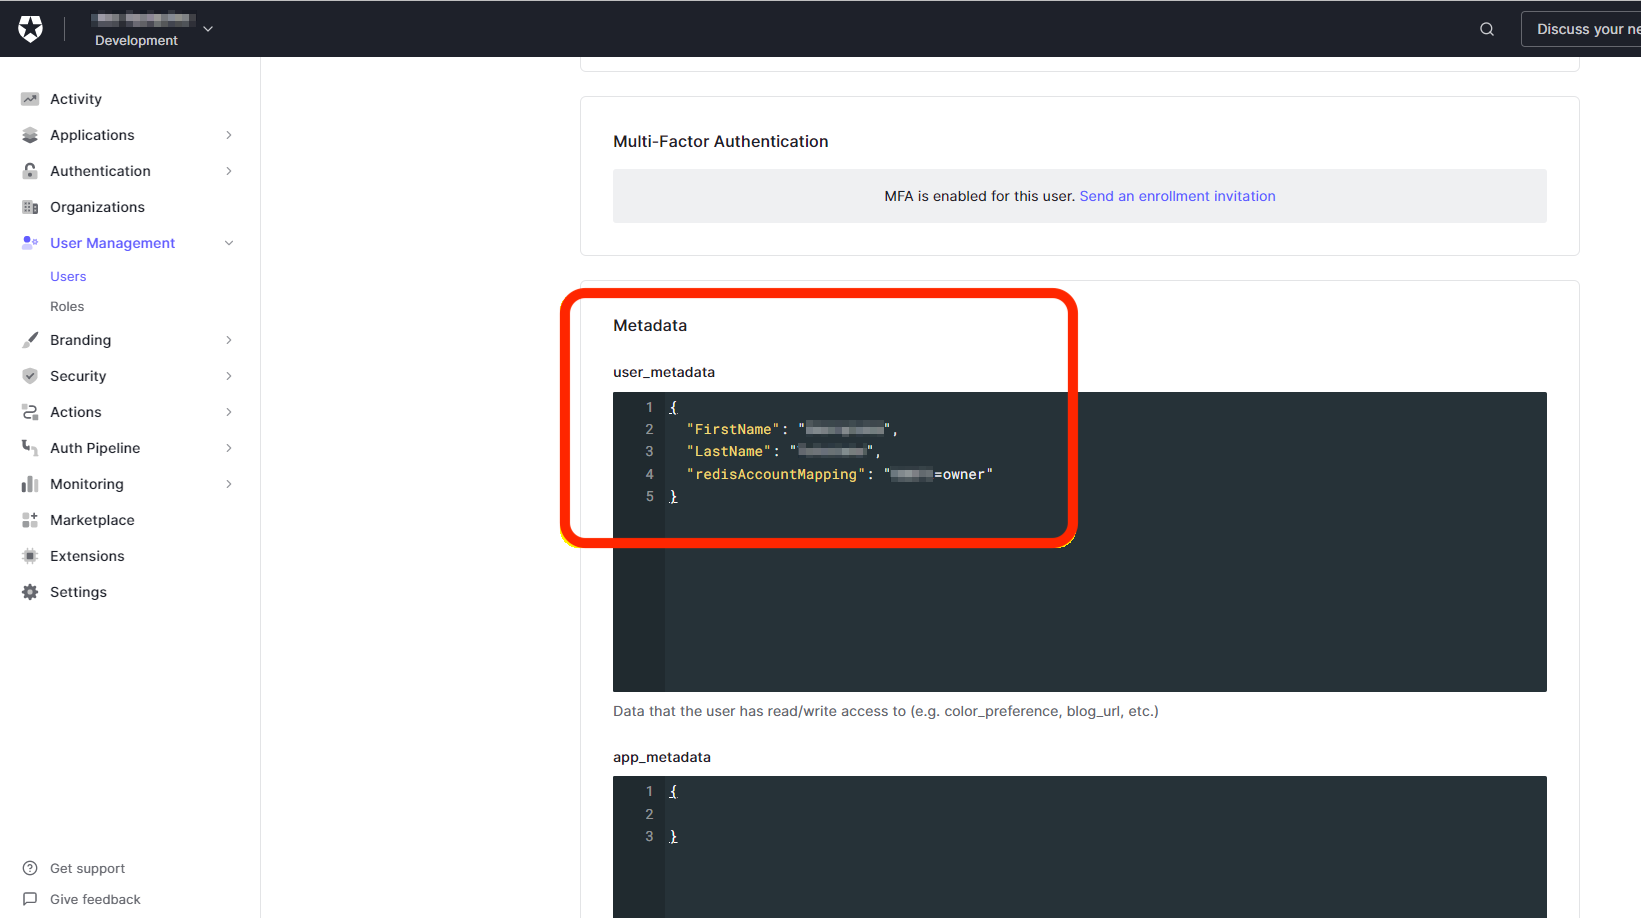
The key-value pair of
redisAccountMappingconsists of a lowercase role name (owner, member, manager, billing_admin, or viewer) and your Redis Cloud Account ID found in the account settings.{ "FirstName": "Test", "LastName": "User", "redisAccountMapping": "YOUR_REDIS_CLOUD_ID=owner" } -
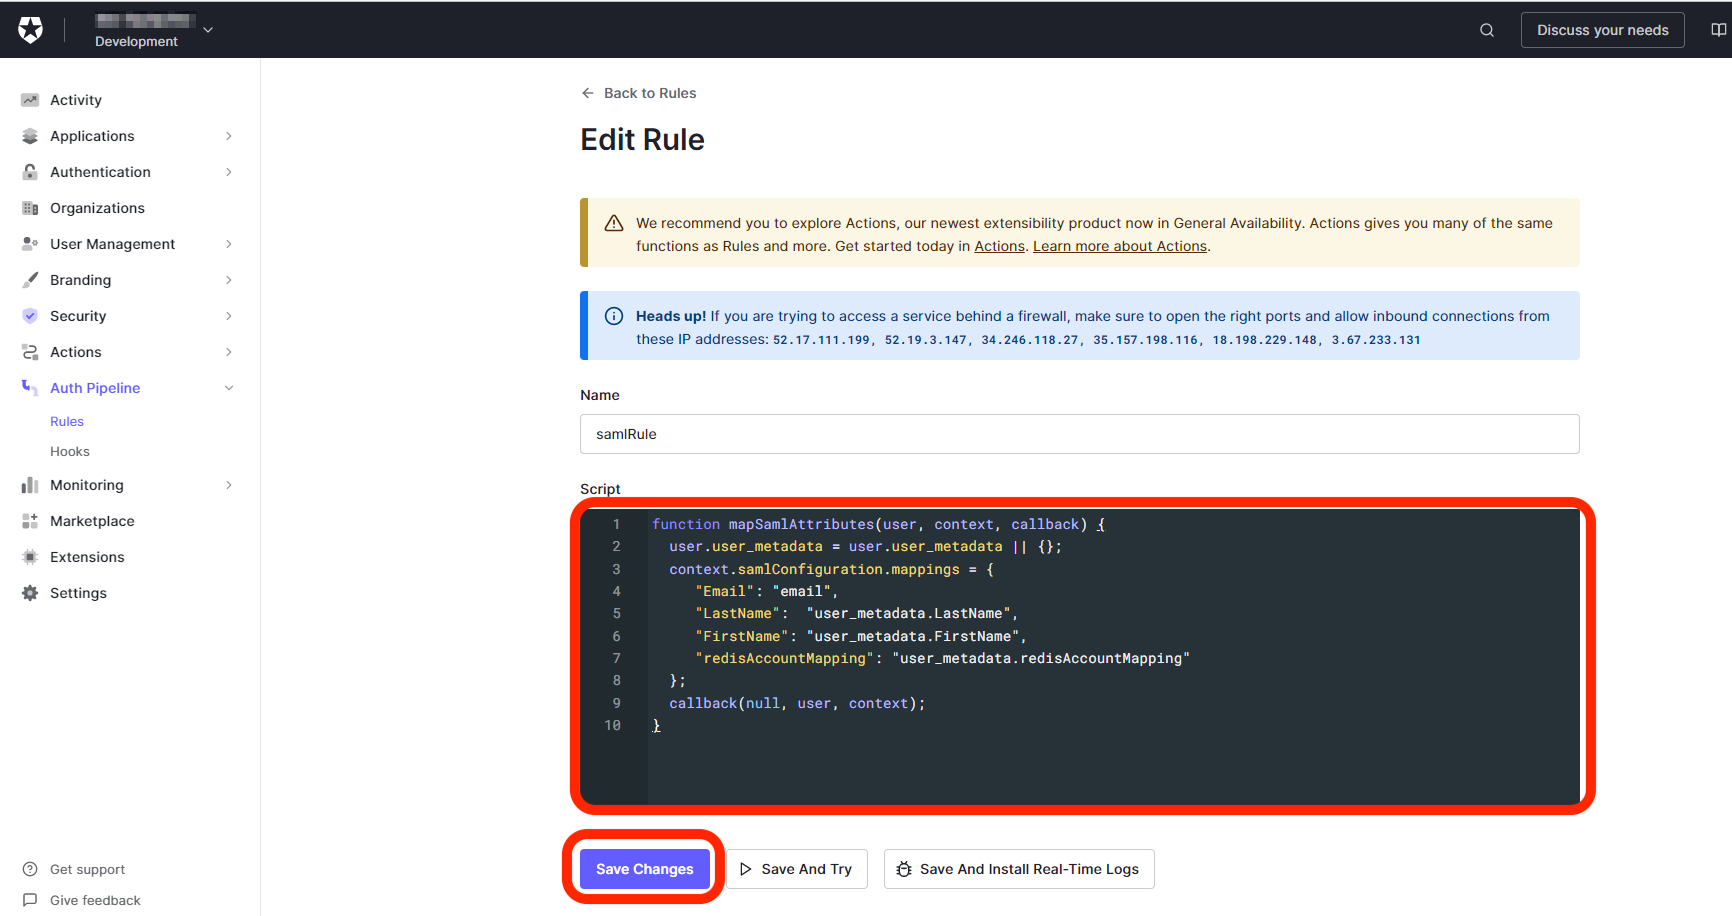
Open Actions > Triggers and select
post-login.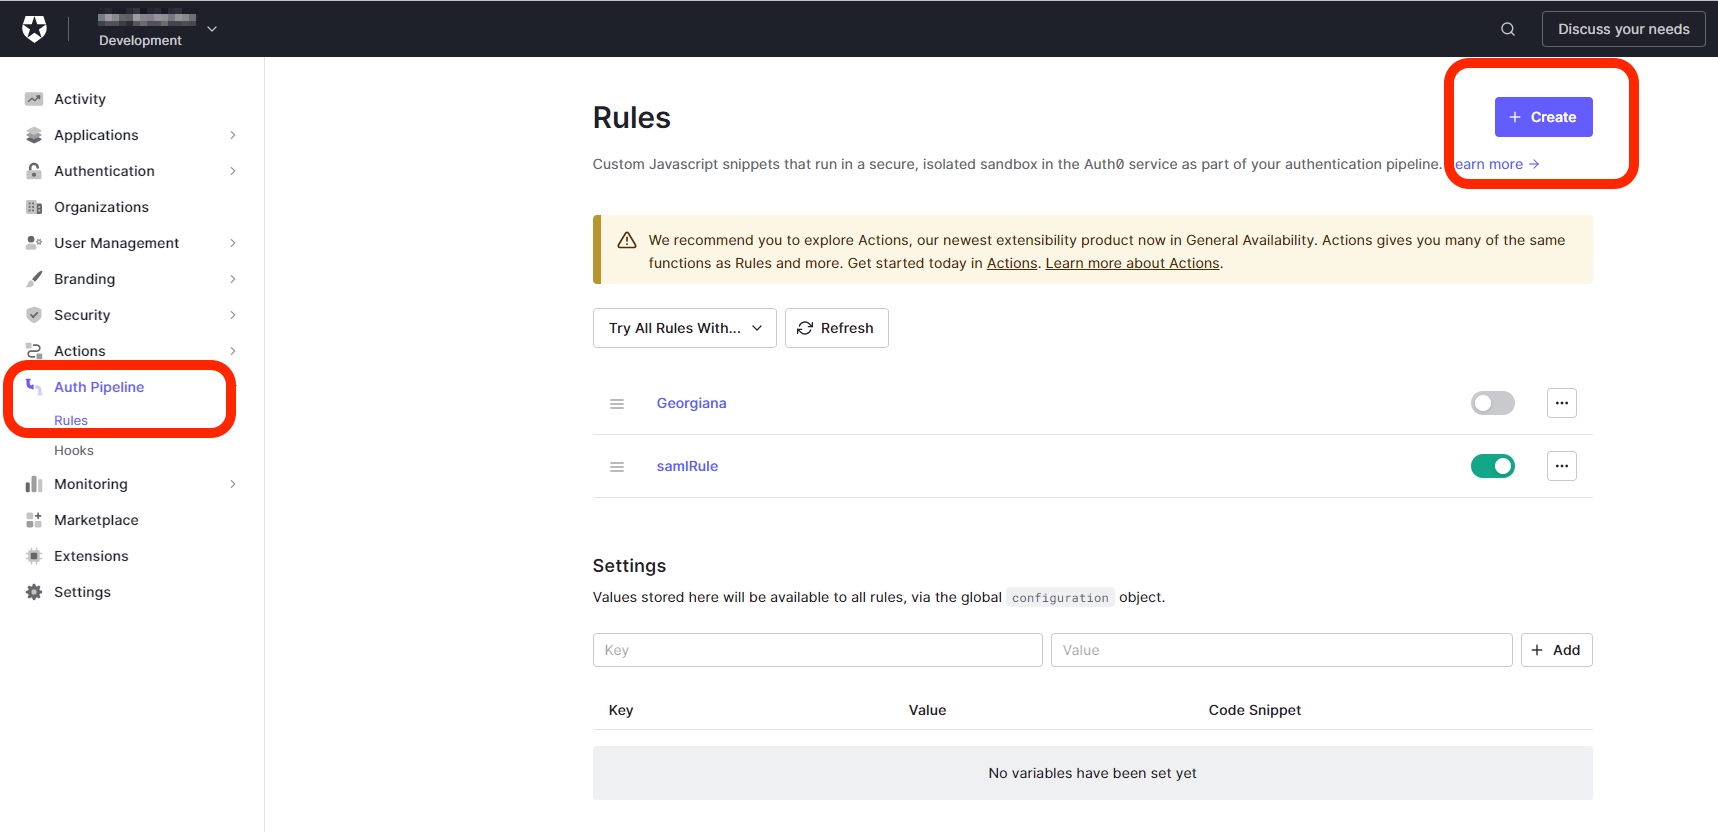
-
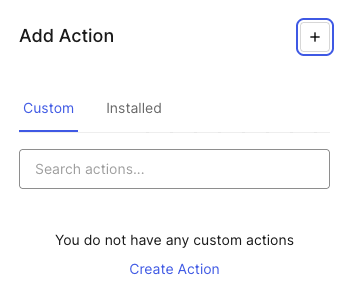
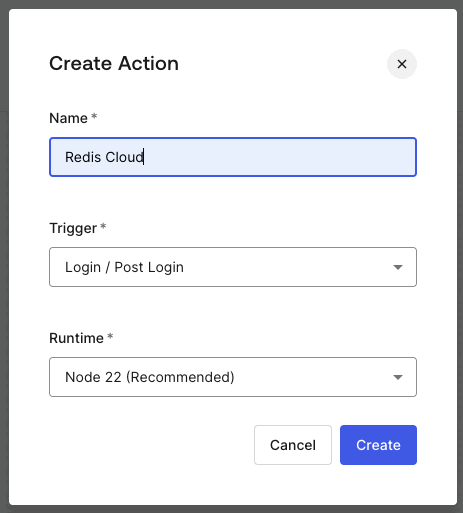
Select Create Action to create a new custom action.
-
Provide a name for the action and select Create.
-
Add the following code to the action:
exports.onExecutePostLogin = async (event, api) => { const um = event.user.user_metadata || {}; const am = event.user.app_metadata || {}; api.samlResponse.setAttribute('email', event.user.email); api.samlResponse.setAttribute( 'firstName', um.FirstName || '' ); api.samlResponse.setAttribute( 'lastName', um.LastName || '' ); const mapping = am.redisAccountMapping || um.redisAccountMapping; if (mapping) { api.samlResponse.setAttribute('redisAccountMapping', mapping); } else { api.access.deny('missing_redis_account_mapping', 'redisAccountMapping not set for user'); } }; -
Select Deploy to save and deploy the action.
-
Return to the
post-logintrigger and drag the action you just created to the trigger.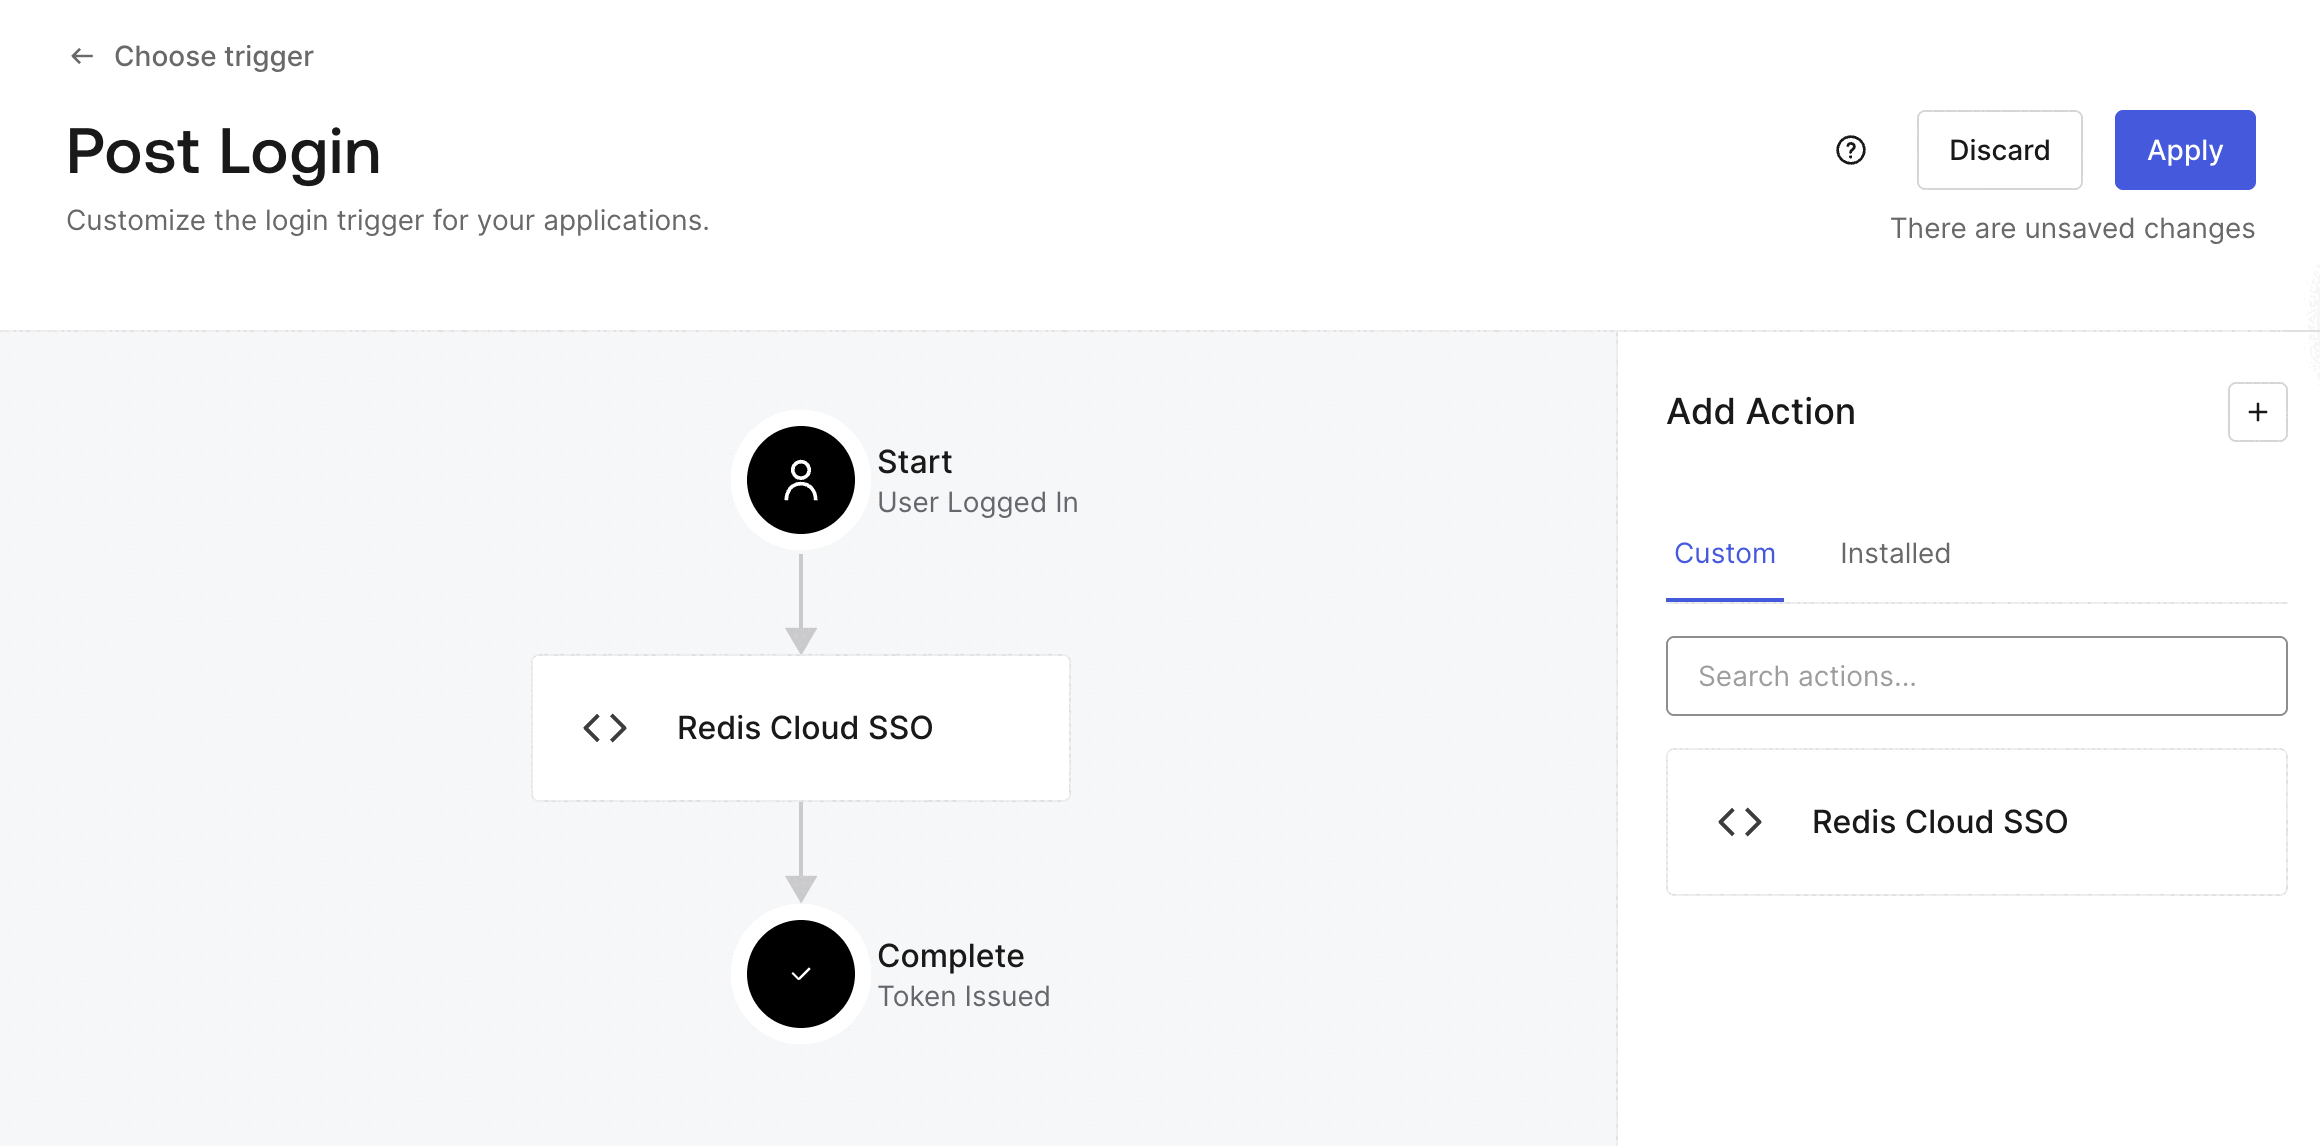
Select Apply to save your changes.
Create and configure the SAML application
-
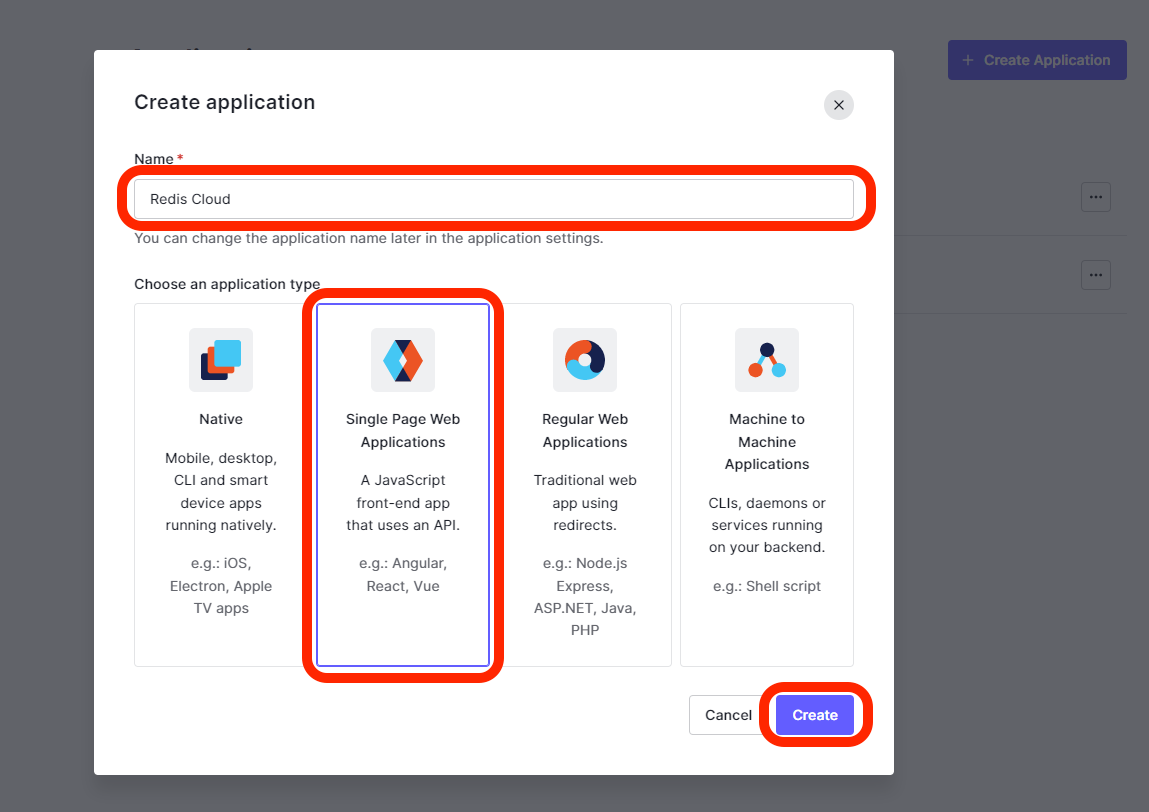
Open Applications > Applications and select Create Application.
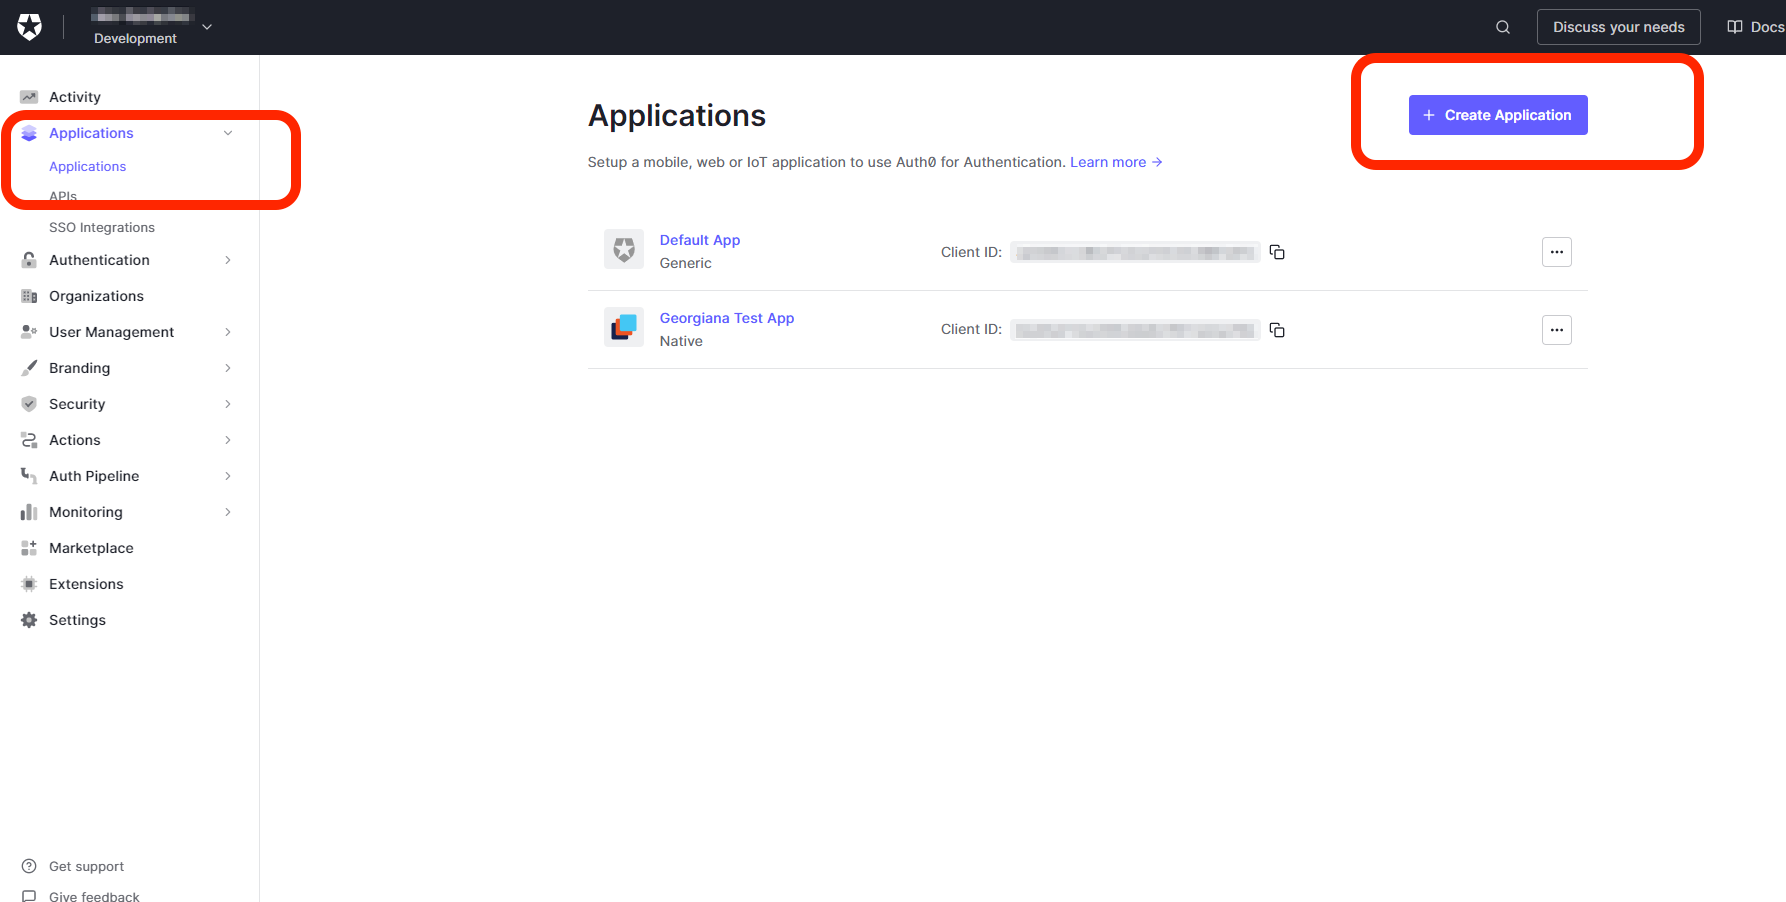
-
Provide a name for the Application and select Single Page Web Applications. Select Create.
-
From the newly created application, go to Settings > Advanced Settings > Certificates.
- Copy and save the Signing Certificate. You will need this information to configure SAML in admin console.
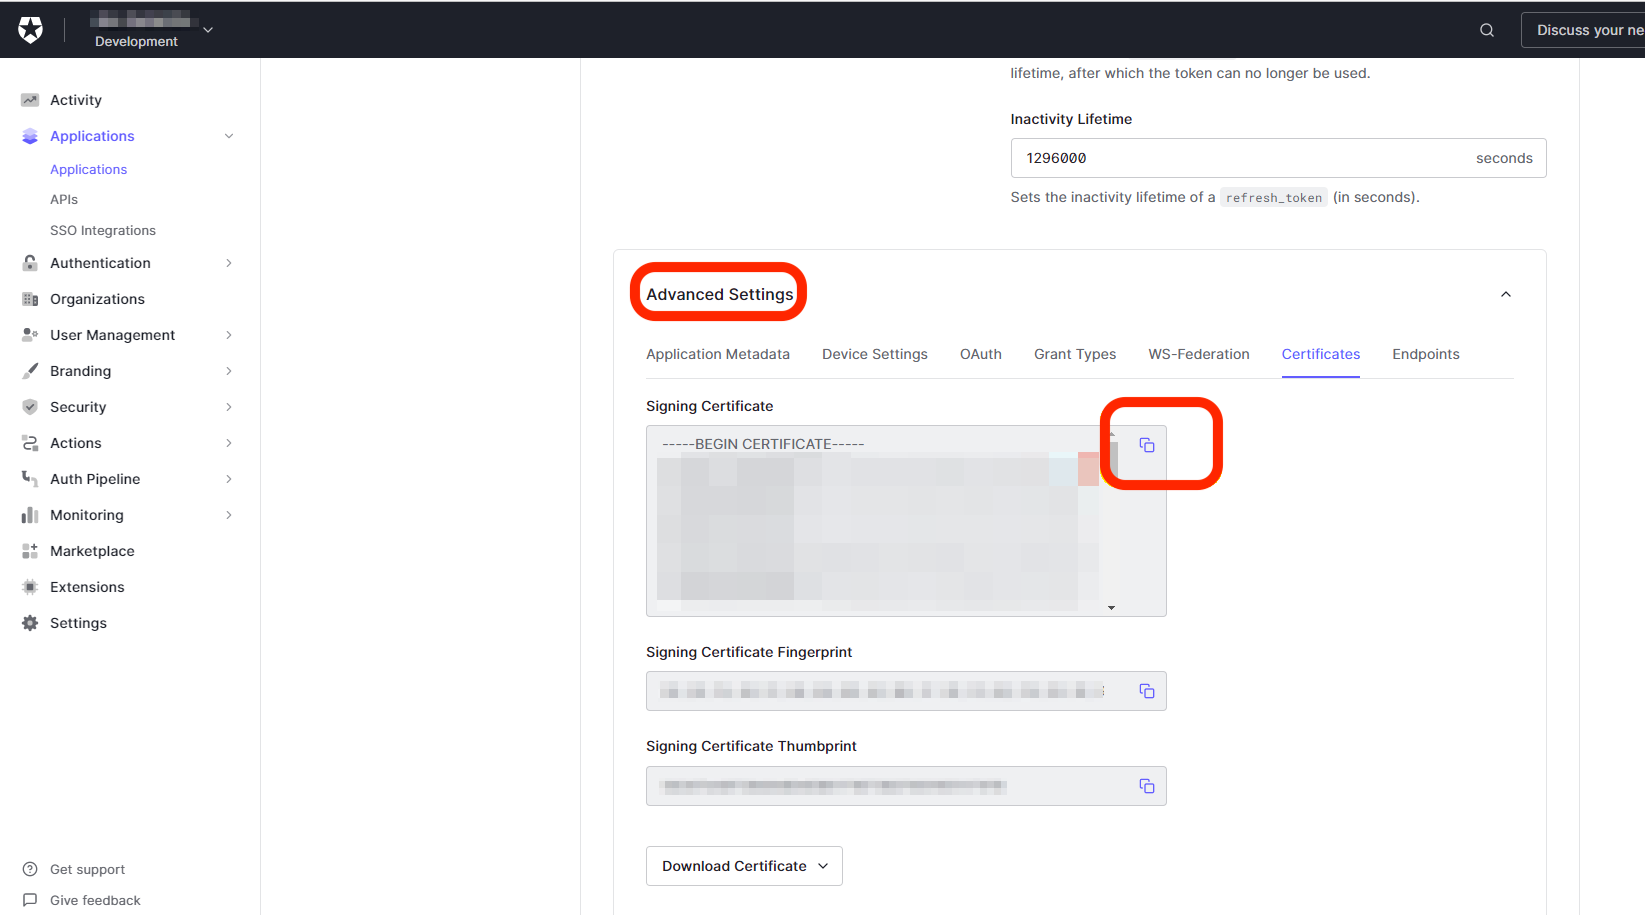
- We suggest that you update the default logo of the application to the Redis icon for better visibility.
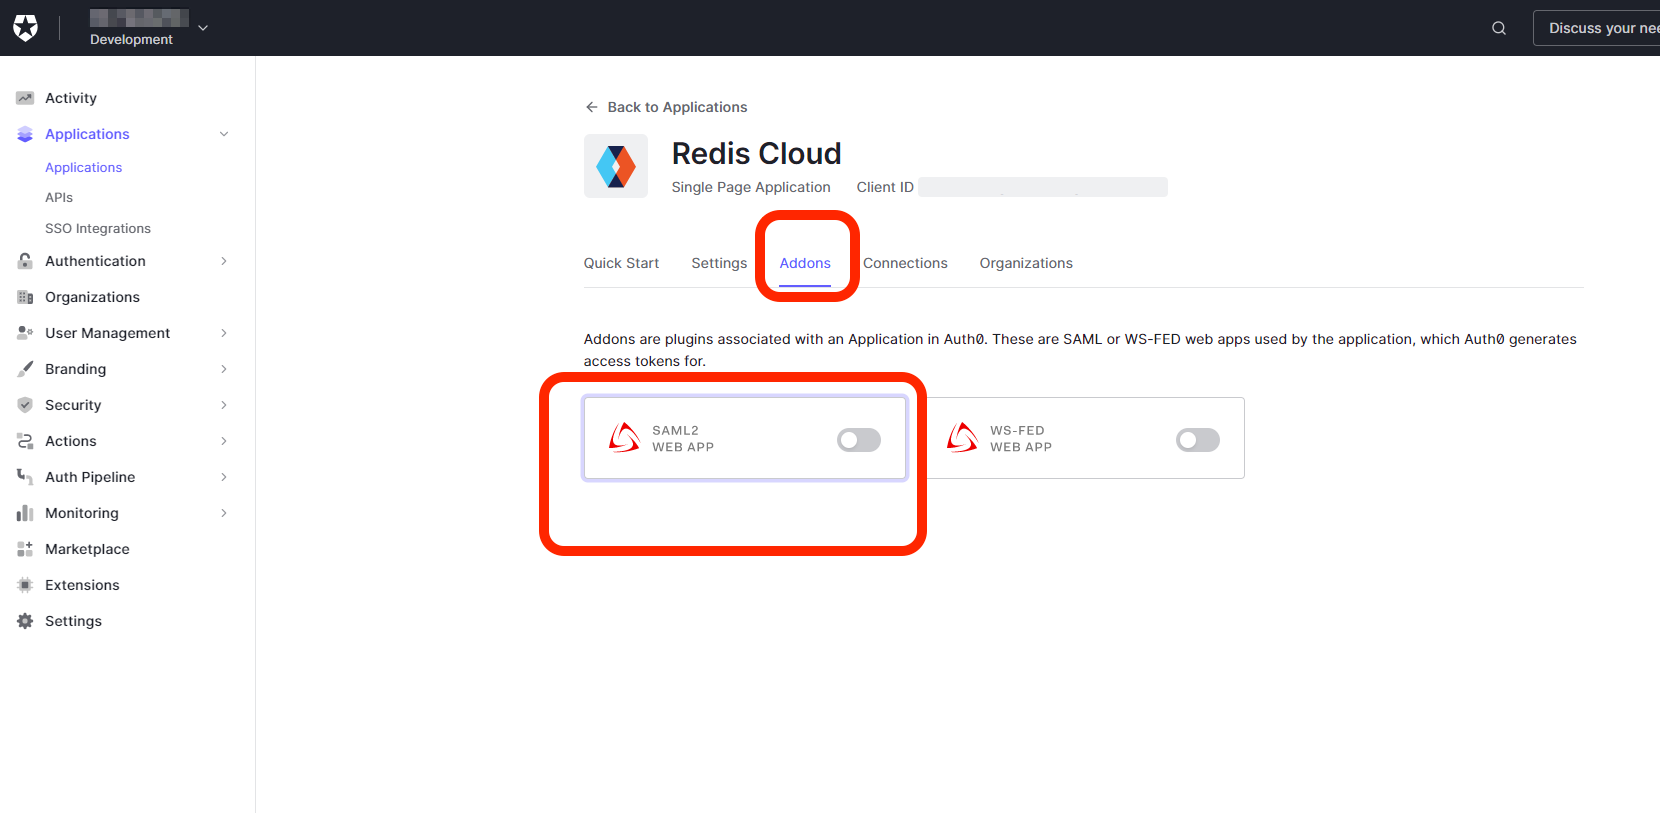
-
From the newly created application, go to Addons and enable SAML 2 WEB APP.
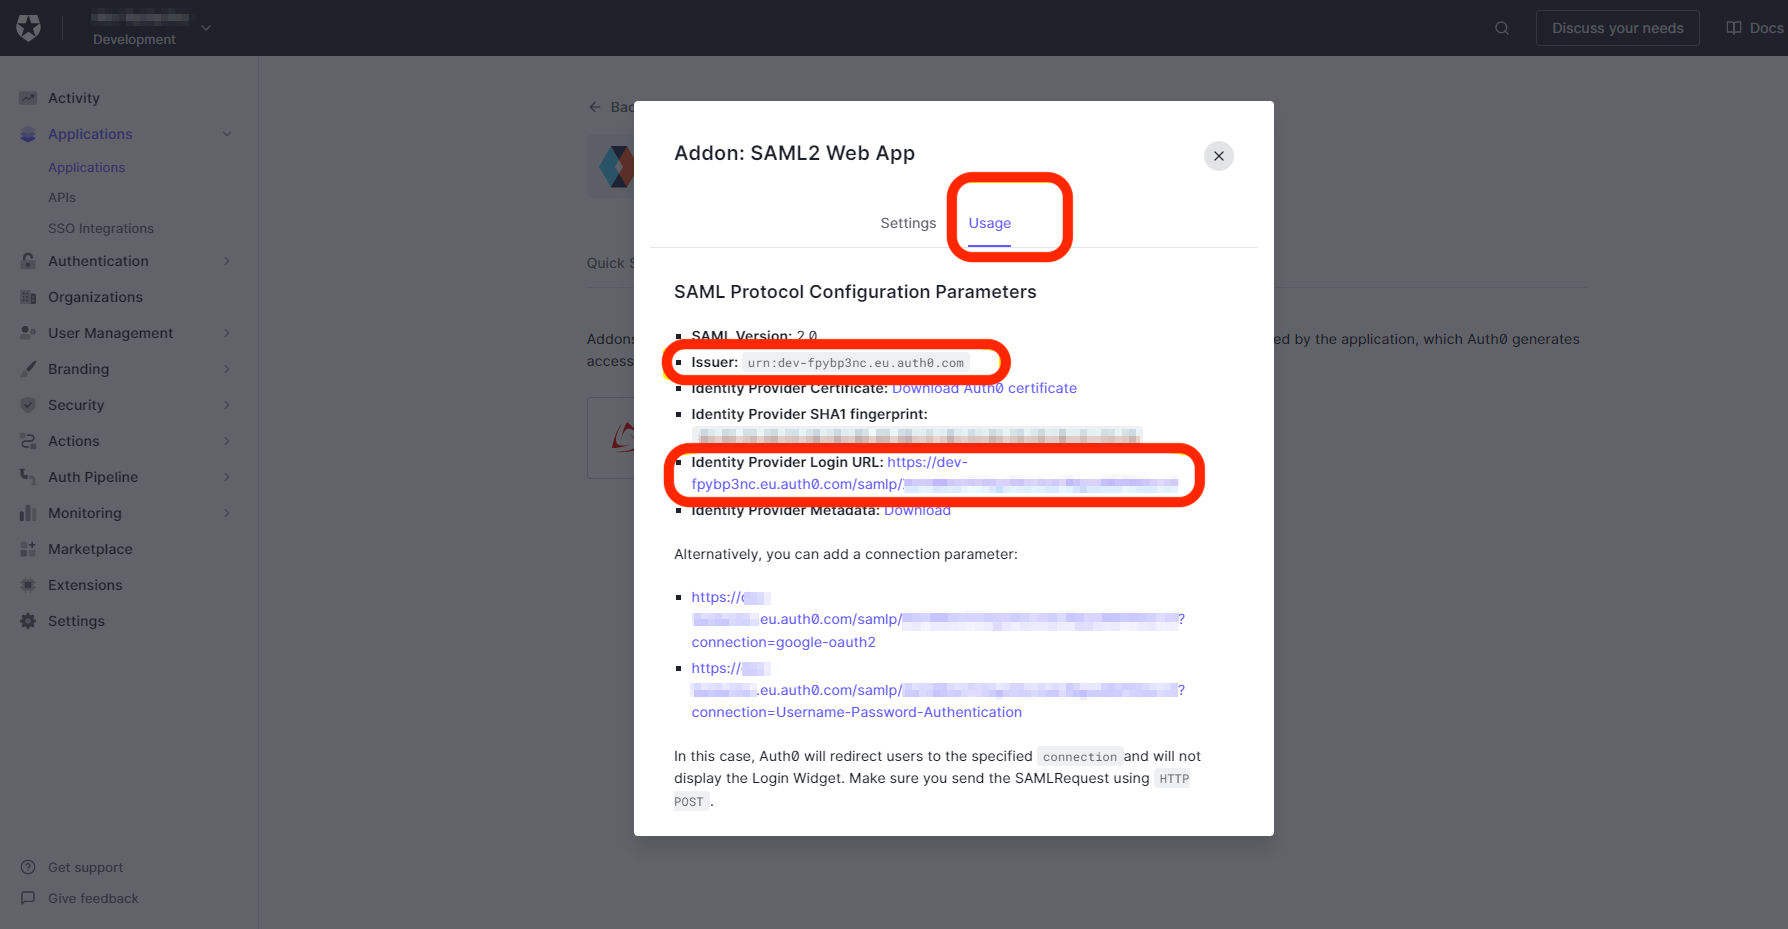
-
From the Usage tab:
- Copy and save the Issuer value.
- Copy and save the Identity Provider Login URL.
You will need both of these values, along with the certificate value you copied in the previous step, to configure SAML in the Redis Cloud console.
Step 2: Configure SAML support in Redis Cloud
Now that you have you Auth0 IdP server ready, configure support for SAML in Redis Cloud.
Sign in to Redis Cloud
Sign in to your account on the Redis Cloud console.
Activate SAML in Access Management
To activate SAML, you need to have a local user (or social sign-on user) with the owner role. If you have the correct permissions, you will see the Single Sign-On tab.
-
Fill in the information you saved previously in the setup form. This includes:
- Issuer (IdP Entity ID): Issuer value from Auth0
- IdP server URL: Identity Provider Login URL from Auth0
- Assertion signing certificate: Certificate value from Auth0
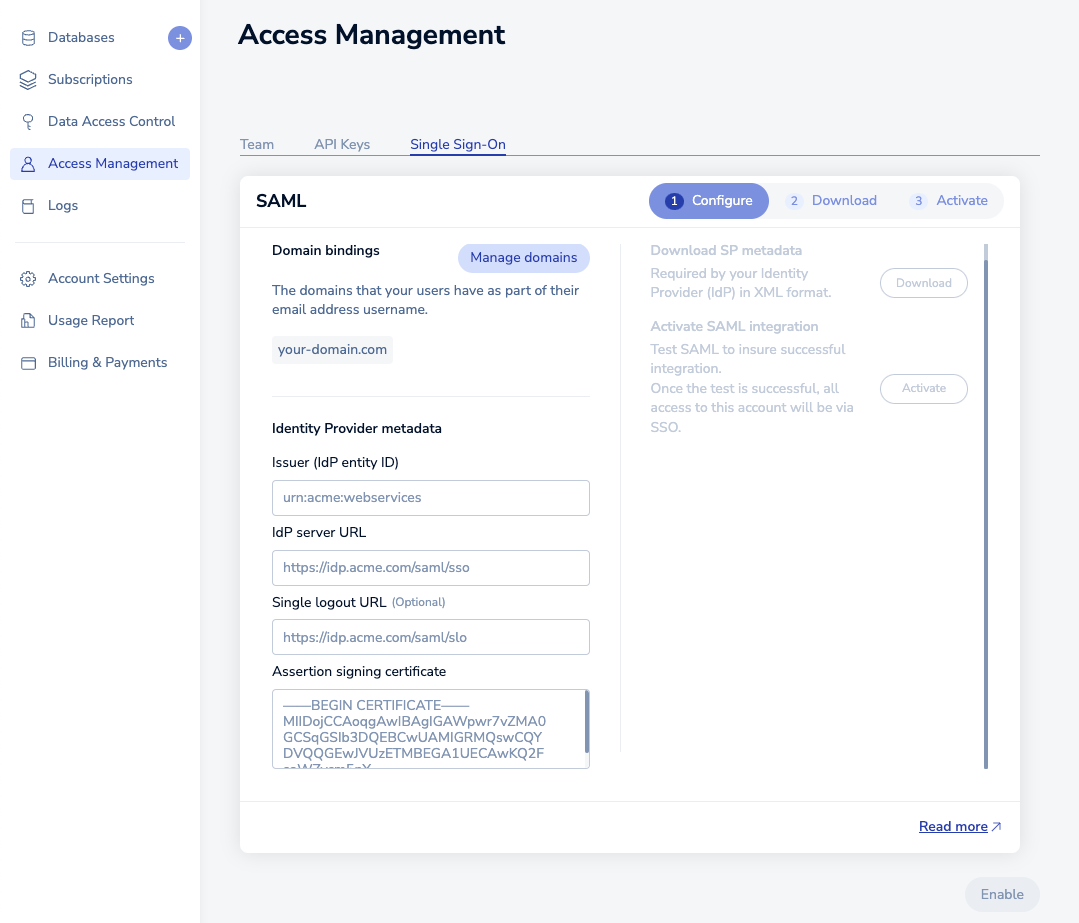
Once you click Enable, wait a few seconds for the status to change.
-
Download the service provider (SP) metadata. Save the file to your local hard disk.
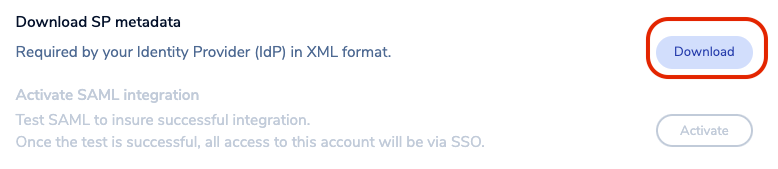
-
Open the file in any text editor. Save the following text from the metadata:
- EntityID: The unique name of the service provider (SP)

- Location : The location of the assertion consumer service

Step 3: Finish SAML configuration in Auth0
-
Return to the Auth0 SAML application and select Addons > SAML 2 Web App > Settings:

-
Paste the Location link in Application Callback URL field.
-
Enter the following code in the Settings code area. Modify the
audiencevariable with theEntityIDvalue, and therecipientvariable with theLocationvalue from the metadata file you downloaded.
{
  "audience": "<EntityID>",
  "recipient": "<Location>",
  "passthroughClaimsWithNoMapping": false,
  "nameIdentifierProbes": [
    "http://schemas.xmlsoap.org/ws/2005/05/identity/claims/emailaddress"
  ]
}
Scroll down and select Enable to apply the configuration.
-
IdP initiated SSO
To use IdP-initiated SSO with certain identity providers, you also need to set the RelayState parameter to this URL:
https://cloud.redis.io/#/login/?idpId=<ID>
ID so it matches the AssertionConsumerService Location URL ID (the content after the last forward slash "/"). To learn more about how to configure service provider apps, see your identity provider’s documentation.Step 4: Return to the Redis Cloud console
-
Return to the Redis Cloud console and select Activate.
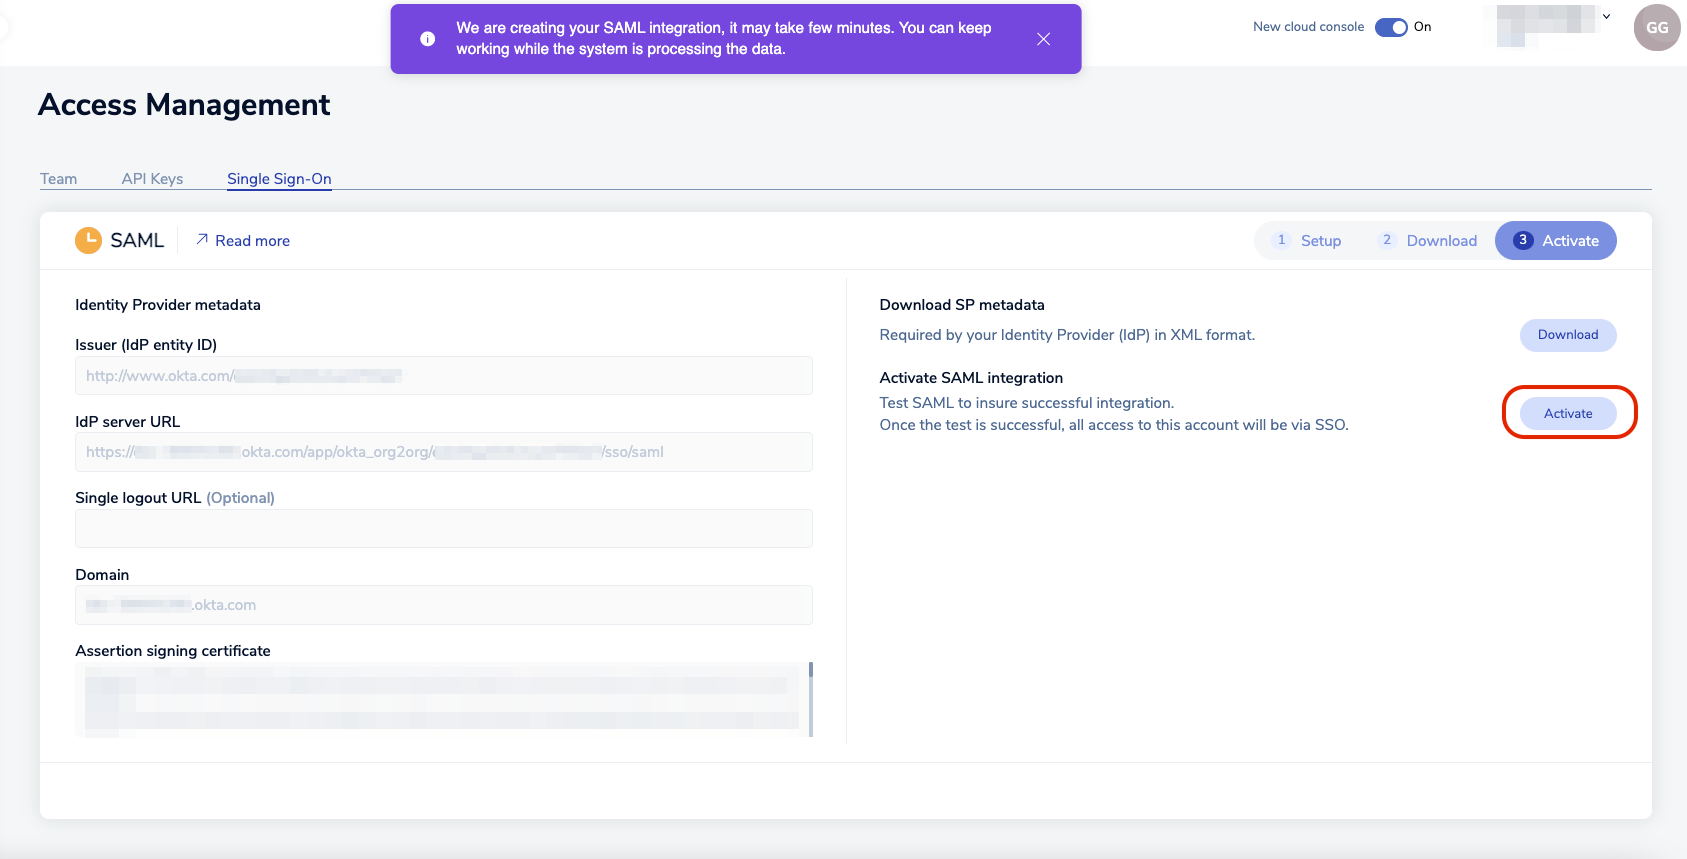
A popup appears, explaining that, in order to test the SAML connection, we need to login with credentials of a user defined in Auth0. Select Continue to go to the Auth0 login screen.
-
The Auth0 login screen appears. Enter the credentials and select Sign In.

If everything is configured correctly, you will see the the Redis Cloud console screen. Your local account is now considered a SAML account.
To log in to the Redis Cloud console from now on, click on Sign in with SSO.
