Set up Redis for Bedrock
Shows how to set up your Redis database for Amazon Bedrock.
You need to set up your Redis Cloud database before you can set it as the vector database in Amazon Bedrock. To do this, you need to:
- Sign up for Redis Cloud and create a database
- Enable Transport Layer Security (TLS) for the database and save the certificates
- Store database credentials in AWS secrets manager
- Create a vector index in your database for Bedrock to use
After you set up the database, you can use the database information to set it as your knowledge base database when you create a knowledge base.
Sign up and create a database
To set up a Redis Cloud instance for Bedrock, you need to:
- Sign up for Redis Cloud if you do not already have an account.
- Create a database to use for your Bedrock knowledge base.
Sign up for Redis Cloud using AWS Marketplace
-
Select the Redis Cloud AWS marketplace link from Bedrock to be taken to the Redis Cloud plan listing.

-
Subscribe to Redis Cloud listing, locate the Set Up Your Account button, and then select it to begin mapping your Redis Cloud account with your AWS Marketplace account.

-
Sign in to the Redis Cloud console.
-
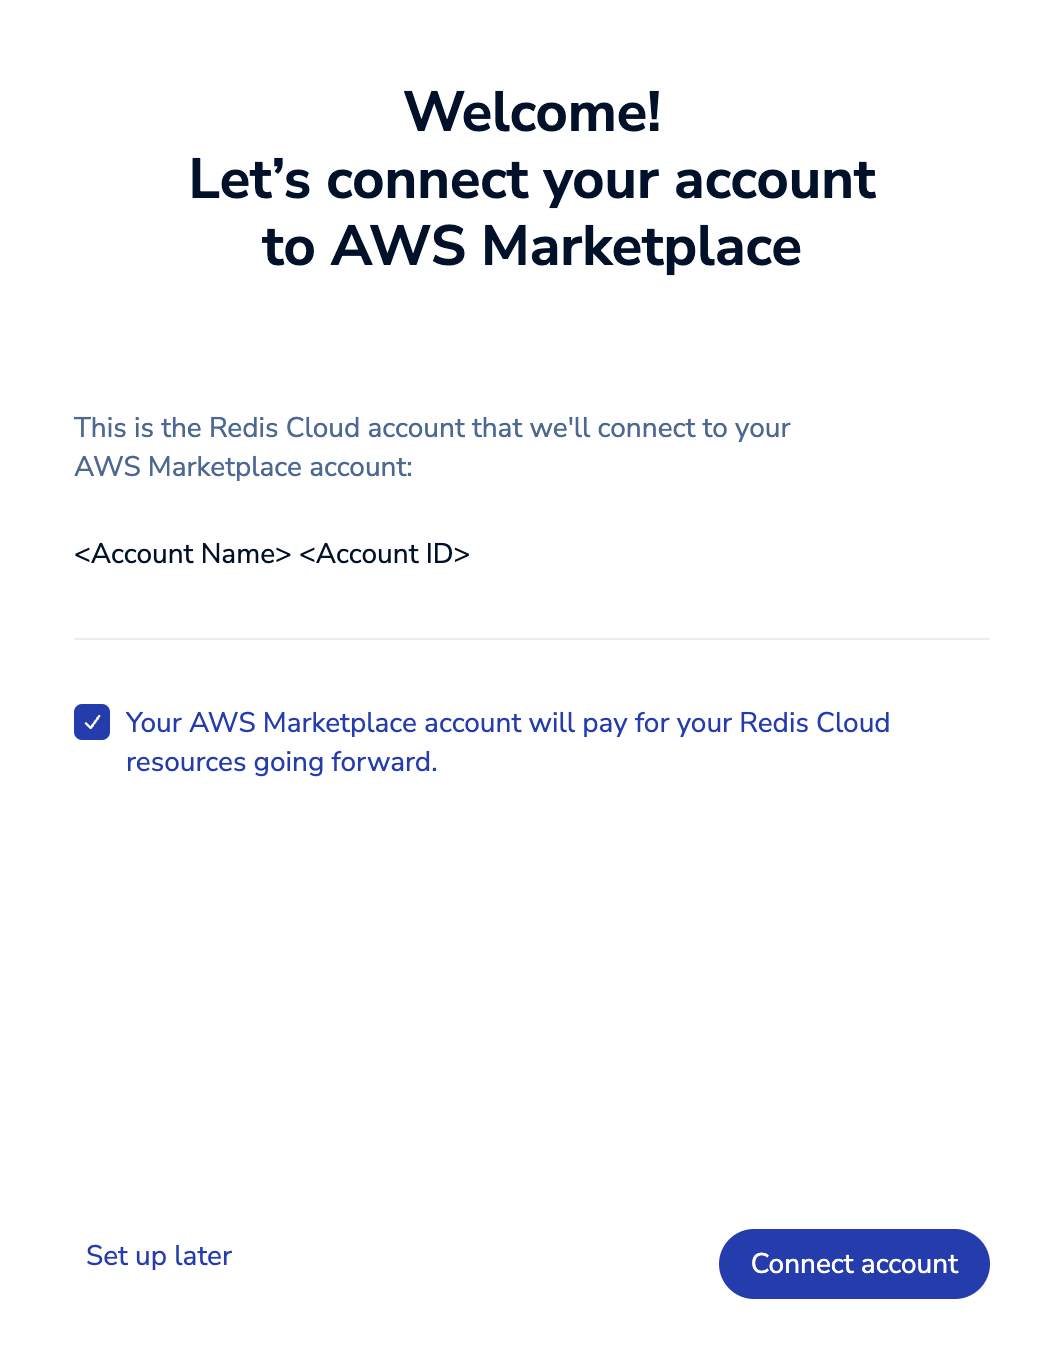
Select the Redis account to be mapped to your AWS Marketplace account and confirm that your payment method will change and that the connection cannot be undone.
-
Use the Map account button to confirm your choice.
-
Once your Redis account is mapped to your AWS Marketplace account, a message appears in the upper, left corner of the account panel.
In addition, AWS Marketplace is reported as the selected payment method.
Create a database
-
In the Redis Cloud console, select New database.

-
When the New database page appears, select Pro to create a Pro plan.

-
After you select Pro, the Database settings section will appear. For this guide, continue with Easy create to get started faster.

If you'd like to select all of the configuration options yourself, select Custom settings. See Create a Redis Cloud Pro database for more details.
-
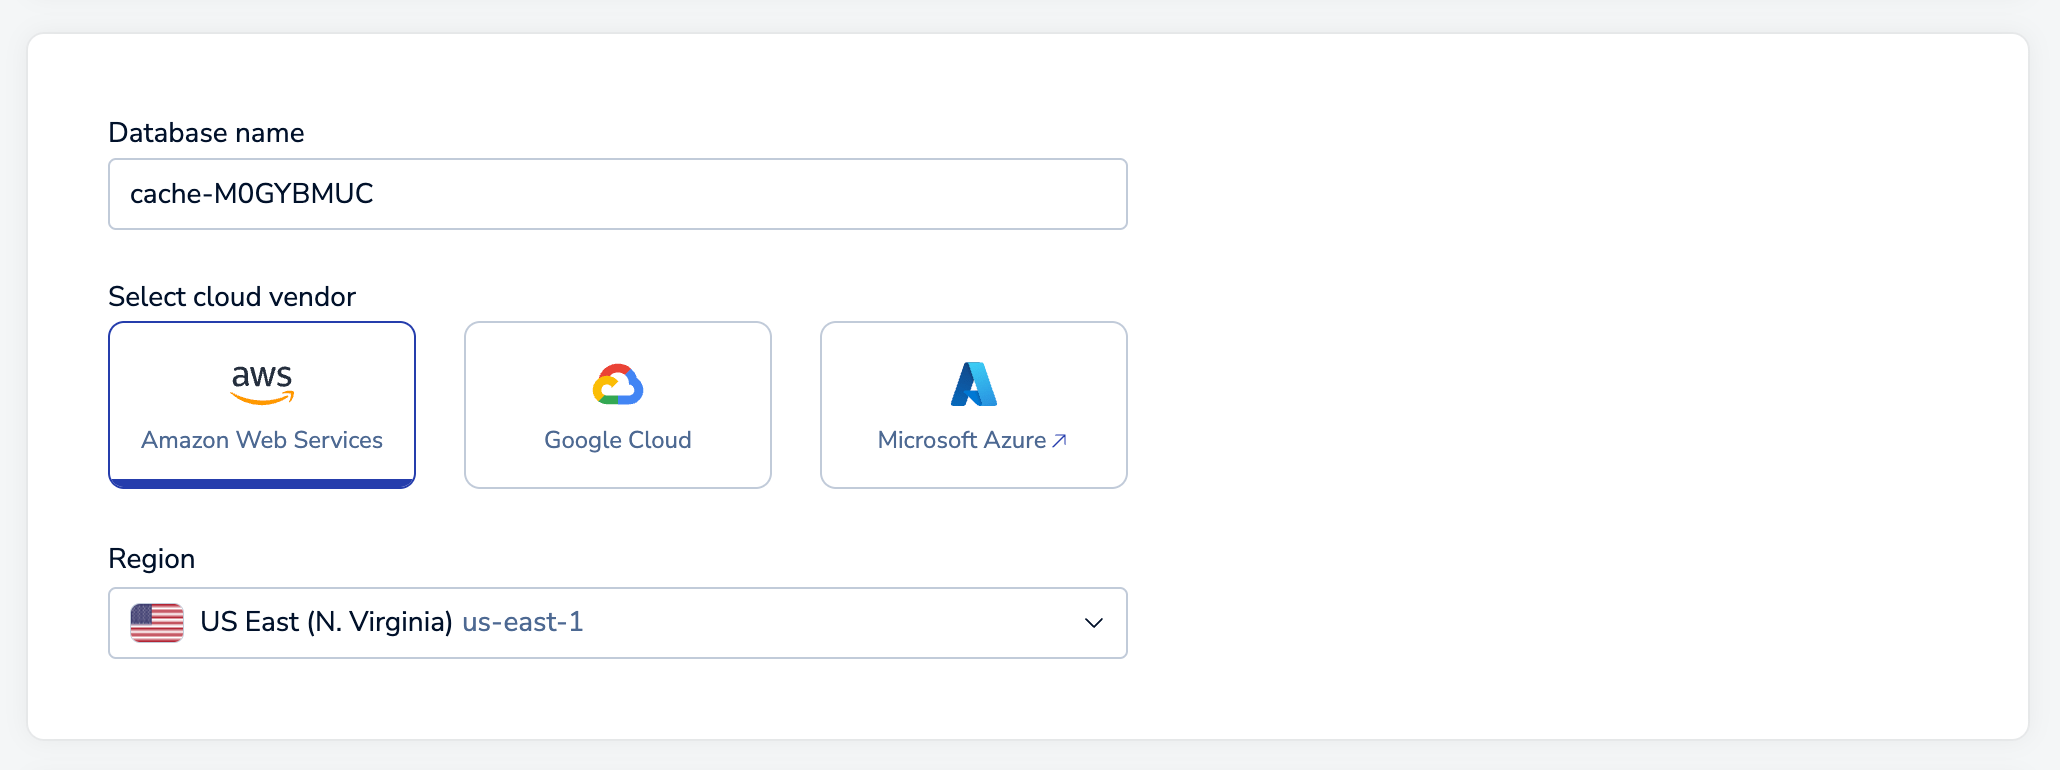
Redis will generate a database name for you. If you want to change it, you can do so in the Database name field.
-
Select Amazon Web Services as the cloud vendor and select a region.
-
In the Database Sizing section:

-
Select High availability if it is not already selected.
-
Set the Dataset size of your database based on the amount of data that Bedrock will pull from your Simple Storage Service (S3) bucket. See Find out the size of your S3 buckets to find out how much knowledge base data is stored in your S3 bucket and pick the closest size, rounded up, from the table below.
Total Size of Documents in S3 Database size without replication Database size with replication 10,000 kb 135 Mb 270 Mb 100,000 kb 1.35 Gb 2.7 Gb 1,000,000 kb 13.5 Gb 27 Gb 10,000,000 kb 135 Gb 270 Gb For more information on sizing, see the Bedrock integration blog post.
-
-
Select View all settings to review the database settings that we selected for you.
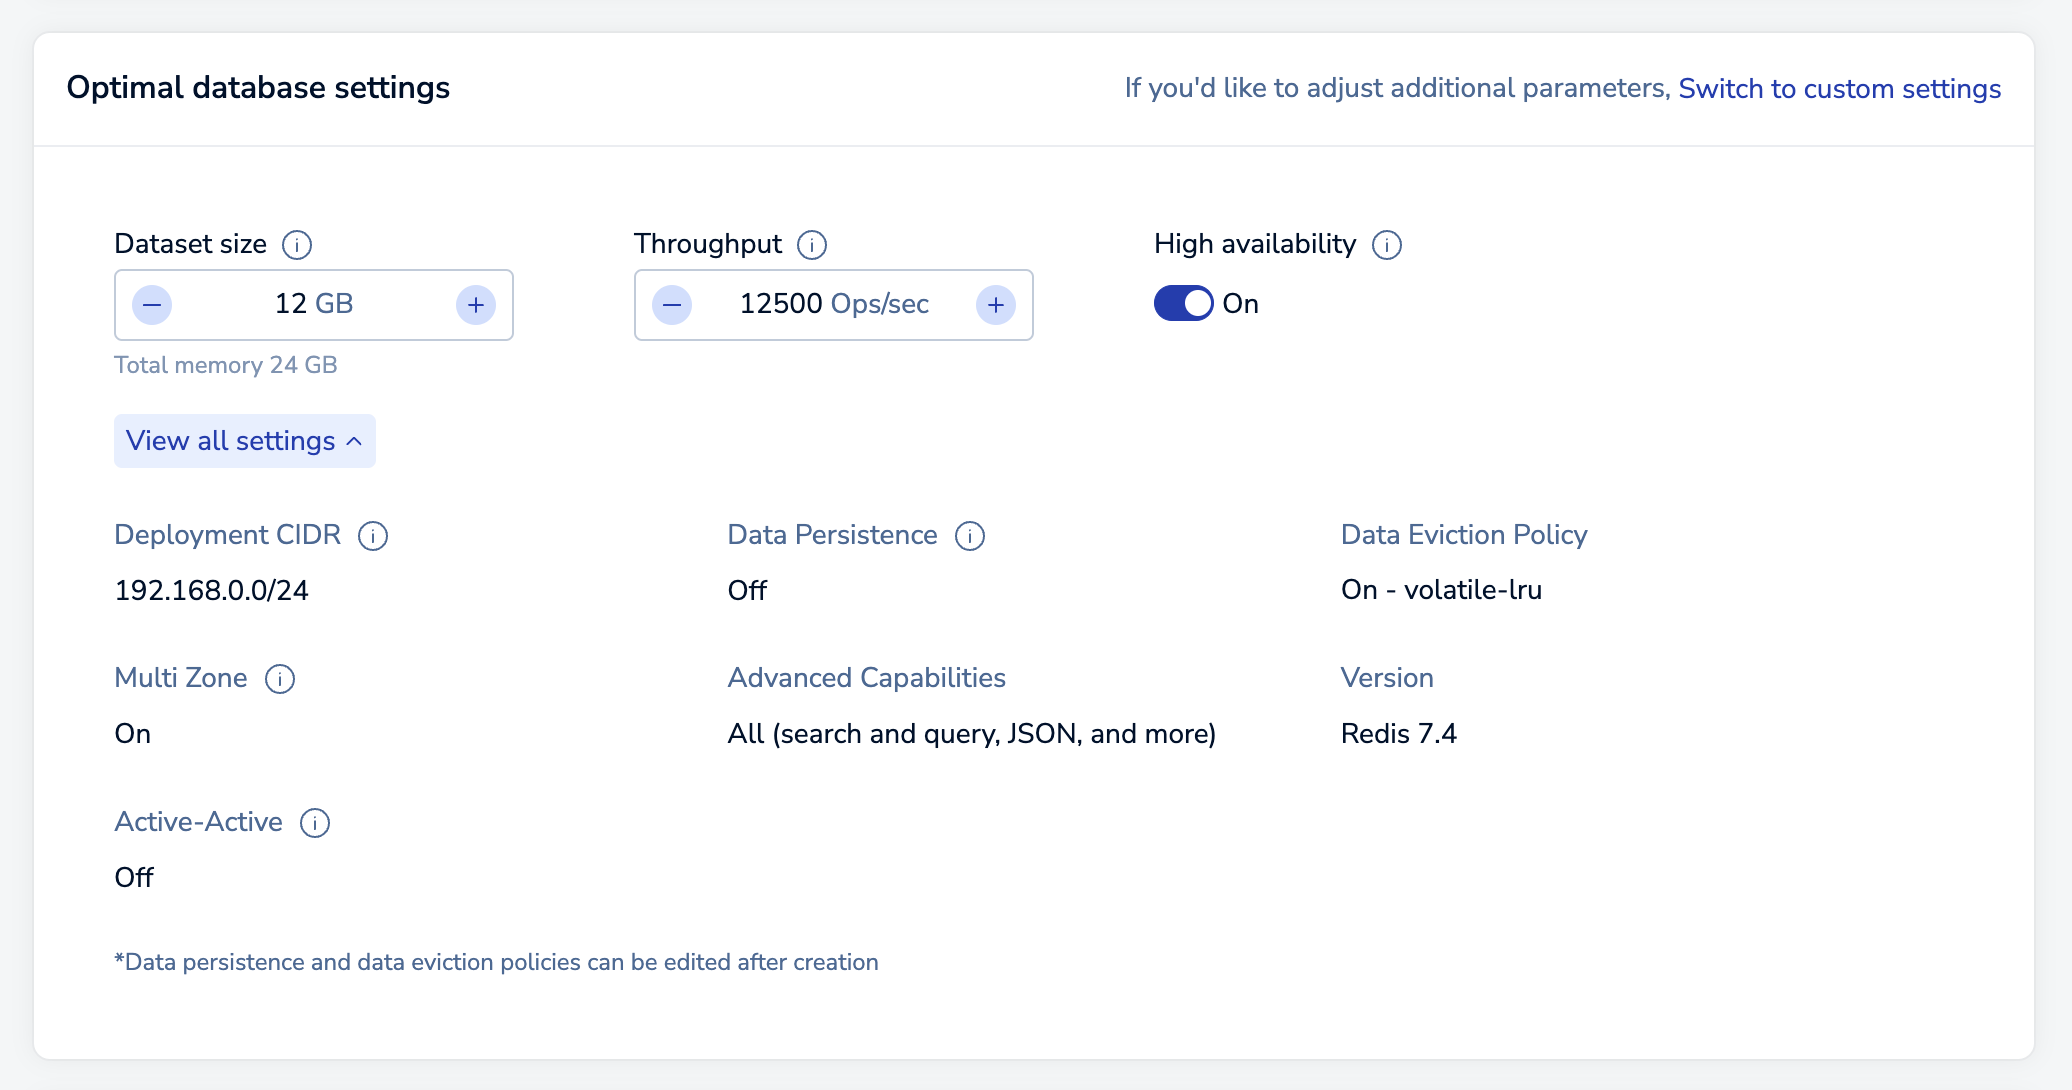
If you want to change these settings, select Switch to custom settings.
-
You will not need to enter a payment method, as it's automatically assigned to your AWS Marketplace account. Select Confirm & pay to create your new database.
Note that databases are created in the background. While they are provisioning, you aren't allowed to make changes. (The process generally takes 10-15 minutes.)
Use the Databases list to check the status of your subscription. You will also receive an email when your database is ready to use.
Enable TLS and get certificates
For your database to be fully secure, you must enable Transport Layer Security (TLS) for your database with client authentication.
-
Select Databases from the Redis Cloud console menu and then select your database from the list.
-
From the database's Configuration screen, select the Edit button:
-
In the Security section, use the Transport layer security (TLS) toggle to enable TLS:

-
Select Download server certificate to download the Redis Cloud certificate bundle
redis_ca.pem:
-
Select the Mutual TLS (require client authentication) checkbox to require client authentication.
-
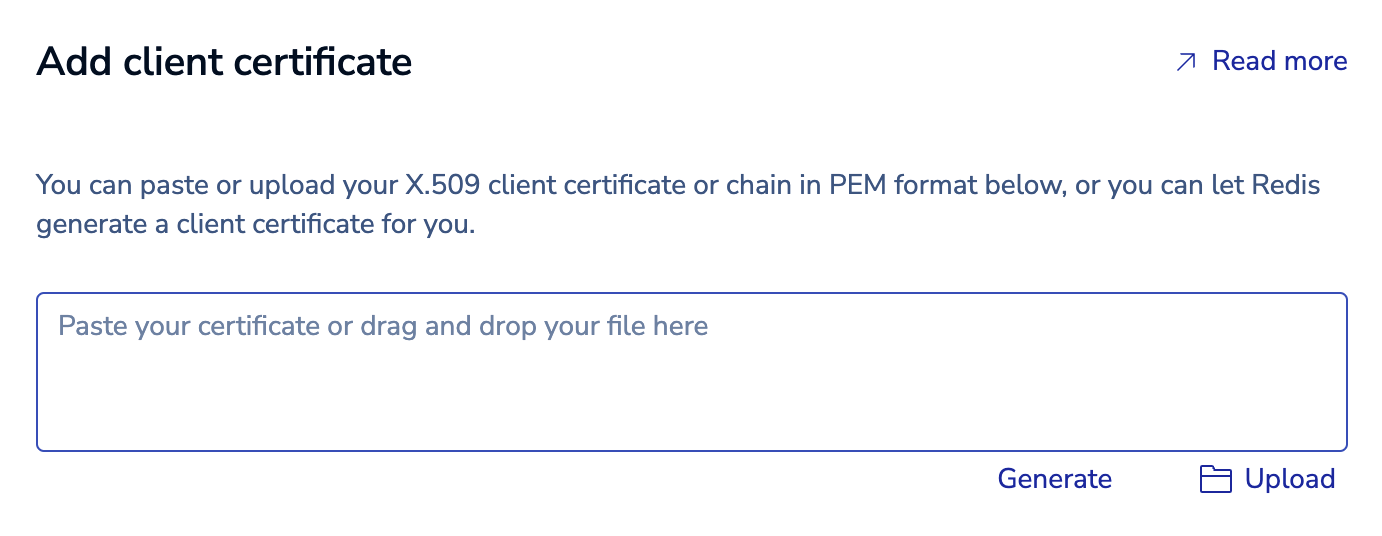
Select Add client certificate to add a certificate.

-
Either provide an X.509 client certificate or chain in PEM format for your client or select Generate to create one:
-
If you generate your certificate from the Redis Cloud console, a Download certificate button will appear after it is generated. Select it to download the certificate.

The download contains:
-
redis-db-<database_id>.crt– the certificate's public key. -
redis-db-<database_id>.key– the certificate's private key.
Note:You must download the certificate using the button at this point. After your changes have been applied, the full bundle of public and private keys will no longer be available for download. -
-
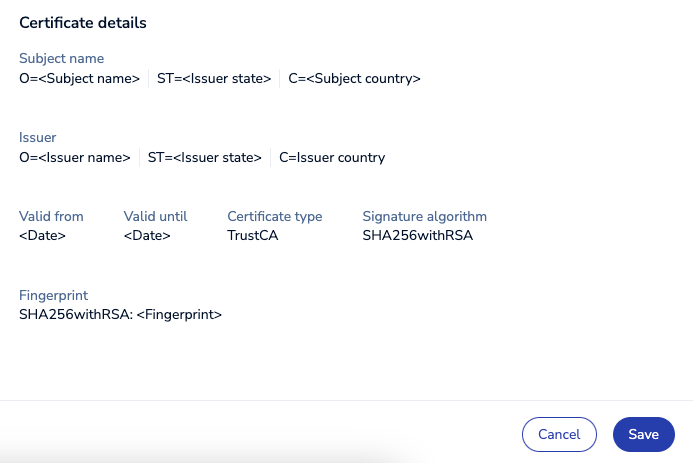
If you provide a client certificate, you will see the certificate details before you save your changes.
-
-
To apply your changes and enable TLS, select the Save database button:
Store database credentials in AWS secrets manager
In the AWS Management Console, use the Services menu to locate and select Security, Identity, and Compliance > Secrets Manager. Create a secret of type Other type of secret with the following key/value fields:
username: Database usernamepassword: Database passwordserverCertificate: Contents of the server certificate (redis_ca.pem)clientCertificate: Contents of the client certificate (redis_user.crt)clientPrivateKey: Contents of the client private key (redis_user_private.key)
After you store this secret, you can view and copy the Amazon Resource Name (ARN) of your secret on the secret details page.
Create a vector index in your database
After your Redis Cloud database is set up, create a search index with a vector field using FT.CREATE as your knowledge base for Amazon Bedrock. You can accomplish this using Redis Insight or redis-cli.
Redis Insight
Redis Insight is a free Redis GUI that allows you to visualize and optimize your data in Redis.
To create your vector index in Redis Insight:
-
Download and install Redis Insight if you don't have it already.
-
In the Redis Cloud console, in your database's Configuration tab, select the Connect button next to your database to open the connection wizard.

-
In the connection wizard, under Redis Insight Desktop, select Public Endpoint. Select Open with Redis Insight to connect to the database with Redis Insight.
-
Select Use TLS. In the CA Certificate section, select Add new CA certificate. Give the certificate a name in the Name field, and enter the contents of
redis_ca.peminto the Certificate field.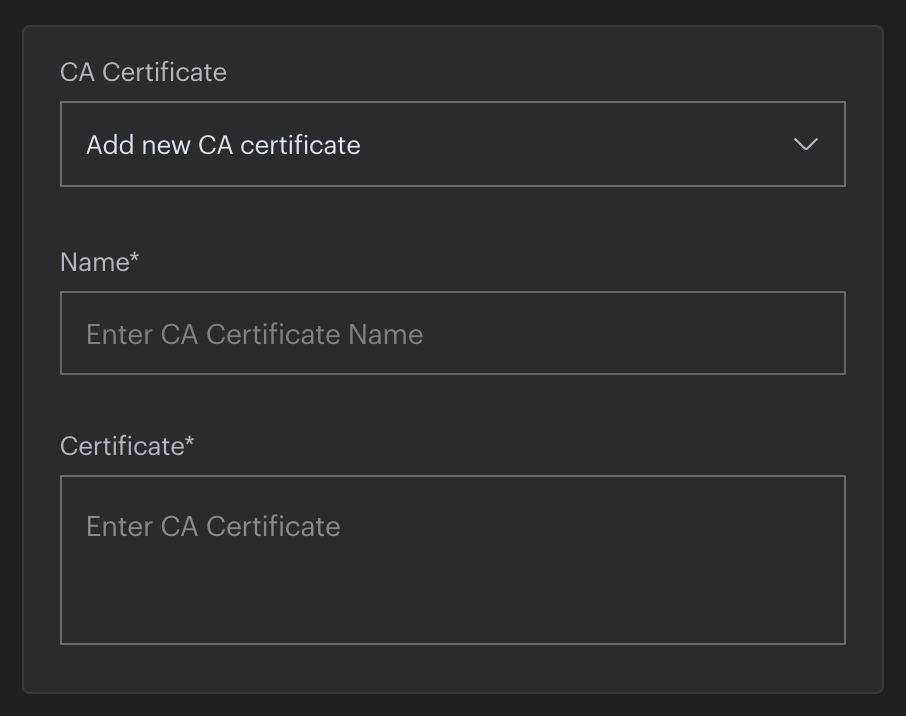
-
Select Requires TLS Client Authentication. In the Client Certificate section, select Add new certificate. Give the certificate a name in the Name field. Enter the contents of
redis_user.crtinto the Certificate field, and the contents ofredis_user_private.keyinto the Private Key field.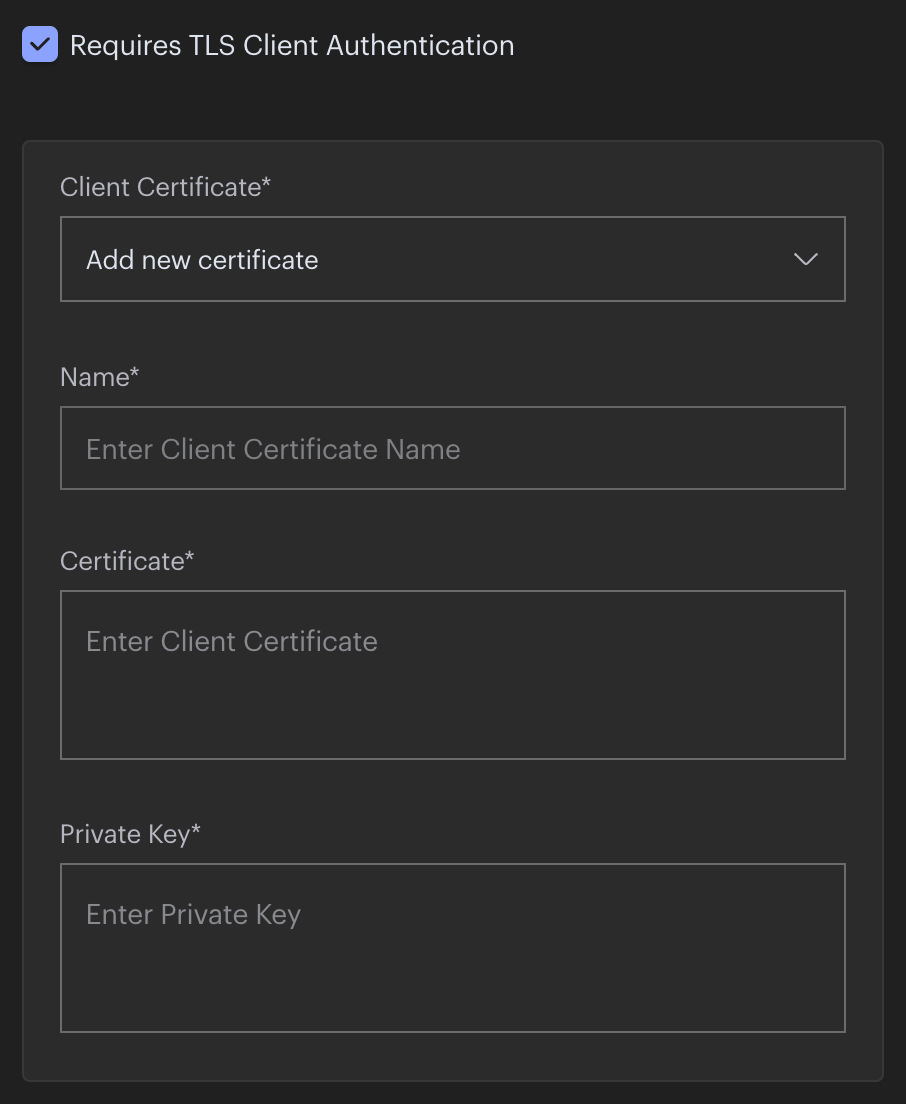
-
Select Add Redis Database to connect to the database.
-
Select your database alias to connect to your database. Select the Workbench icon to go to the workbench.

-
Enter the FT.CREATE command to create an index.
FT.CREATE <index_name>
    ON HASH
    SCHEMA
        "<text_field>" TEXT
        "<metadata_field>" TEXT
        "<vector_field>"  VECTOR FLAT
            6
            "TYPE" "FLOAT32"
            "DIM" 1536
            "DISTANCE_METRIC" "COSINE"
Replace the following fields:
<index_name>with the vector index name<text_field>with the text field name<metadata_field>with the metadata field name<vector_field>with the vector field name
-
Select Run to create the index.

redis-cli
The redis-cli command-line utility lets you connect and run Redis commands directly from the command line. To use redis-cli, you can install Redis.
Public endpoint and port details are available from the Databases list or the database's Configuration screen. Select Connect to view how to connect to your database with redis-cli.
redis-cli -h <endpoint> -p <port> --tls --cacert redis_ca.pem \
    --cert redis_user.crt --key redis_user_private.key
After you are connected with redis-cli, create an index using FT.CREATE.
FT.CREATE <index_name>
    ON HASH
    SCHEMA
        "<text_field>" TEXT
        "<metadata_field>" TEXT
        "<vector_field>"  VECTOR FLAT
            6
            "TYPE" "FLOAT32"
            "DIM" 1536
            "DISTANCE_METRIC" "COSINE"
Replace the following fields:
<index_name>with the vector index name<text_field>with the text field name<metadata_field>with the metadata field name<vector_field>with the vector field name
Next steps
After your Redis database is set up, you can use it to create a knowledge base in Amazon Bedrock.