Back up and export a database
| Redis Cloud |
|---|
The backup options for Redis Cloud databases depend on your plan:
-
Redis Cloud Pro subscriptions can back up or export a database on-demand and schedule daily backups that occur during a set hour.
-
Paid Redis Cloud Essentials plans can back up or export a database on-demand and schedule backups that occur every 24 hours.
-
Free plans cannot back up or export a database through the Redis Cloud console.
Backups are saved to predefined storage locations available to your subscription. Backup locations need to be available before you turn on database backups. To learn more, see Set up backup storage locations.
Backups are saved in RDB format. If the database is comprised of multiple shards, an RDB file will be created for each shard of the database. For more information on restoring data from a backup, see Restore from an RDB file.
Here, you'll learn how to store backups using different cloud providers.
Turn on backups
To turn on database backups:
-
Sign in to the Redis Cloud console.
-
Select the database to open the Database page and then select Edit.

-
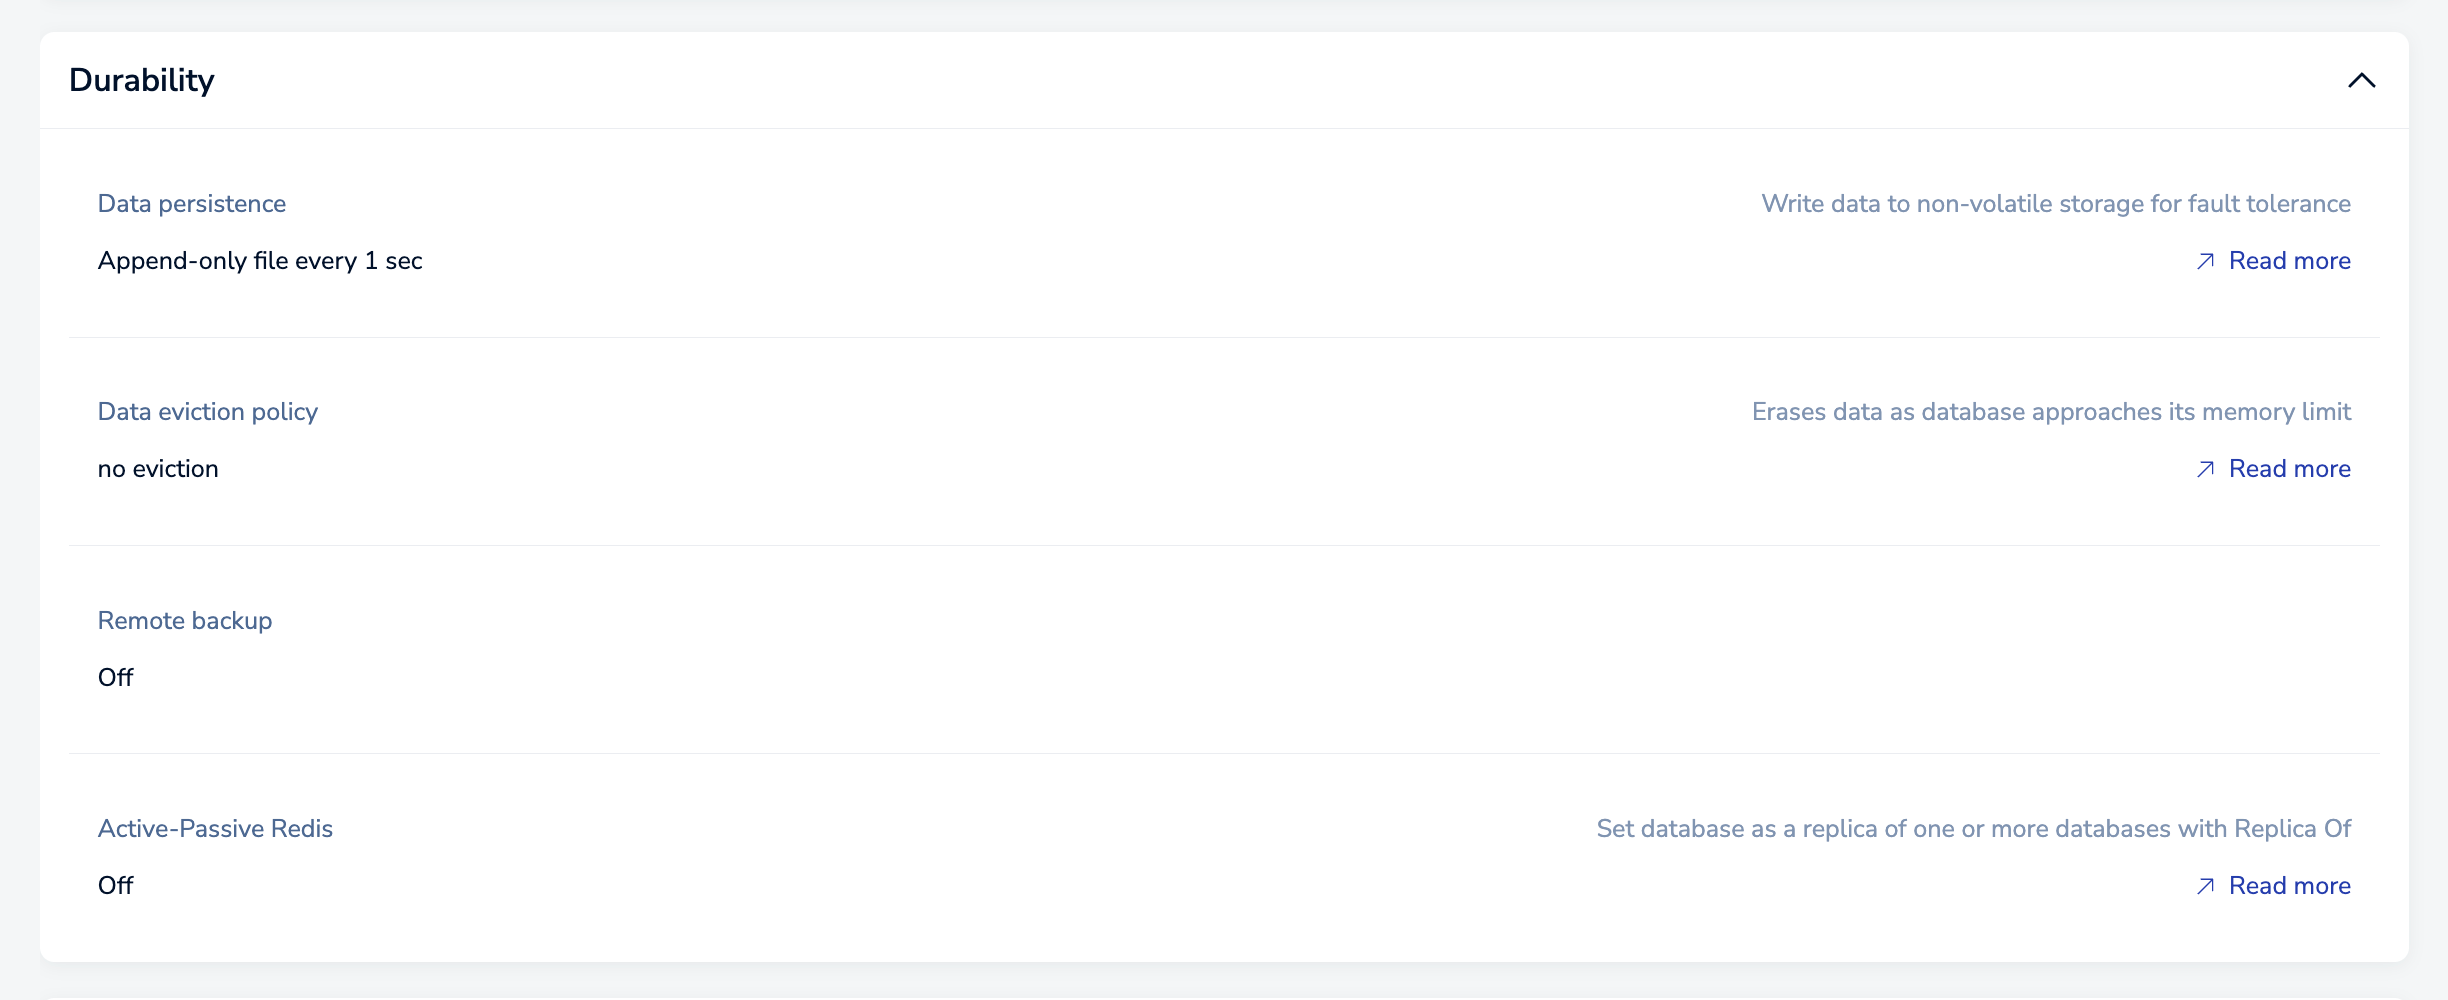
In the Durability section of the Configuration tab, locate the Remote backup setting:

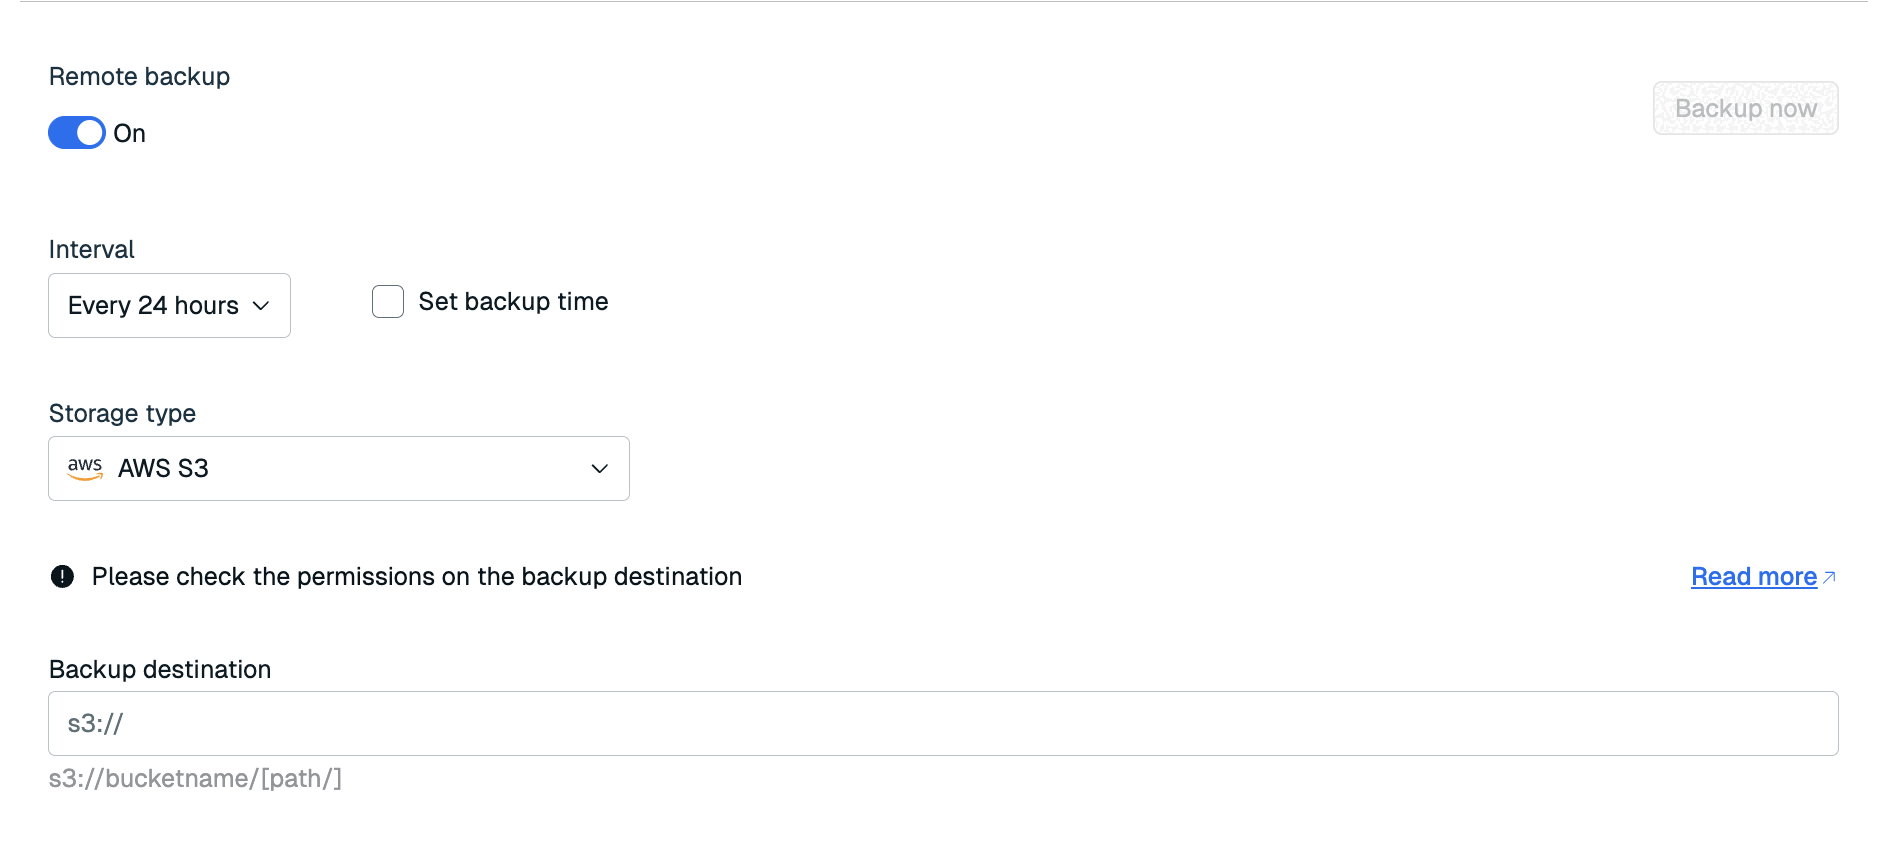
When you enable Remote backup, additional options appear. The options vary according to your subscription.

| Setting name | Description |
|---|---|
| Interval | Defines the frequency of automatic backups. Paid Redis Cloud Essentials databases are backed up every 24 hours. Redis Cloud Pro databases can be set to 24, 12, 6, 4, 2, or 1 hour backup intervals. |
| Set backup time | When checked, this lets you set the hour of the Backup time. (Redis Cloud Pro only) |
| Backup time | Defines the hour automatic backups are made. Note that actual backup times will vary up in order to minimize customer access disruptions. (Redis Cloud Pro only) Times are expressed in Coordinated Universal Time (UTC). |
| Storage type | Defines the provider of the storage location, which can be: AWS S3, Google Cloud Storage, Azure Blob Storage, or FTP (FTPS). |
| Backup destination | Defines a URI representing the backup storage location. |
Back up and export data on demand
After backups are turned on, you can back up your data at any time. Use the Backup now button in the Durability section.

You can only use the Backup now button after you turn on backups.
Set up backup storage locations
Database backups can be stored to a cloud provider service or saved to a URI using FTP/FTPS.
Your subscription needs the ability to view permissions and update objects in the storage location. Specific details vary according to the provider. To learn more, consult the provider's documentation.
Be aware that provider features change frequently. For best results, use your provider's documentation for the latest info.
Select the tab for your storage location type.
To store backups in an Amazon Web Services (AWS) Simple Storage Service (S3) bucket:
-
In the AWS Management Console, use the Services menu to locate and select Storage > S3. This takes you to the Amazon S3 admin panel.
-
Use the Buckets list to locate and select your bucket. When the settings appear, select the Permissions tab, locate the Bucket policy section, and then click Edit.
-
If there is no existing bucket policy, add the following JSON bucket policy. Replace
UNIQUE-BUCKET-NAMEwith the name of your bucket.{ "Version": "2012-10-17", "Id": "MyBucketPolicy", "Statement": [ { "Sid": "RedisCloudBackupsAccess", "Effect": "Allow", "Principal": { "AWS": "arn:aws:iam::168085023892:root" }, "Action": [ "s3:PutObject", "s3:getObject", "s3:DeleteObject" ], "Resource": "arn:aws:s3:::UNIQUE-BUCKET-NAME/*" } ] } -
If a bucket policy already exists, add the following JSON policy statement to the list of statements. Replace
UNIQUE-BUCKET-NAMEwith the name of your bucket.{ "Sid": "RedisCloudBackupsAccess", "Effect": "Allow", "Principal": { "AWS": "arn:aws:iam::168085023892:root" }, "Action": [ "s3:PutObject", "s3:getObject", "s3:DeleteObject" ], "Resource": "arn:aws:s3:::UNIQUE-BUCKET-NAME/*" }
-
-
Save your changes.
-
If the bucket is encrypted using SSE-KMS, add the following statement to your key policy. If you do not have a key policy, see Creating a key policy. Replace
UNIQUE-BUCKET-NAMEwith the name of your bucket andCUSTOM-KEY-ARNwith your key's Amazon Resource Name (ARN).{ "Sid": "Allow use of the key", "Effect": "Allow", "Principal": { "AWS": "arn:aws:iam::168085023892:root" }, "Action": [ "kms:Encrypt", "kms:Decrypt", "kms:ReEncrypt*", "kms:GenerateDataKey*", "kms:DescribeKey" ], "Resource": [ "arn:aws:s3:::UNIQUE-BUCKET-NAME/*", "CUSTOM-KEY-ARN" ] }
Once the bucket is available and the permissions are set, use the name of your bucket as the Backup destination for your database's Remote backup settings. For example, suppose your bucket is named backups-bucket. In that case, set Backup destination to s3://backups-bucket.
To learn more, see Using bucket policies on the AWS docs.