Prepare source database
Prepare your source database, network setup, and database credentials for Data integration.
| Redis Cloud |
|---|
Create new data pipeline
-
In the Redis Cloud console, go to your target database and select the Data Pipeline tab.
-
Select Create pipeline.

-
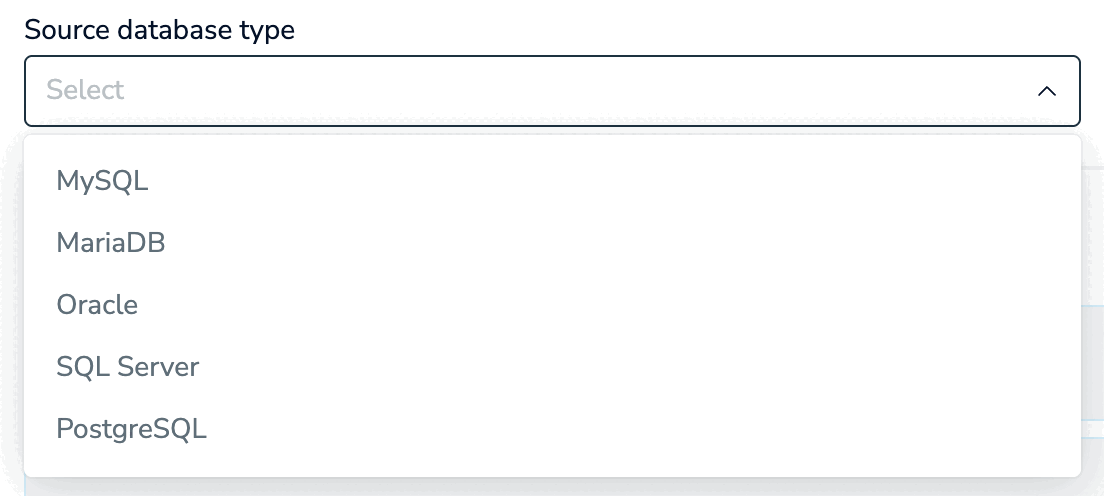
Select your source database type. The following database types are supported:
- MySQL
- mariaDB
- Oracle
- SQL Server
- PostgreSQL
-
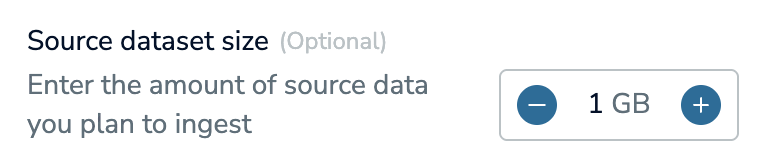
If you know the size of your source database, enter it into the Source dataset size field.
-
Under Setup connectivity, save the provided ARN and extract the AWS account ID for the account associated with your Redis Cloud cluster from it.
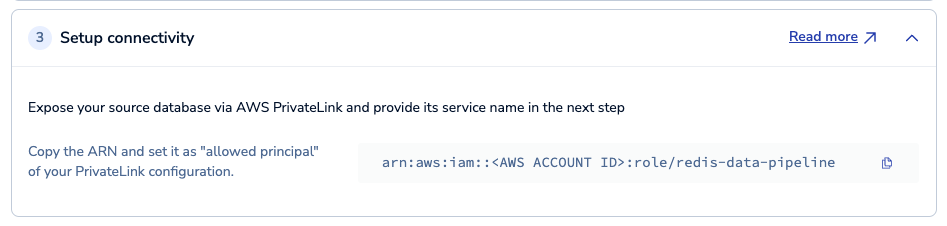
The AWS account ID is the string of numbers after
arn:aws:iam::in the ARN. For example, if the ARN isarn:aws:iam::123456789012:role/redis-data-pipeline, the AWS account ID is123456789012.
Prepare source database
Before using the pipeline, you must first prepare your source database to use the Debezium connector for change data capture (CDC). See Prerequisites to find a list of supported source databases and database versions.
See Prepare source databases to find steps for your database type:
- Hosted on an AWS EC2 instance:
- Hosted on AWS RDS or AWS Aurora:
See the RDI architecture overview for more information about CDC.
Set up connectivity
To ensure that you can connect your Redis Cloud database to the source database, you need to set up an endpoint service through AWS PrivateLink.
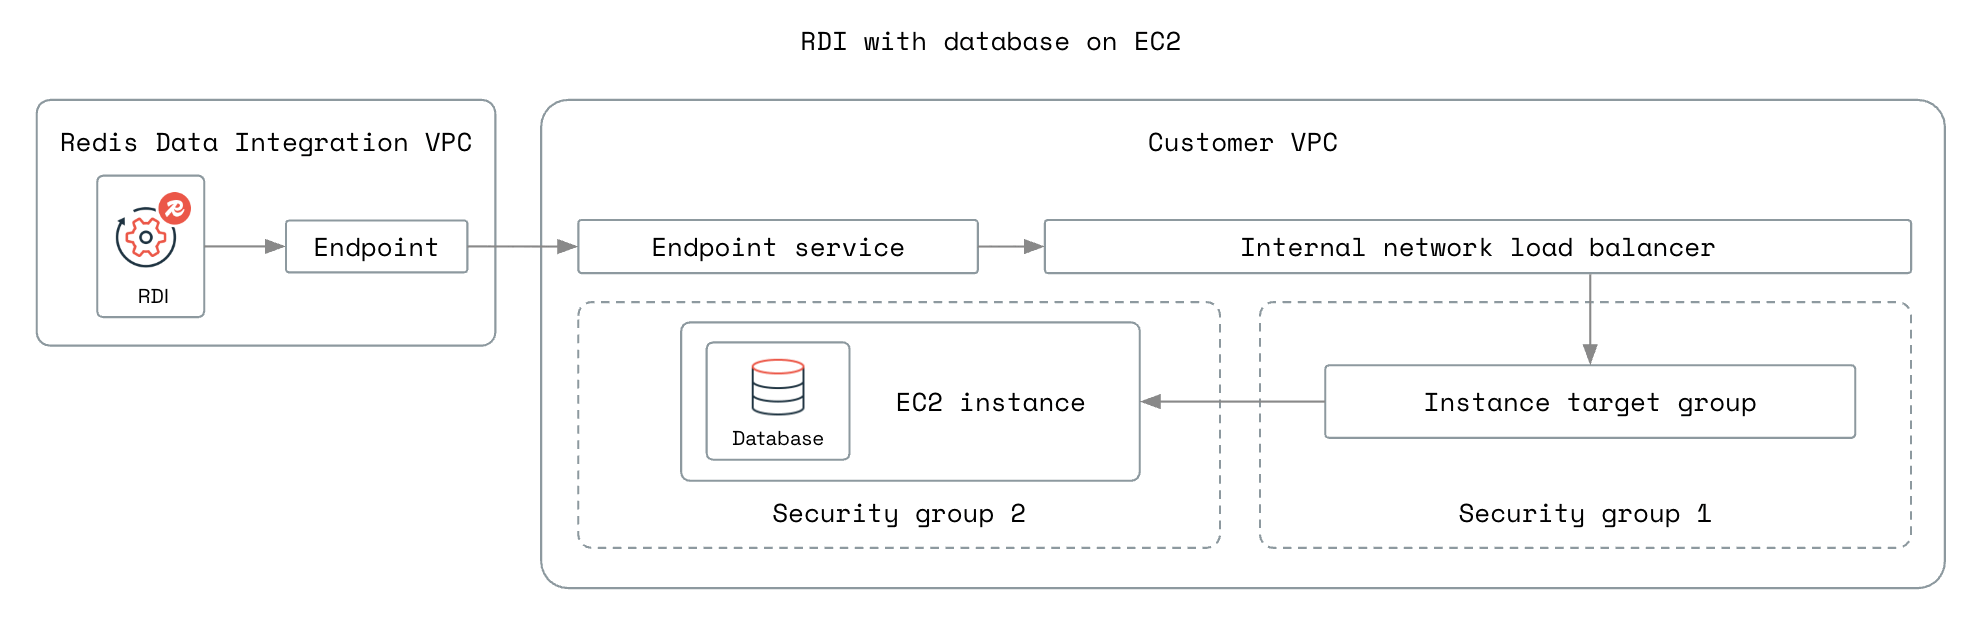
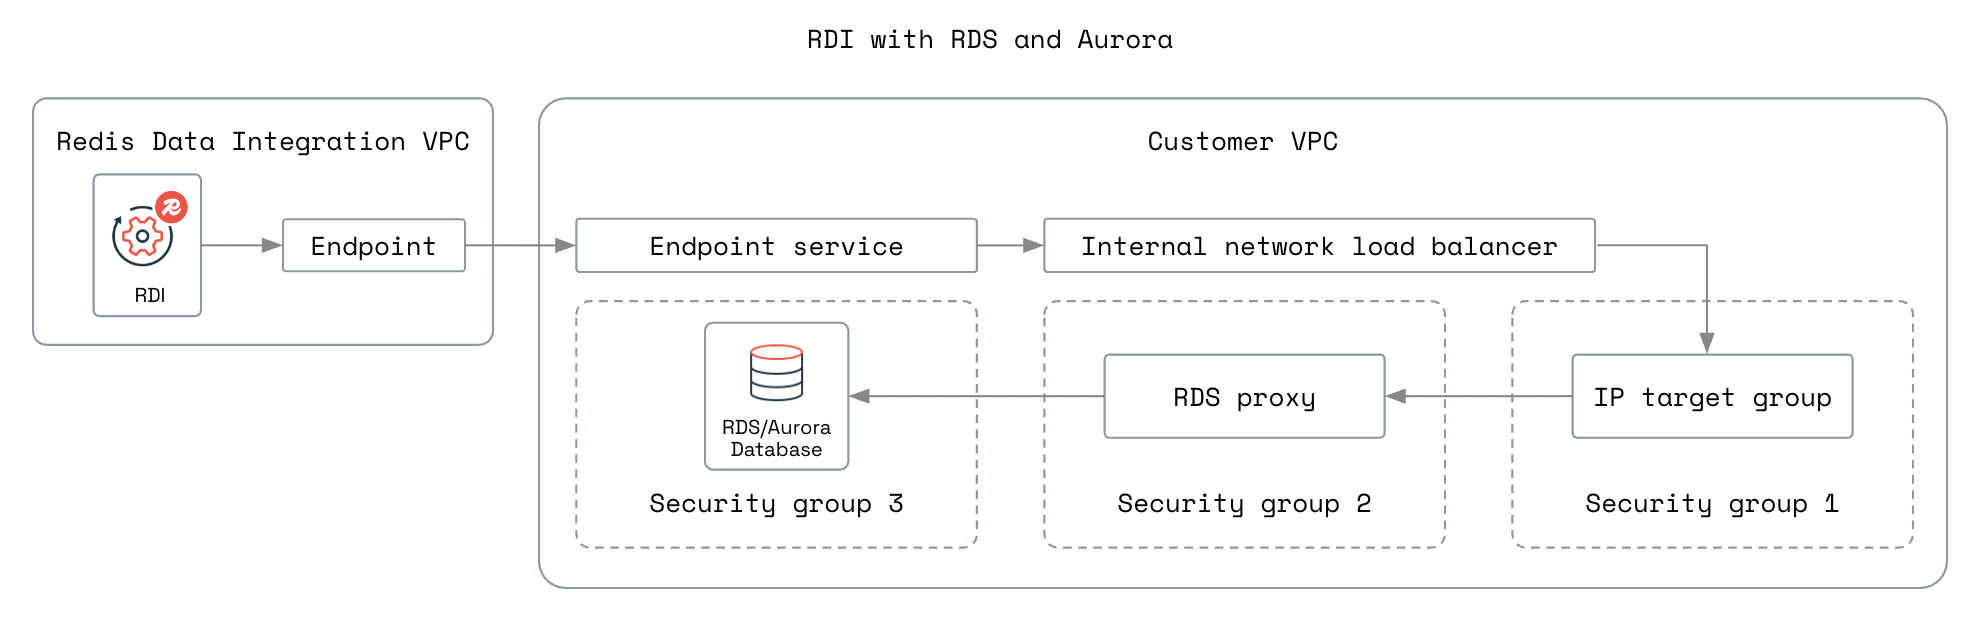
The following diagrams show the network setup for the different database setups:
-
Database hosted on an AWS EC2 instance:
-
Database hosted on AWS RDS or AWS Aurora:
Select the steps for your database setup.
To set up PrivateLink for a database hosted on an EC2 instance:
- Create a network load balancer that will route incoming HTTP requests to your database.
- Create an endpoint service through AWS PrivateLink.
Create network load balancer
In the AWS Management Console, use the Services menu to locate and select Compute > EC2. Create a network load balancer with the following settings:
-
In Basic configuration:
- Scheme: Select Internal.
- Load balancer IP address type: Select IPv4.
-
In Network mapping, select the VPC and availability zone associated with your source database.
-
In Security groups, select the security group associated with your source database, or another security group that allows traffic from PrivateLink and allows traffic to the database.
-
In Listeners and routing:
- Select Create target group to create a target group with the following settings:
- In Specify group details:
- Target type: Select Instances.
- Protocol : Port: Select TCP, and then enter the port number where your database is exposed.
- The IP address type and VPC should be selected already and match the VPC you selected earlier.
- In Register targets, select the EC2 instance that runs your source database, enter the port, and select Include as pending below. Then, select Create target group to create your target group. Return to Listeners and routing in the Network Load Balancer setup.
- In Specify group details:
- Set the following Listener properties:
- Protocol: Select TCP.
- Port: Enter your source database's port.
- Default action: Select the target group you created in the previous step.
- Select Create target group to create a target group with the following settings:
-
Review the network load balancer settings, and then select Create load balancer to continue.
-
After the network load balancer is active, select Security.
If you selected the same security group as your source database, you must not enforce security group rules on PrivateLink traffic. Select Edit and then deselect Enforce inbound rules on PrivateLink traffic, and then select Save changes.
-
Select the security group ID to open the Security group settings.
-
Select Edit inbound rules, then Add rule to add a rule with the following settings:
- Type: Select HTTP.
- Source: Select Anywhere - IPv4. Select Save rules to save your changes.
-
Select Actions > Edit Load Balancer Attributes.
- Under Load balancer targets selection policy select Enable cross-zone load balancing. Click the Save Changes button.
Create endpoint service
In the AWS Management Console, use the Services menu to locate and select Networking & Content Delivery > VPC. There, select PrivateLink and Lattice > Endpoint services. Create an endpoint service with the following settings:
- In Available load balancers, select the network load balancer you created.
- In Additional settings, choose the following settings:
- Require acceptance for endpoint: Select Acceptance required.
- Supported IP address types: Select IPv4.
- Select Create to create the endpoint service.
After you create the endpoint service, you need to add Redis Cloud as an Allowed Principal on your endpoint service VPC permissions.
- In the Redis Cloud Console, copy the Amazon Resource Name (ARN) provided in the Setup connectivity section.
- Return to the endpoint service list on the Amazon VPC console. Select the endpoint service you just created.
- Navigate to Allow principals tab.
- Add the Redis Cloud ARN you copied and choose Allow principals.
- Save the service name for later.
For more details on AWS PrivateLink, see Share your services through AWS PrivateLink.
Share source database credentials
You need to share your source database credentials and certificates in an Amazon secret with Redis Cloud so that the pipeline can connect to your database.
To do this, you need to:
- Create an encryption key using AWS Key Management Service with the right permissions.
- Create secrets containing the source database credentials encrypted using that key.
Create encryption key
In the AWS Management Console, use the Services menu to locate and select Security, Identity, and Compliance > Key Management Service. Create an encryption key with the following settings:
- In Step 1 - Configure key:
- Key type: Select Symmetric.
- Key usage: Select Encrypt and decrypt.
- Under Advanced options, set the following:
- Key material origin: Select KMS - recommended.
- Regionality: Select Single-Region key.
- In Step 2 - Add labels, add an alias and description for the key.
- In Step 3 - Define key administrative permissions, under Key deletion, select Allow key administrators to delete this key.
- In Step 4 - Define key usage permissions, under Other AWS accounts, select Add another AWS account. Enter the AWS account ID for the Redis Cloud cluster that you saved earlier.
Review the key policy and key settings, and then select Finish to create the key.
Create database credentials secrets
To let Redis Cloud access your source database, you need to create AWS secrets for the source database's credentials and certificates.
The required secrets depend on your source database's security configuration. The following table shows the required secrets for each configuration:
| Security configuration | Required secrets |
|---|---|
| Username and password only |
|
| TLS connection |
|
| mTLS connection |
|
| mTLS connection with client key passphrase |
|
When creating secrets for TLS or mTLS, ensure that all certificates and keys are in PEM format. The only exception to this is that for PostgreSQL, the private key SOURCE_DB_KEY secret must be in DER format. If you have a key in PEM format, you must convert it to DER before creating the SOURCE_DB_KEY secret using the command:
openssl pkcs8 -topk8 -inform PEM -outform DER \
    -in /path/to/myclient.pem \
    -out /path/to/myclient.pk8 -nocrypt
This command assumes that the private key is not encrypted. See the openssl documentation to learn how to convert an encrypted private key.
Select a tab to learn how to create the required secret.
In the AWS Management Console, use the Services menu to locate and select Security, Identity, and Compliance > Secrets Manager. Create a secret of type Other type of secret with the following settings:
-
Key/value pairs: Enter the following key/value pairs.
username: Database username for the RDI pipeline userpassword: Database password for the RDI pipeline user
Encryption key: Select the encryption key you created earlier.
Resource permissions: Add the following permissions to your secret to allow the Redis data pipeline to access your secret. Replace <AWS ACCOUNT ID> with the AWS account ID for the Redis Cloud cluster that you saved earlier.
{
    "Version" : "2012-10-17",
    "Statement" : [ {
        "Sid" : "RedisDataIntegrationRoleAccess",
        "Effect" : "Allow",
        "Principal" : "*",
        "Action" : [ "secretsmanager:GetSecretValue", "secretsmanager:DescribeSecret" ],
        "Resource" : "*",
        "Condition" : {
            "StringLike" : {
                "aws:PrincipalArn" : "arn:aws:iam::<AWS ACCOUNT ID>:role/redis-data-pipeline-secrets-role"
            }
        }
    } ]
}
After you store this secret, you can view and copy the Amazon Resource Name (ARN) of your secret on the secret details page. Save the secret ARN to use when you define your source database.
Next steps
After you have set up your source database and prepared connectivity and credentials, select Define source database to define your source connection and data pipeline.