Redis Cloud quick start
| Redis Cloud |
|---|
If you're new to Redis Cloud, this quick start helps you get up and running.
You'll learn how to:
-
Create an account and a free database
-
Connect to your database
If you already have an account, see Create an Essentials database to create a Free 30 MB Essentials database. Free plans are a type of Essentials plans; this provides an easy upgrade path when you need it.
If you already have a database, see Manage databases.
Create an account
To create a new account with a free database:
-
Go to the Sign up page.
-
There are two options available to get started with Redis Cloud:
- Enter your information in the form and select Get Started.
- Sign up with Google or Github.
-
After you enter your information, you should receive an activation email from Redis. Select Activate account to go to the Create your database page in the Redis Cloud console.
-
You'll go to the create database page with the Free plan selected.
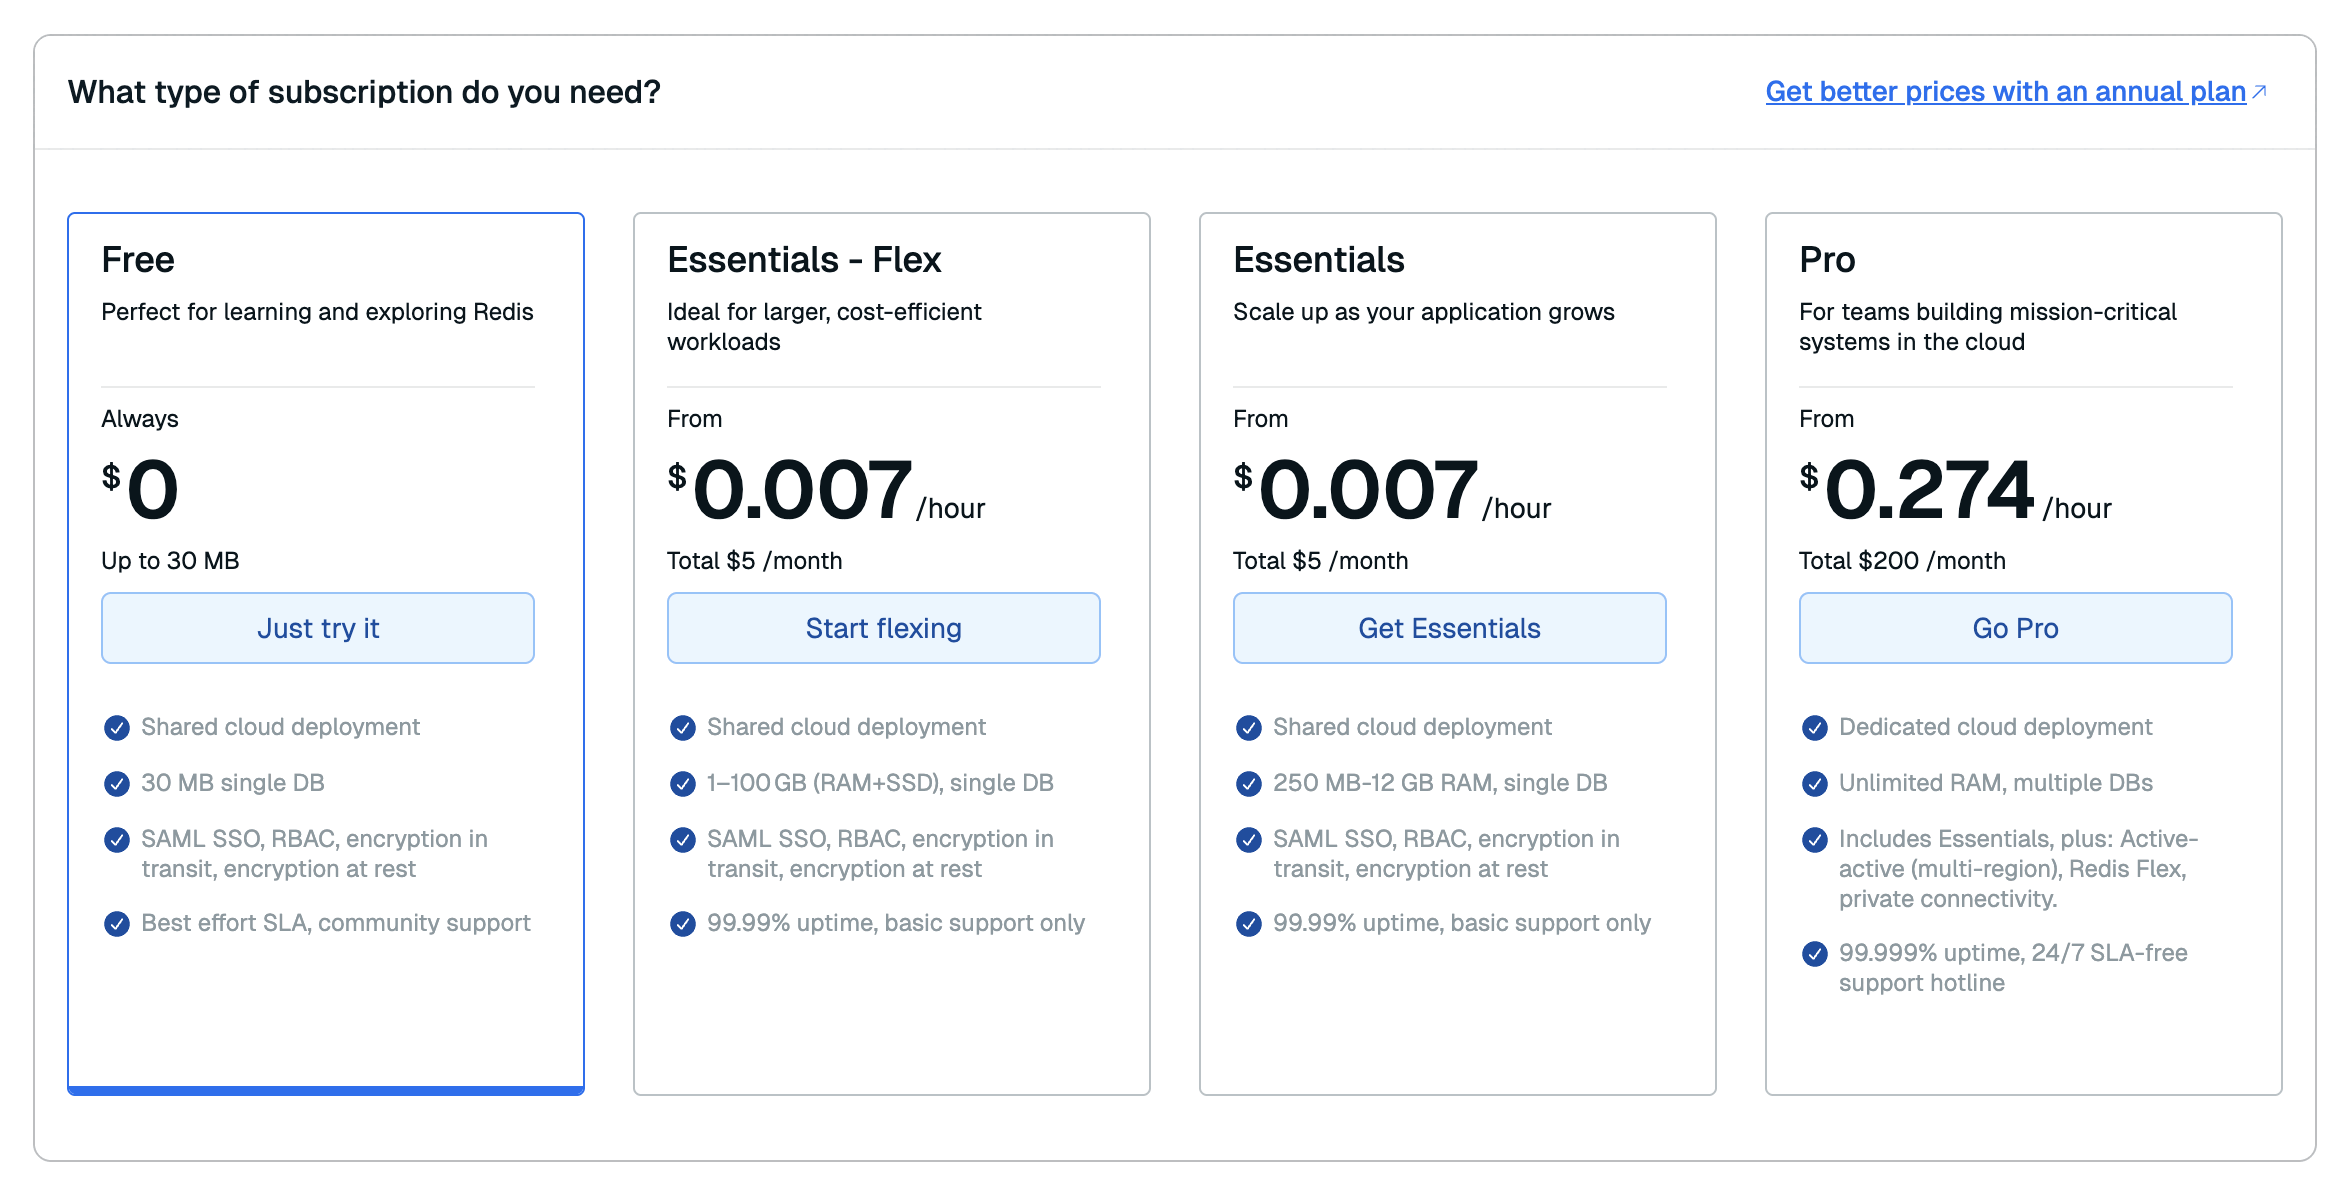 Note:
Note:If you want to create a different type of database, see the following guides:
-
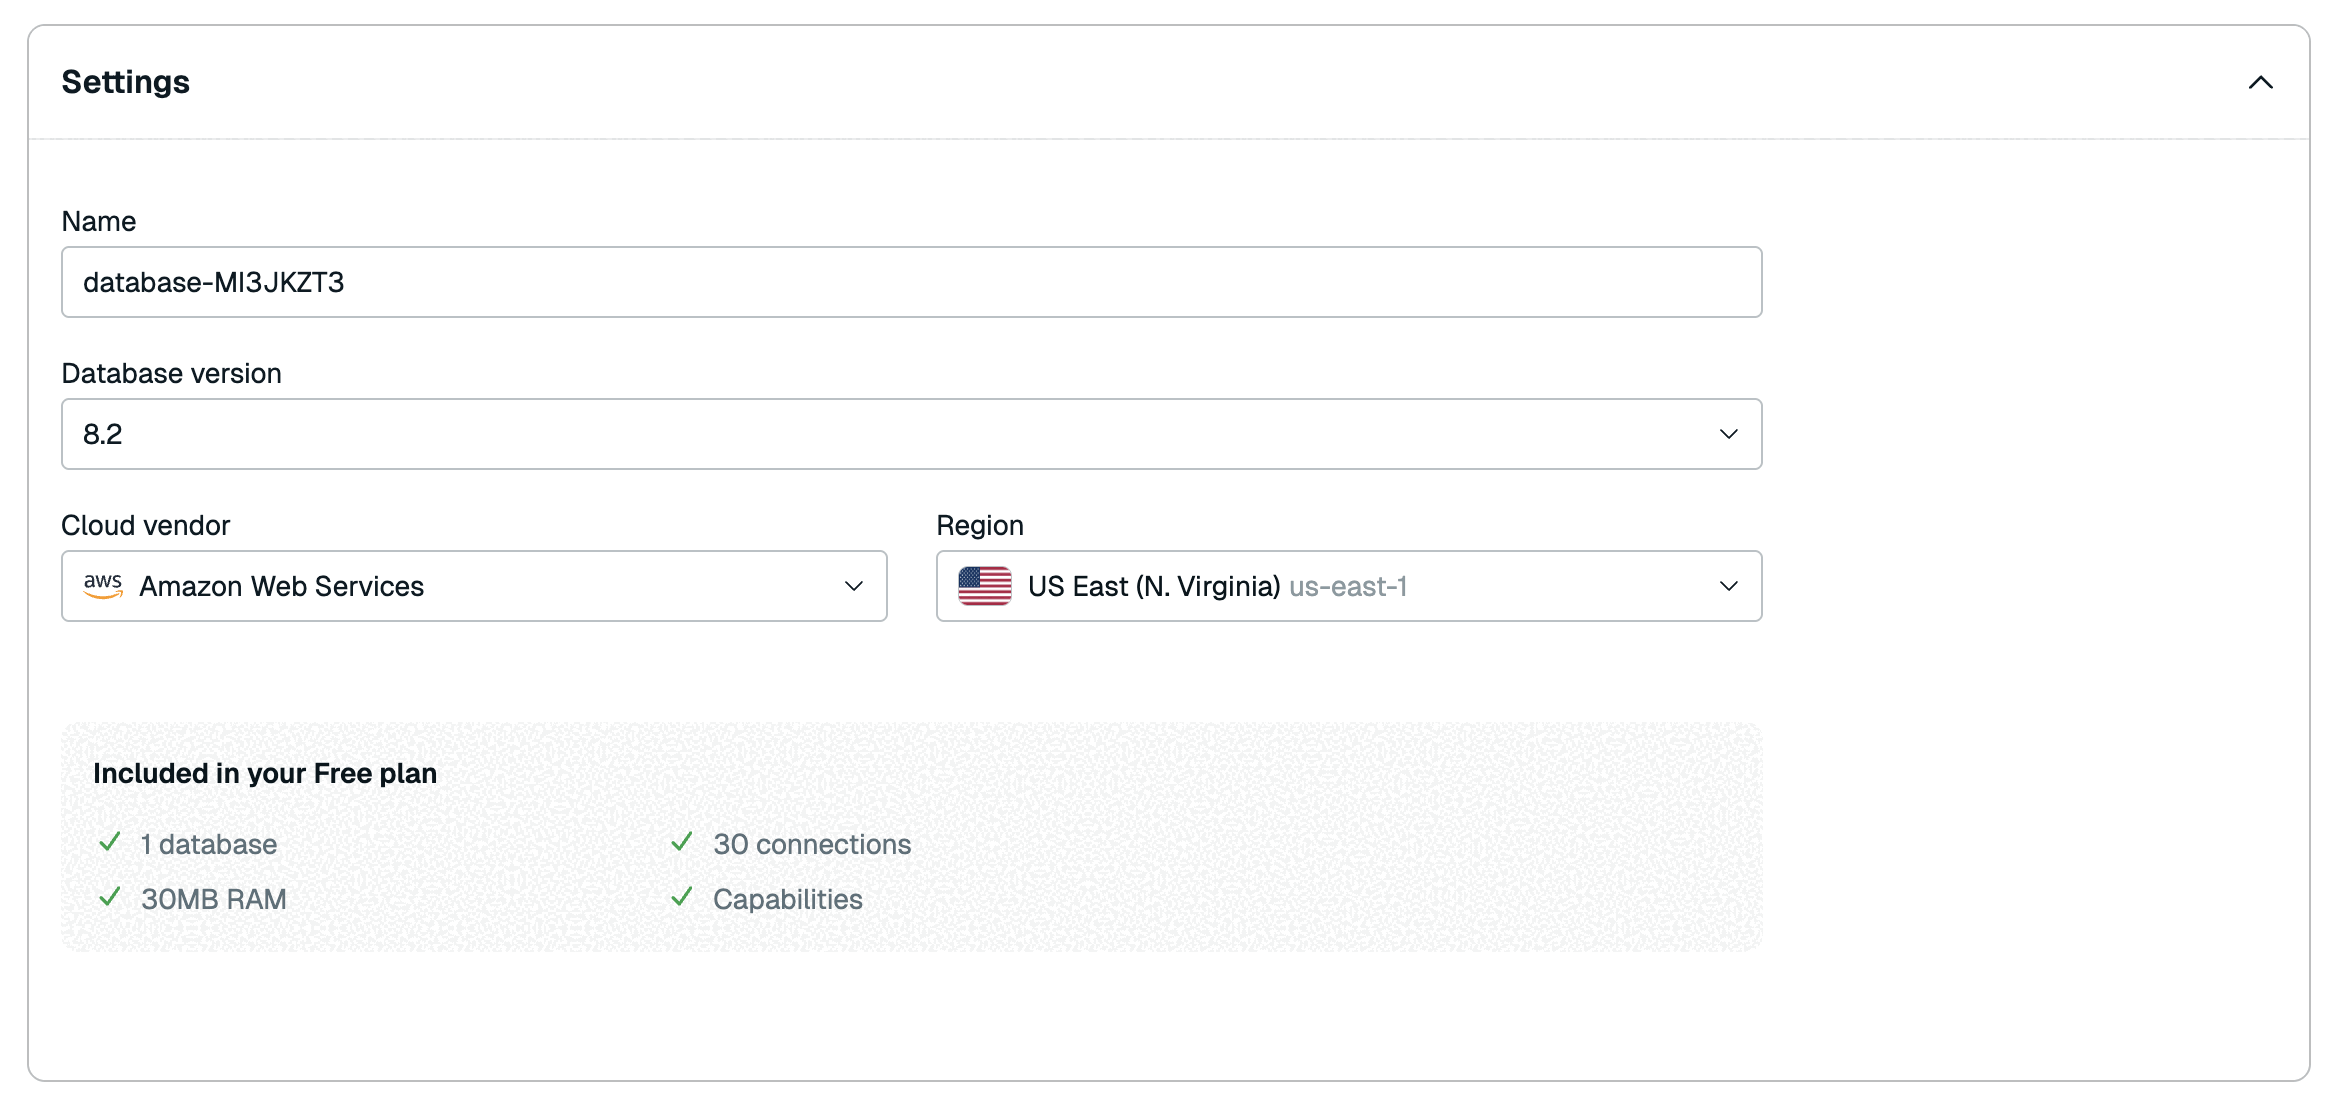
Redis will generate a database name for you. If you want to change it, you can do so in the Database name field.
-
Select the Database version you want to use.
-
Choose your Cloud vendor and Region. You can choose between Amazon Web Services (AWS), Google Cloud, and Microsoft Azure for the Cloud Vendor.
See Supported regions for a list of supported regions by cloud vendor.
-
Select Create database.

When you create your database, there's a brief pause while your request is processed and then the Database details page appears.
-
In the upper corner, an icon shows the current status of the database. If the icon shows an orange clock, this means your database is still being created and its status is pending.
Once the database has been created, it becomes active and the status indicator switches to a green circle containing a checkmark.
When your new database becomes active, you're ready to connect to it.
Connect to a database
At this point, you're viewing the Configuration details for your new database. Go to the Security section of the page.
To connect to your database, you need your username and password. Each database is protected by a Default user called default and a masked Default user password. Select the eye icon to show or hide the password.

Once you have the username and password, select Connect to open the connection wizard.

The connection wizard provides the following database connection methods:
-
redis-cliutility -
Redis client for your preferred programming language
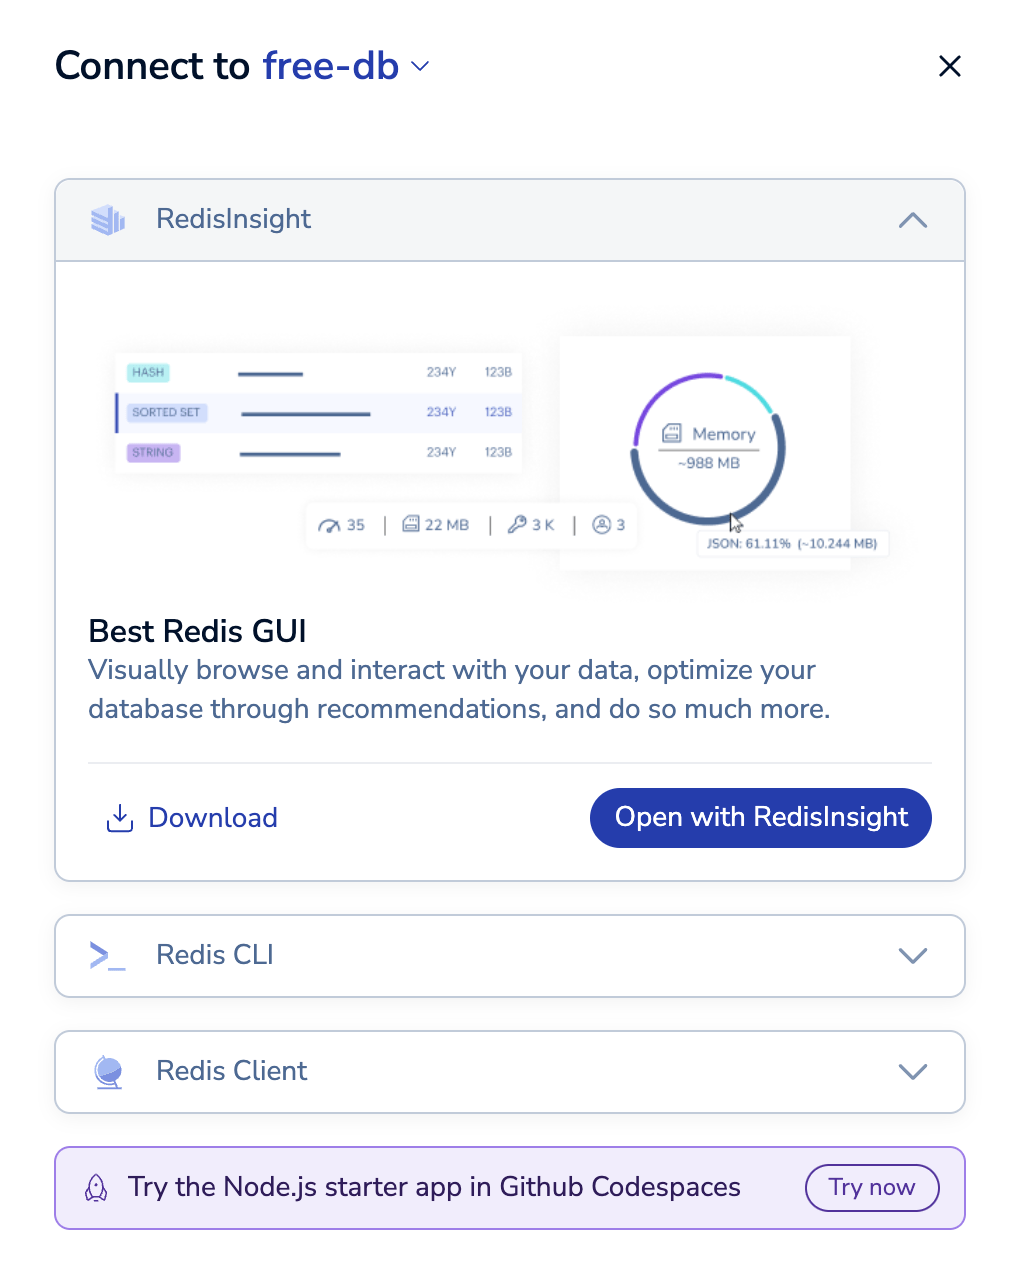
Redis Insight
Redis Insight is a free Redis GUI that lets you visualize your Redis data and learn more about Redis.
You can connect to your database with Redis Insight in two ways:
-
Download and Install Redis Insight on Windows, macOS, and Linux.
Open in your browser
Select Launch Redis Insight web from the connection wizard to open it.
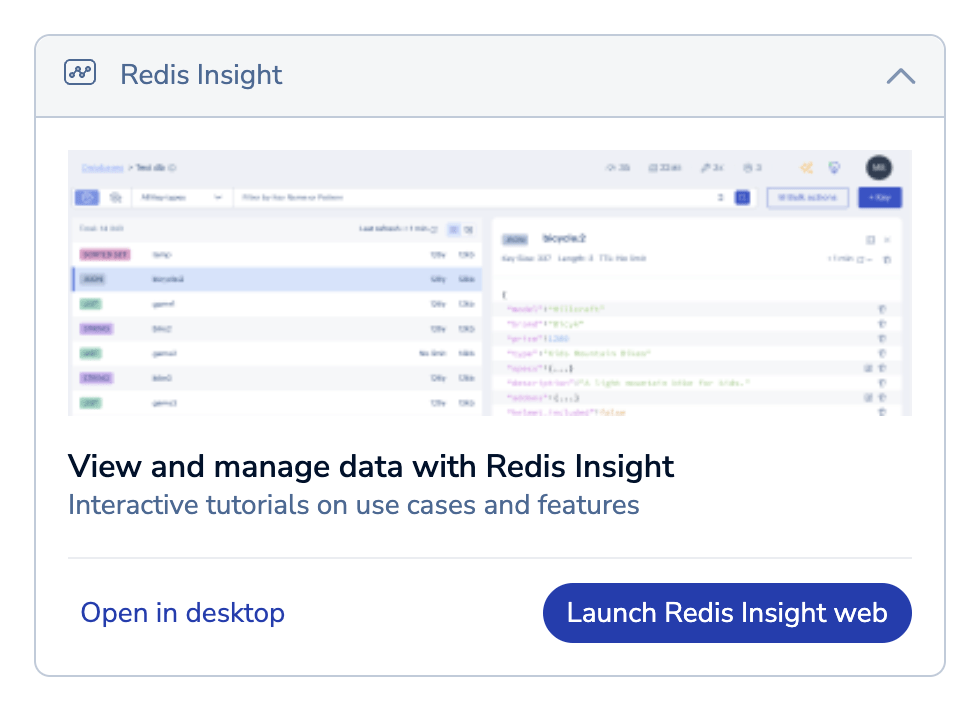
You can also select Launch from the database page under View and manage data with Redis Insight to open Redis Insight in your browser.
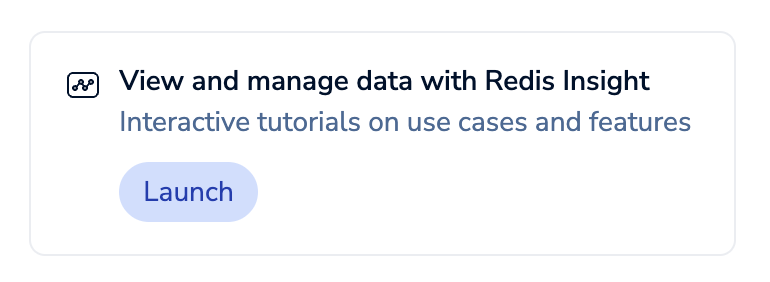
Redis Insight will open in a new tab.
From there, you can:
- Select Load sample data to add sample data into your database.

- Select Insights to learn how to use Redis.

For more information on how to use Redis Insight in your browser, see Open with Redis Insight on Redis Cloud.
Install and open on your computer
-
In the connection wizard, under Redis Insight, select Download to download Redis Insight.
-
Once installed, select Open in desktop.
-
A pop-up asks if you wish to open the link with Redis Insight. Select Open Redis Insight to connect to your database with Redis Insight.
See the Redis Insight docs for more info.
Redis client
A Redis client is a software library or tool that enables applications to interact with a Redis server. Each client has its own syntax and installation process. For help with a specific client, see the client's documentation.
The connection wizard provides code snippets to connect to your database with the following programming languages:
- .NET using NRedisStack
- node.js using node-redis
- Python using redis-py
- Java using Jedis and Lettuce
- Go using go-redis
- PHP using Predis
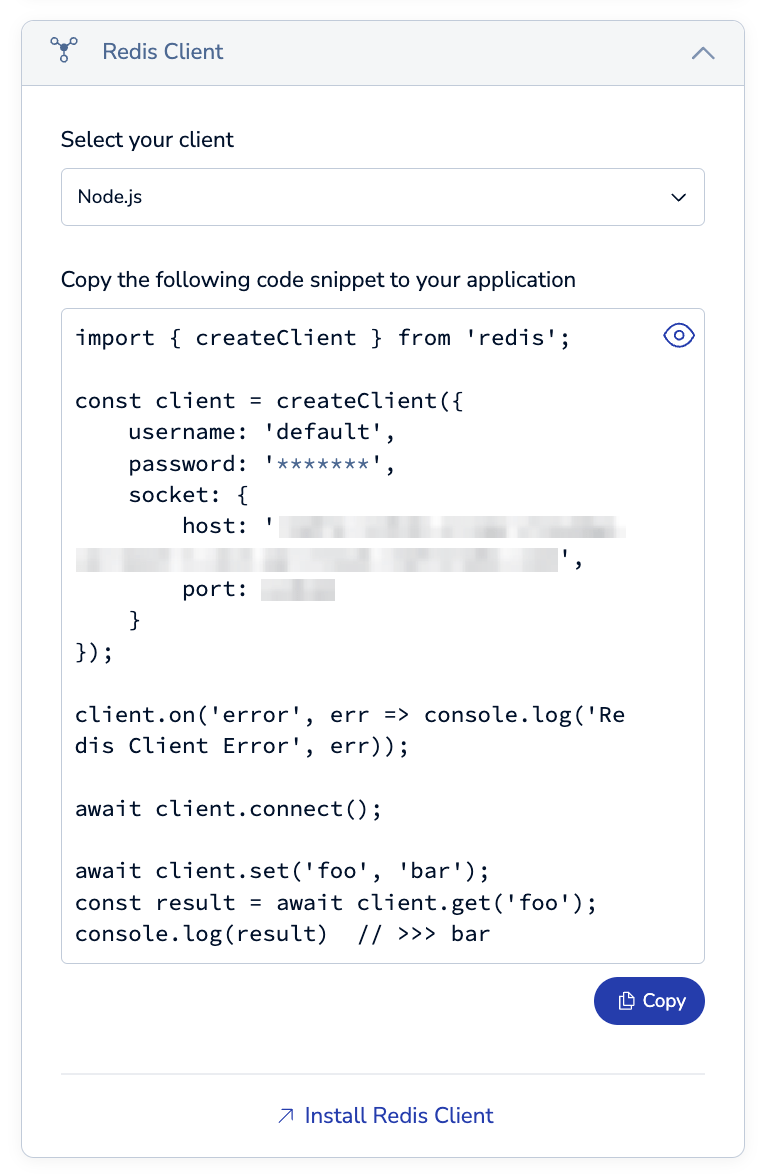
See Clients to learn how to connect with the official Redis clients.
See the following guides to get started with different Redis use cases:
redis-cli
The redis-cli utility is installed when you install Redis. It provides a command-line interface that lets you work with your database using core Redis commands.
To run redis-cli, install Redis on your machine.
See Redis CLI to learn how to use redis-cli.
More info
- Connect your application
- Import data
- Manage databases
- Data persistence
- Secure your Redis Cloud database
- Back-up databases
- Monitor Redis Cloud performance
Continue learning with Redis University
See the Get started with Redis Cloud learning path for courses.