For developersHow to Build a Real Time Chat application on Amazon Web Services using Python and Redis


Real time chat messaging apps are surging in popularity exponentially. Mobile apps like WhatsApp, Facebook, Telegram, Slack, Discord have become “a part and parcel” of our life. Users are addicted to these live chat mobile app conversations as they bring a personal touch and offer a real-time interaction.

There’s been a rise in the number of social media apps that bring social elements to enable activities like collaboration, messaging, social interaction and commenting. Such activities require a real-time capability to automatically present updated information to users. More and more developers are tapping into the power of Redis as it is extremely fast & its support for a variety of rich data structures such as Lists, Sets, Sorted Sets, Hashes etc. Redis comes along with a Pub/Sub messaging functionality that allows developers to scale the backend by spawning multiple server instances.
#1. What will you build?
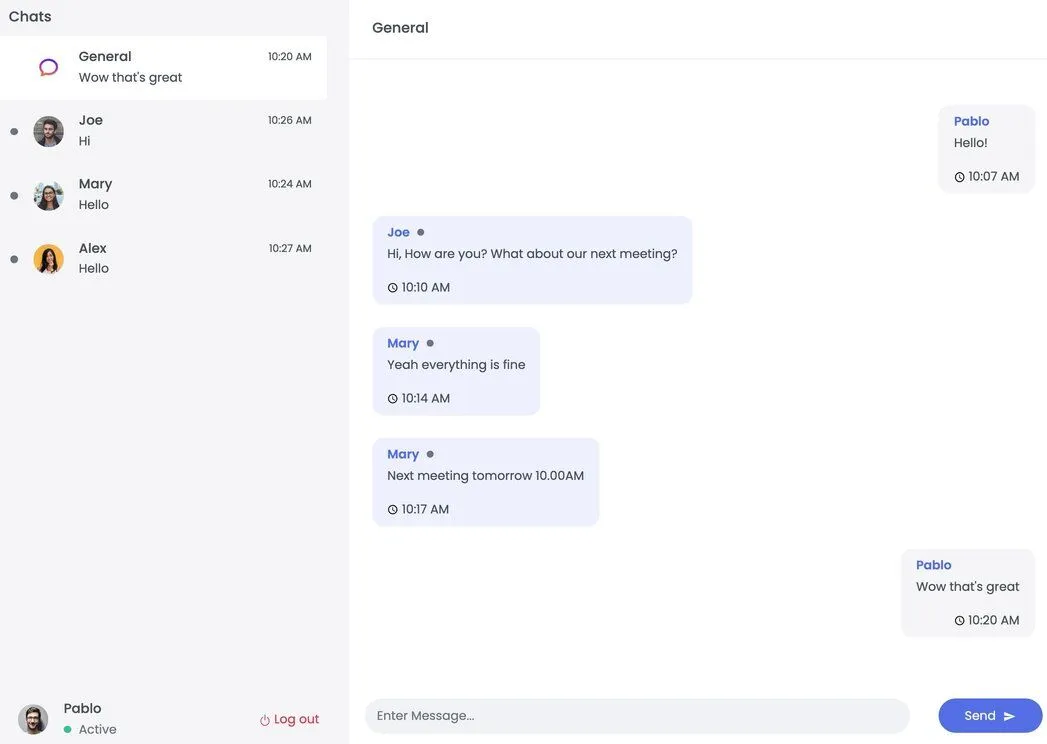
In this tutorial, we will see how to build a realtime chat app built with Flask, Socket.IO and Redis Cloud running on Amazon Web Services. This example uses pub/sub features combined with web-sockets for implementing the message communication between client and server.
#2. What will you need?
- Frontend - React, Socket.IO
- Backend - Python(Flask), Redis Cloud hosted on AWS
#3. Getting Started
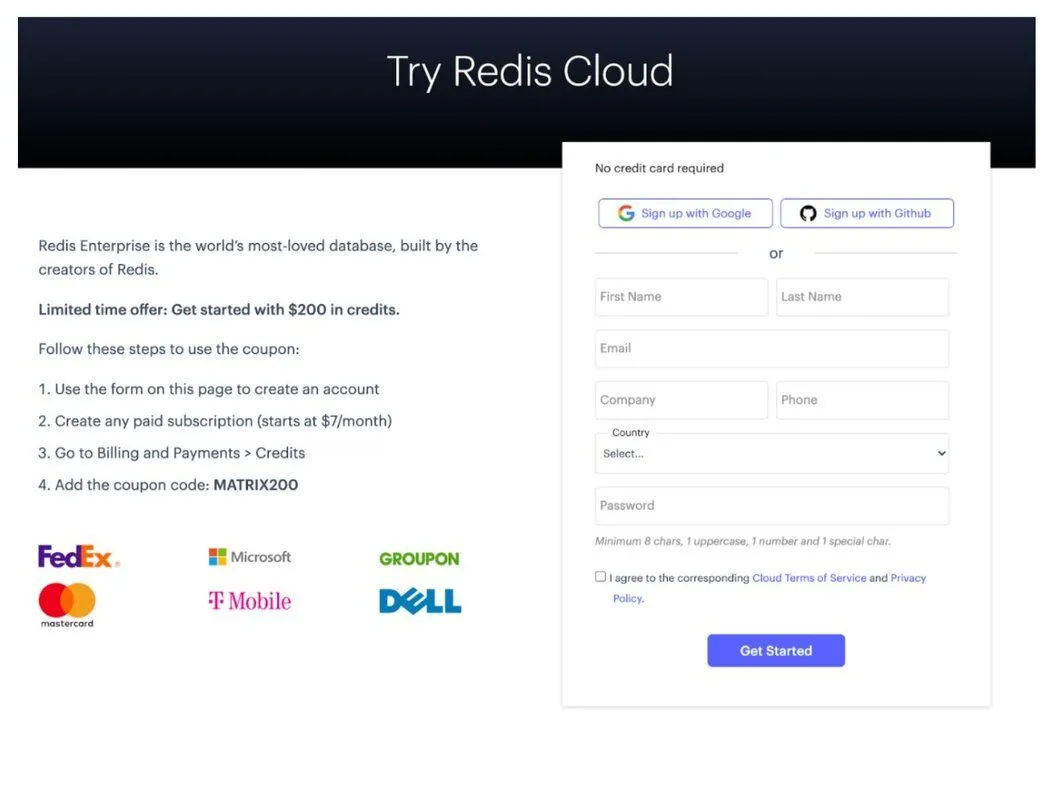
#Step 1: Sign up for a free Redis Cloud account
Follow this tutorial to sign up for a free Redis Cloud account. If you already have an existing account, then all you need are your login credentials to access your subscription.

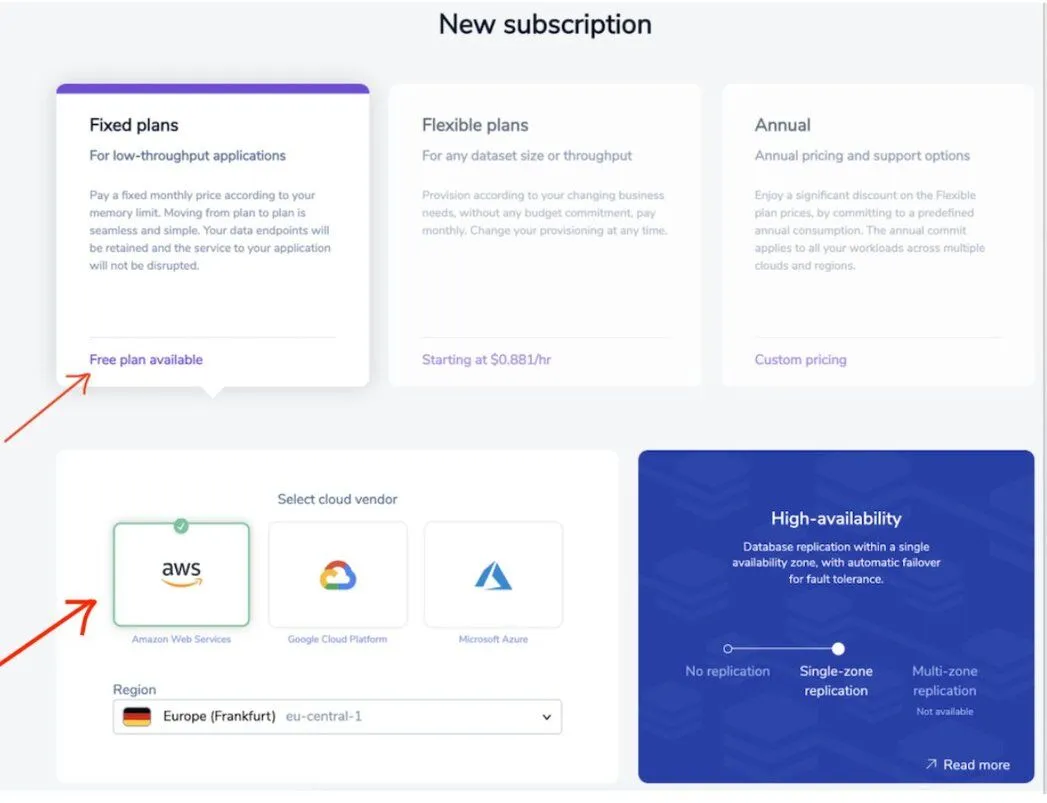
Choose AWS as the Cloud vendor while creating your new subscription. While creating a new database, ensure that you set your own password. At the end of the database creation process, you will get a Redis Cloud database endpoint and port. Save these, you will need them later.

TIPYou don't need to create an AWS account for setting up your Redis database. Redis Cloud on AWS is a fully managed database-as-a-service trusted by thousands of customers for high performance, infinite scalability, true high availability, and best-in-class support.
#Step 2: Clone the repository
#Step 3: Install the required packages
#Step 4: Start the frontend

#Step 5: Install the required python modules
#Step 6: Run the backend

#How does it work?
The chat app server works as a basic REST API which involves keeping the session and handling the user state in the chat rooms (besides the WebSocket/real-time part). When the server starts, the initialization step occurs. At first, a new Redis connection is established and it's checked whether it's needed to load the demo data.
#Initialization
For simplicity, a key with total_users value is checked: if it does not exist, we fill the Redis database with initial data. EXISTS total_users (checks if the key exists) The demo data initialization is handled in multiple steps:
#Creating demo users
We create a new user id: INCR total_users. Then we set a user ID lookup key by user name: e.g.
And finally, the rest of the data is written to the hash set:
Additionally, each user is added to the default "General" room. For handling rooms for each user, we have a set that holds the room ids. Here's an example command of how to add the room:
#Populating private messages between users
First, private rooms are created: if a private room needs to be established, for each user a room id: room:1:2 is generated, where numbers correspond to the user ids in ascending order.
E.g. Create a private room between 2 users:
Then we add messages for each conversation to this room by writing to a sorted set:
We are using a stringified JSON to keep the message structure and simplify the implementation details for this demo-app. You may choose to use a Hash or JSON
#Populate the "General" room with messages
Messages are added to the sorted set with id of the "General" room: room:0
#Pub/sub
After initialization, a pub/sub subscription is created: SUBSCRIBE MESSAGES. At the same time, each server instance will run a listener on a message on this channel to receive real-time updates.
Again, for simplicity, each message is serialized to JSON, which we parse and then handle in the same manner, as WebSocket messages.
Pub/sub allows connecting multiple servers written in different platforms without taking into consideration the implementation detail of each server.
#Real-time chat and session handling
When a WebSocket connection is established, we can start to listen for events:
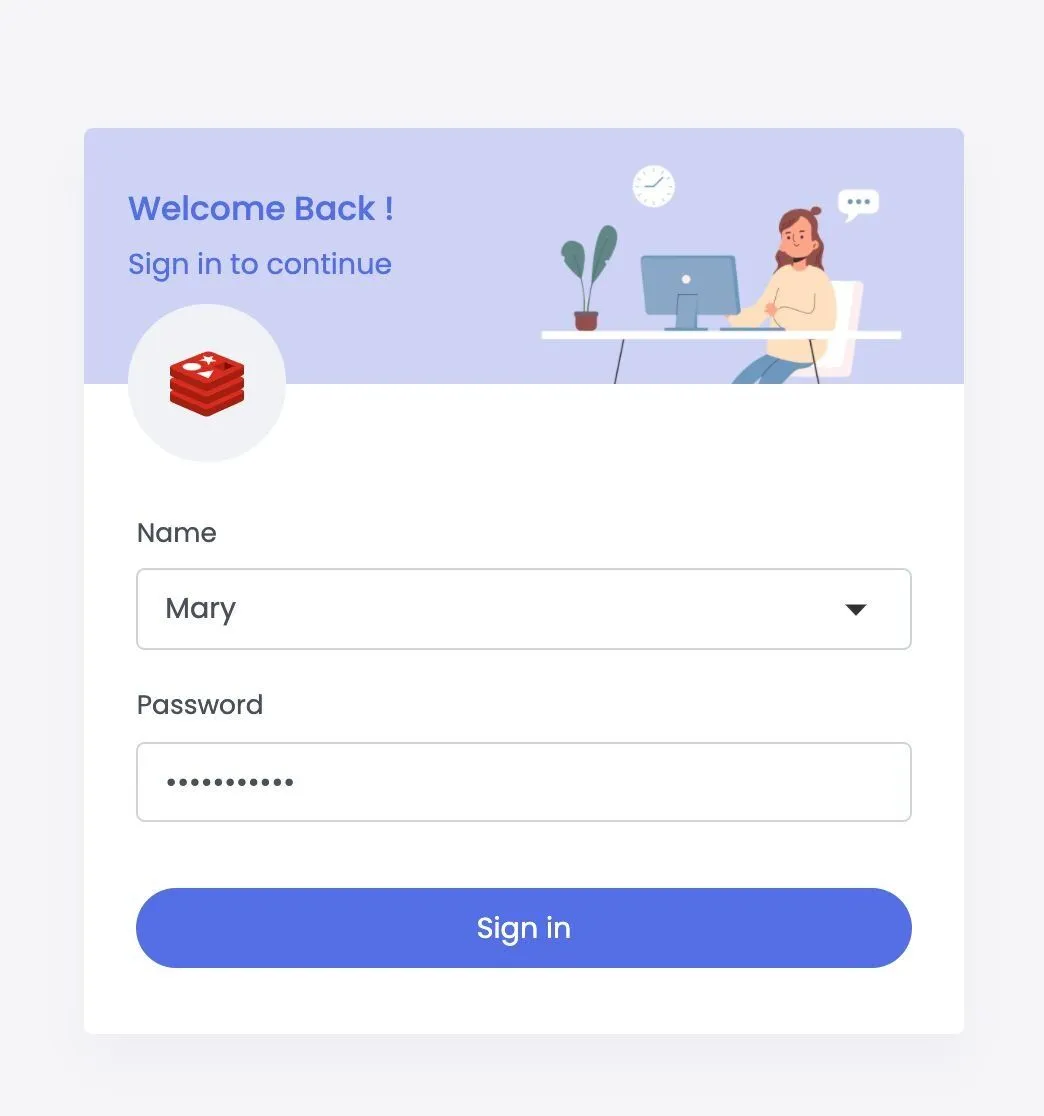
- Connection. A new user is connected. At this point, a user ID is captured and saved to the session (which is cached in Redis). Note, that session caching is language/library-specific and it's used here purely for persistence and maintaining the state between server reloads.
A global set with online_users key is used for keeping the online state for each user. So on a new connection, a user ID is written to that set:
Here we have added user with id 1 to the set online_users
After that, a message is broadcasted to the clients to notify them that a new user is joined the chat.
- Disconnect. It works similarly to the connection event, except we need to remove the user for online_users set and notify the clients: SREM online_users 1 (makes user with id 1 offline).
- Message. A user sends a message, and it needs to be broadcasted to the other clients. The pub/sub allows us also to broadcast this message to all server instances which are connected to this Redis:
Note we send additional data related to the type of the message and the server id. Server id is used to discard the messages by the server instance which sends them since it is connected to the same MESSAGES channel.
The type field of the serialized JSON corresponds to the real-time method we use for real-time communication (connect/disconnect/message).
The data is method-specific information. In the example above it's related to the new message.
#How is the data stored?
Redis is used mainly as a database to keep the user/messages data and for sending messages between connected servers.
The real-time functionality is handled by Socket.IO for server-client messaging. Additionally each server instance subscribes to the MESSAGES channel of pub/sub and dispatches messages once they arrive. Note that, the server transports pub/sub messages with a separate event stream (handled by Server Sent Events), this is due to the need of running pub/sub message loop apart from socket.io signals.
The chat data is stored in various keys and various data types. User data is stored in a hash set where each user entry contains the next values:
- username: unique user name;
- password: hashed password
- Additionally a set of rooms is associated with user
- Rooms are sorted sets which contains messages where score is the timestamp for each message
- Each room has a name associated with it
- Online set is global for all users is used for keeping track on which user is online.
- User hash set is accessed by key user:{userId}. The data for it stored with HSET key field data. User id is calculated by incrementing the total_users key (INCR total_users)
- Username is stored as a separate key (username:{username}) which returns the userId for quicker access and stored with SET username:{username} {userId}.
- Rooms which user belongs too are stored at user:{userId}:rooms as a set of room ids. A room is added by SADD user:{userId}:rooms {roomId} command.
- Messages are stored at room:{roomId} key in a sorted set (as mentioned above). They are added with ZADD room:{roomId} {timestamp} {message} command. Message is serialized to an app-specific JSON string.
#How is the data accessed?
Get User HGETALL user:{id}.
where we get data for the user with id: 2.
- Online users: SMEMBERS online_users. This will return ids of users which are online
- Get room ids of a user: SMEMBERS user:{id}:rooms. Example:
This will return IDs of rooms for user with ID: 2
- Get list of messages ZREVRANGE room:{roomId} {offset_start} {offset_end}.
Example:
Which will return 50 messages with 0 offsets for the private room between users with IDs 1 and 2.