Tutorial
Redis on Heroku
February 26, 20263 minute read
TL;DR:To set up Redis on Heroku, create a Redis Cloud account, provision a database, then add your Redis connection string to your Heroku app's config vars. Redis Cloud gives you a fully managed Redis instance that integrates with any Heroku application.
Heroku is a cloud Platform as a Service (PaaS) that supports multiple programming languages and is used as a web application deployment platform. Heroku lets developers build, run, and scale apps across all supported languages including Java, Node.js, Python, PHP, Ruby, and Go. This guide walks you through setting up Redis on Heroku using Redis Cloud so you can add a managed Redis database to your Heroku applications.
#Prerequisites
Before you begin, make sure you have:
- A Heroku account (a paid plan is required; Heroku discontinued its free tier in November 2022)
- The Heroku CLI installed on your system
- Git installed
- A Redis Cloud account (the free tier includes 30 MB)
#What is Redis Cloud?
Redis Cloud is a fully managed cloud service for hosting and running your Redis dataset in a highly available and scalable manner with predictable, stable performance. Redis Cloud lets you run Redis in the cloud and access your instance through Redis Insight, the Redis CLI, or any Redis client library. You can get started instantly with your first Redis database and then add more databases or resize your plan without affecting existing data.
#How do I set up Redis on Heroku?
You can connect Redis Cloud to your Heroku app by provisioning a Redis Cloud database and configuring your Heroku app's environment with the Redis connection string.
#1. Create a Redis Cloud account
Create your free Redis Cloud account by visiting redis.io/try-free. Follow the Redis Cloud quickstart guide to create your database and retrieve your endpoint, port, and credentials. You will need these values to configure the Heroku Redis connection string later.
#2. Create a Heroku account
If you don't already have one, create a Heroku account at signup.heroku.com.
NOTEHeroku discontinued its free tier in November 2022. You will need a paid Heroku plan (Eco, Basic, or higher) to deploy applications.
#3. Install the Heroku CLI
Install the Heroku CLI on your system:
For other installation methods, see the Heroku CLI documentation.
#4. Log in to Heroku
#5. Connect your application to Redis Cloud
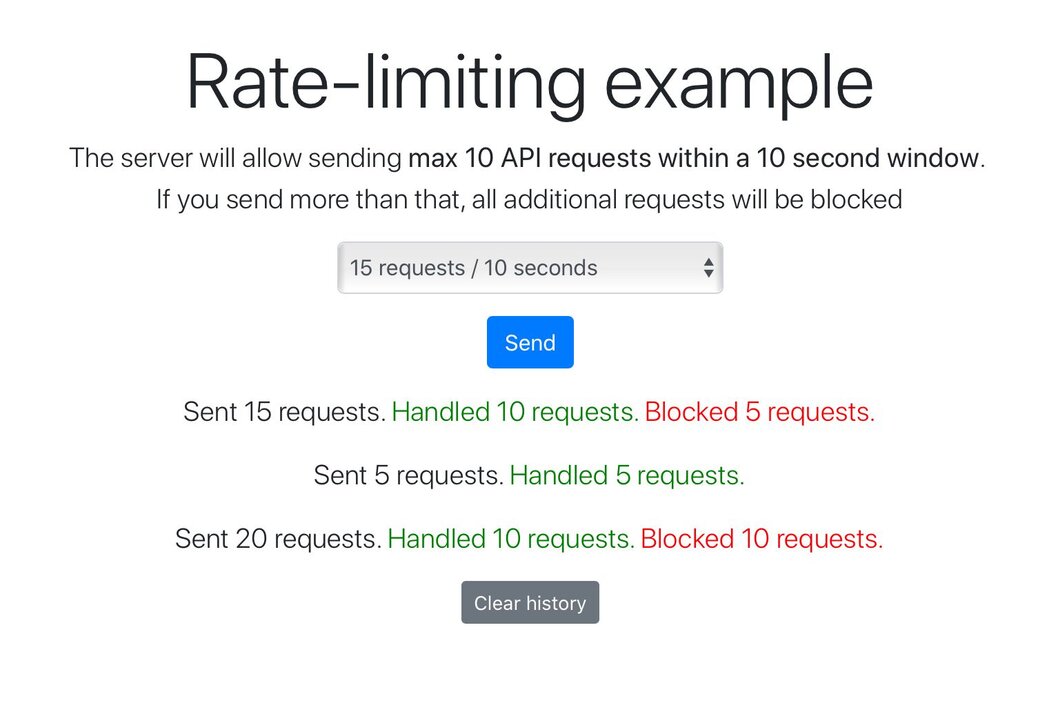
For this walkthrough, we'll use a sample rate-limiting application.
#Clone the repository
#Create a Heroku app
Run the command below to create a new Heroku app:
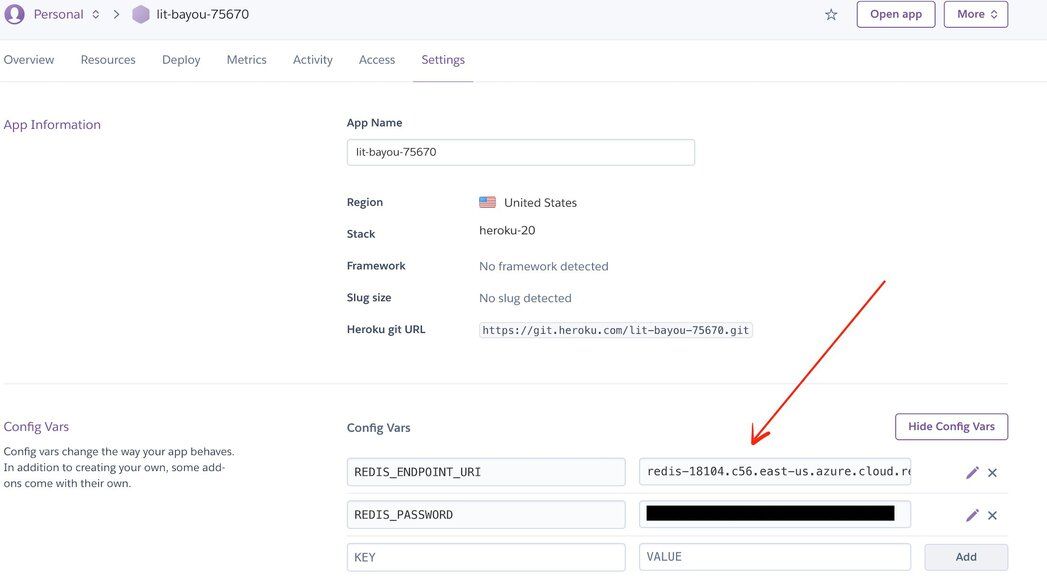
#6. How do I configure the Heroku Redis connection string?
Go to the Heroku dashboard, click Settings, and add the following under Config Vars:
REDIS_URL— your Redis Cloud endpoint (e.g.,redis://default:<password>@<host>:<port>)REDIS_PASSWORD— your Redis Cloud database password
Refer to Step 1 for the correct values.
You can also set config vars from the CLI:
#7. Deploy to Heroku
Push your code to the Heroku remote:
#Check the logs
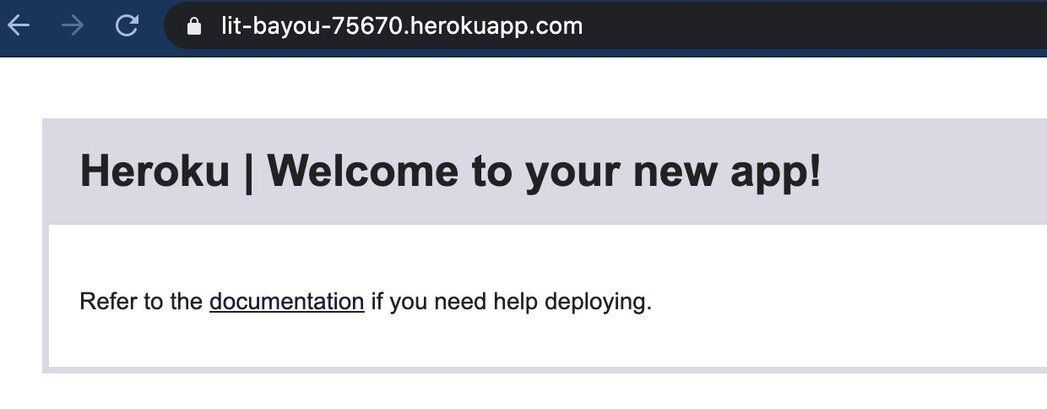
#8. Access the app
Open the deployed application in your browser:
#Next steps
Now that you have Redis running on Heroku, explore these related tutorials:
- How to build a Python-based application on Heroku using Redis — deploy a Python app on Heroku with Redis Cloud integration.
- How to build a Node.js-based application on Heroku using Redis — deploy a Node.js app on Heroku connected to Redis Cloud.
- Redis Cloud quickstart — learn more about provisioning and managing Redis Cloud databases.